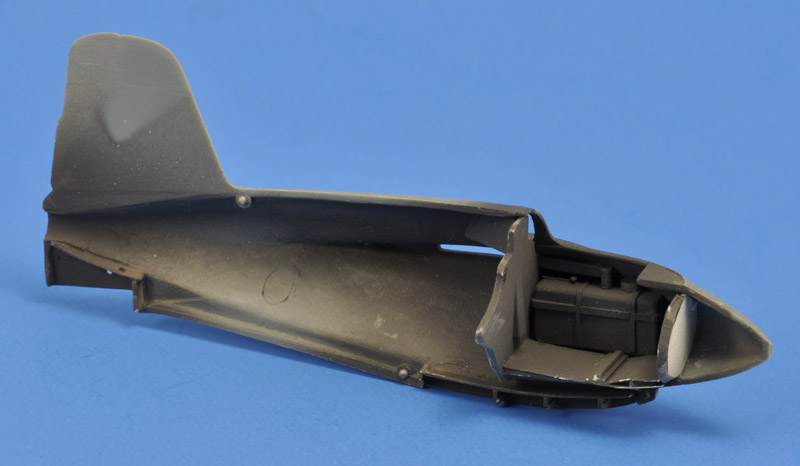
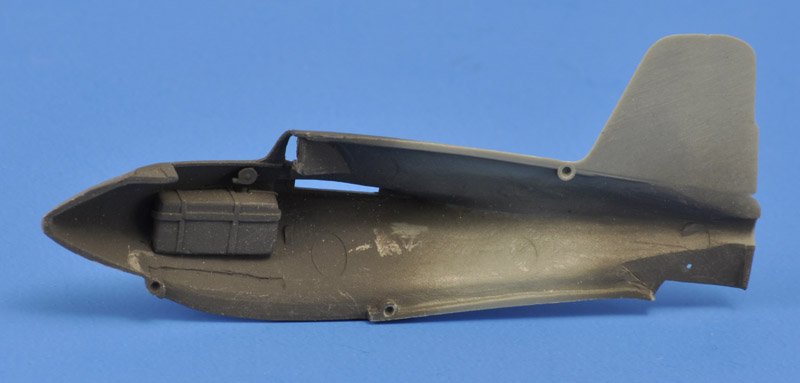
Heller 1/72 Me 163B-1 Komet


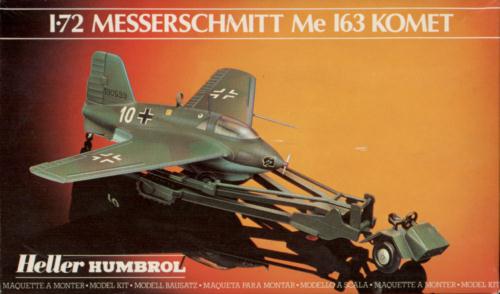
I bought this kit in 1992 because I had a vague interest in this little rocket fighter, and also because I visited Brandis airfield in East Germany, of which I knew it had been a major Komet base. I started researching the subject a little, and got interested. Around 1997-1998, the bug really bit, and my research went way out of hand. The results can be seen on the Me 163B Komet web site that I created.

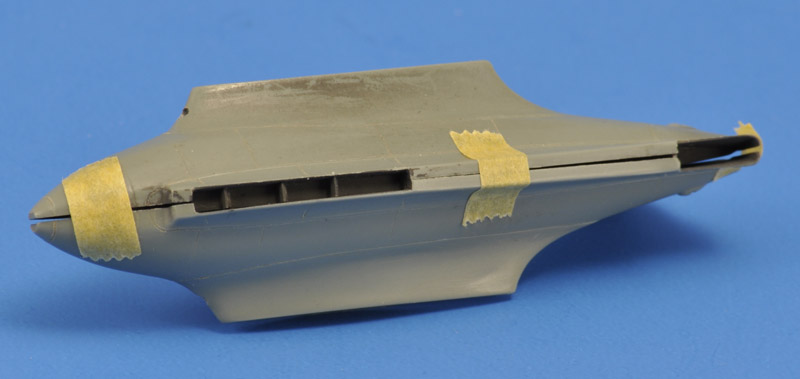
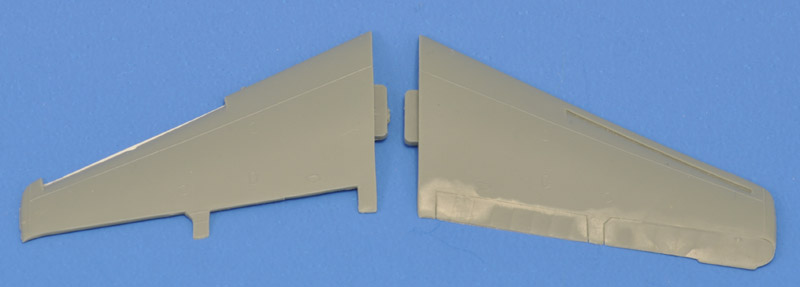
I worked on and off on this model until 1999, when rumours about a new 1/72 Komet from Academy started. Indeed it came out early 2000, and it blew away all competition. Having built the Academy model straight from the box, I'm sure I will never finish the Heller kit. The Academy kit is much better in all aspects, and it's a waste of time updating the Heller kit. I decided to leave this page on the site, for reference, and as a nice memory! The old small photos were replaced in 2021.


Construction

The Heller kit is nice, but needs a little work to make it really nice. It has raised panel lines, which I replaced with scribed lines. The soft soapy plastic that Heller uses does not make this easy. Heller also exaggerated the steps where fairings connected with the main structure; I'm talking about the wing root fairing and the 'skid well' fairing. I bought the Eduard photo-etched detailing set; Airwaves also makes a set. The Eduard set has only few parts for the actual aircraft, most are meant to detail the Scheuchschlepper. Of the parts for the aircraft, I used only a small number. Lastly I bought the Squadron replacement canopies. As usual they are extremely clear, and really make it worth to detail that small cockpit.

As usual I started working on the cockpit. Heller provides a rather strangely shaped 'bath tub' for the cockpit. I really wanted to show that the pilot sits sandwiched between two 80% hydrogen peroxide tanks. I first scraped the cockpit walls thinner and added a top longeron. Then I started to shape two tanks from laminated plastic card. While they are flat on the inside, on the outside they conform to the tapering nose. Next I glued them on the cockpit side using a simple jig, to ensure that the tanks sat 3.5 mm from the aircraft centerline (leaving enough space for the seat and pilot) and 4 mm from the cockpit sill.

After this operation I added straps that hold the tank in place from the thinnest strip I had. Further detailing on the left side are a beam to which the trim wheel is glued, a small vertical hydraulic cylinder and a throttle body. The cockpit floor is built from plastic card, and features a step between the stick and the pedals. The cockpit is closed at the front end with a small bulkhead.

Apart from the tank, the right cockpit side is provided with an oxygen regulator from the Eduard set. Another photo-etched piece is to be added on top of the tank, representing a fuse box. Not visible in the pictures is the reduction of the rear windows. They are slightly too large, which leaves too little room for the pilot's headrest. Note that the whole cockpit is sprayed with a dark grey color. I thought this color was a good RLM 66 match, but it turned out too dark.

If I remember correctly, this was the first cockpit that I scratch-built, and I was tickled pink with the results.
On the lower side of the aircraft I decided to open the 'skid bay' and the tail wheel bay. The 'skid bay' was given a roof where the circular fuselage would be, and three frames that connect with the skid hinges. The tail wheel bay was also given a roof and a bulkhead on the front side.
The top wing halves are shown here. On the left-hand wing I removed the inboard trim flap and the outboard elevon (aileron+elevator). The trim flaps are trimmed up a couple of degrees for start and landing, and the elevons are usually neither in the neutral position. I also removed the slat on the leading edge, but scribing a slit while leaving the slat in place would have been a much easier solution. I noted that all Heller Komets I've seen so far suffer from bent wings. The wing twist is OK, but the wings bend upwards. Be careful when gluing them.
Of course I also removed the control surfaces on the left lower wing, seen on the right. The flaps under the wings are rather special because of their position and construction, and I wanted to show that too. The flaps should be modified anyway since Heller modelled the flaps as raised surfaces. I cut it out and built a flat roof panel with two openings for the actuators.
The Heller seat (left) was a bit clumsy. I modified it a little, cast an epoxy copy (apparently from before I discovered vacuum casting) and then used it to thermoform a new one. This one is really nice and thin.
Work on the landing gear parts is shown here. The skid was detailed with six hinge blocks (although some disappeared). I also made a test build of the hinge arms, a tubular structure made from stretched sprure. The dolly was modified a little by changing the centerpiece (axle) that connects with the skid. The front end was made shorter and more pointed, while the rear end was widened with plastic card. The wheel track was reduced to 1 scale meter. This was achieved by drilling out the holes in the wheels to the size of the dolly axle. The tail wheel was changed too: the arm was thinned, a small triangular near-vertical plate was added, and a small cylinder was added, made from steel wire with heat-stretched tube.


Return to models page