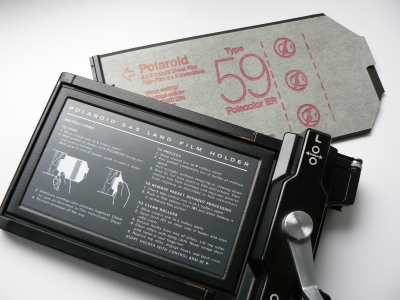
and Polaroid® Roll Film Holder.
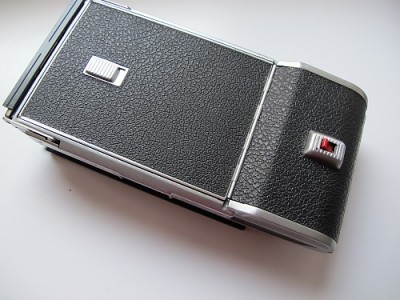
A very nice uncomplicated piece of technique for swift and reliable instant photography. Made for most of the 4 x 5 cameras. This device find its place on the back of your 45 " Speed Graphic, sandwiched between the spring back or locked in the slide locks of the Graflok back.
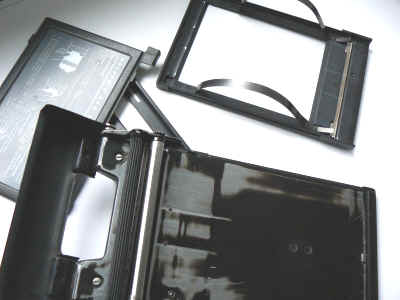
If it is unavoidable to open the holder, please realize that it doesn't mean a thing to open it, but if you do not know how to reassemble, it soon could be a hell of a job. To open the holder just peel off the two side clips and the holder will fall apart into three pieces. The housing, the cover with the instruction text and the open exposure-bottom part. Hopefully you'll find a metal strip as well, laying around somewhere, as it jumps out of the housing as soon as you open it.
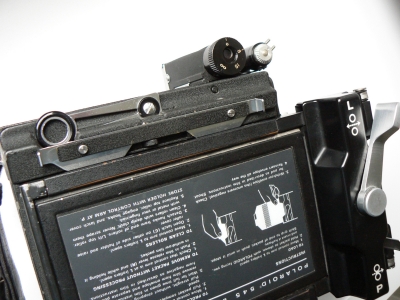
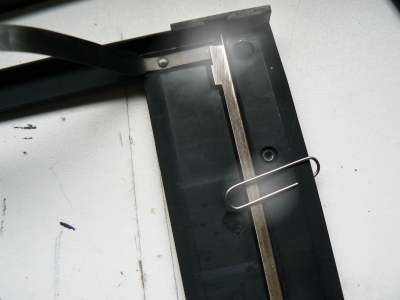
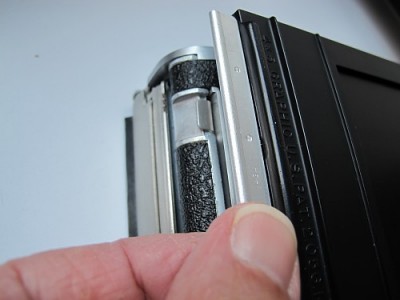
This is the secret how to reassemble. To hold the metal strip under pressure while reassembling the holder, you have to replace the strip on the two spring ends as shown on the picture and hold it there by a paperclip which you can remove easily when the job is done.
If the spring ends are not covered by the metal strip, the Polaroid envelope is stopped by the pivot fixing of he spring ends.

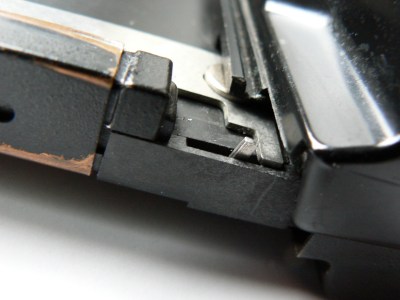
Normally this part is covered by the cover of the holder.
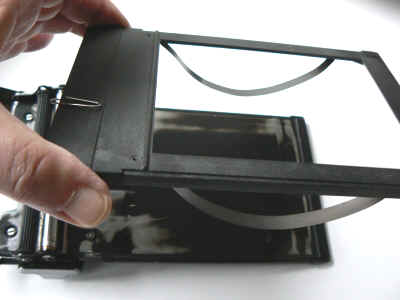
To save precious Polaroid film, you may try to experiment with a piece of thin cardboard, cut down to the same size of the envelope, to check whether the rollers and the position of the metal strip allows passing . Its quite normal to feel a bit of resistance bringing in the envelope into the holder while it passes the popped up strip.
Cat. No. 9108
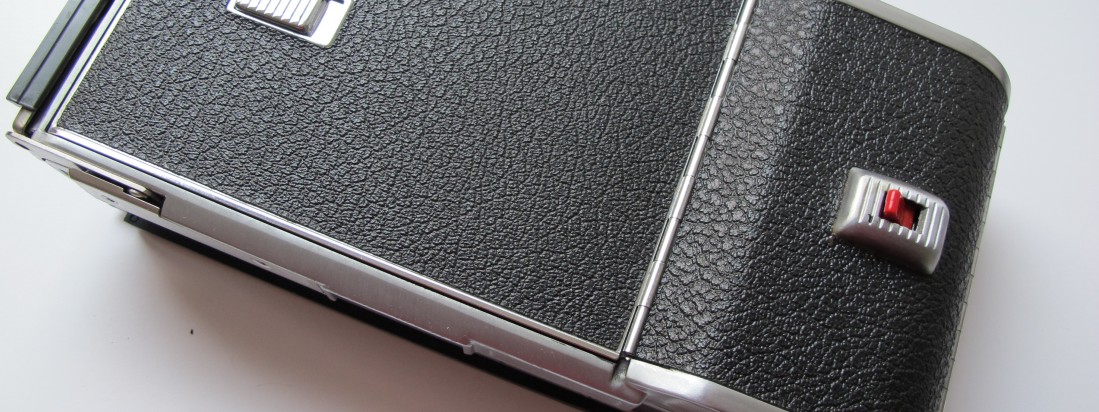
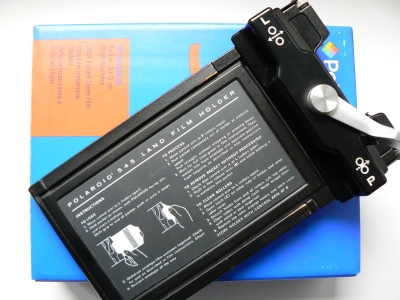
This is the very first Polaroid film adapter offered for "regular" 4x5 cameras.
The original Polaroid cameras in the 1950s used rolls of film, rather than the sheets or packs of later models. In fact, you had a roll of film and a joined roll of print paper that had to be inserted into separate compartments in the camera, with a paper leader threaded through various rollers.
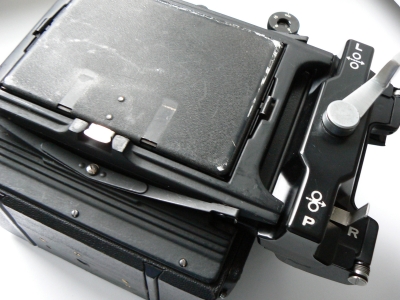
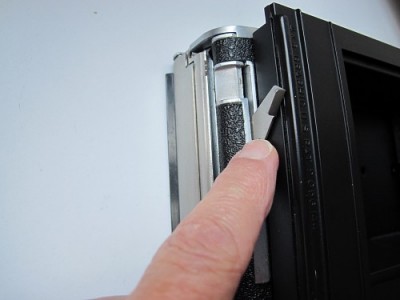
To
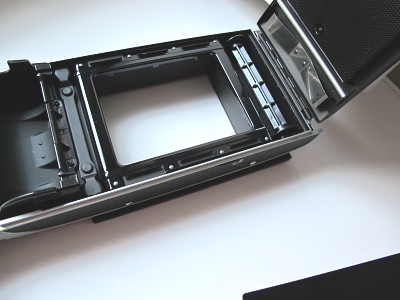
open the adapter, first pull the dark slide completely out so that you can swing
up the lock.
This adapter back is essentially just the back part of one of those cameras, modified to attach to a Graflok-type 4x5 back. To focus you would need the Graphic focusing panel for Polaroid film as well, as the Polaroid film lays about 2 inch backwards comparing to the normal sheet film, which lays on the same position as the Graflok ground glass.
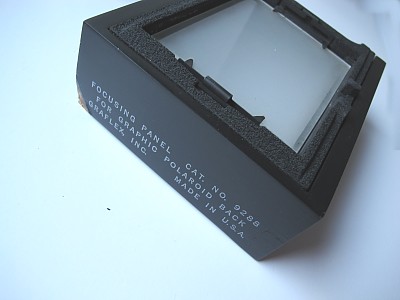
Focusing panel Cat no. 9288 size 4 x 3 ¼ inch.
The Polaroid Graphic back is only of historical interest, as Polaroid roll film has been out of production for decades.
It's an interesting item, to show how laborious the early instant-photo technology was.
Usable Film Holders for your classic camera
Photos © Jo Lommen