
by Jo Lommen.
If
you are the lucky owner of an Auto Graflex Junior Camera, you may want to take
photos with it, which is of course the ultimate challenge of each camera
collector. Besides some dust, dirt, dents and chips of paint on the outside
of the housing, you will probably soon find out that the curtain shutter does
not work smooth, or worse, not work at all. No wonder considering that the
camera is more than 100 years old. Either the upper curtain
"hangs" or the winding key is stiff, or the lower curtain does not
move down. Therefore, you will have to find out what is causing the trouble. The
only option is dismantling the camera to get to the curtain shutter. It seems
very simple and it is, as far as you know where to start and where to find the
hidden bugs.
Unscrew the lens from
the cupped lensboard. Then cover the mirror with a piece of silk. As this
is a surface mirror, screws or other subjects falling on it easily will damage
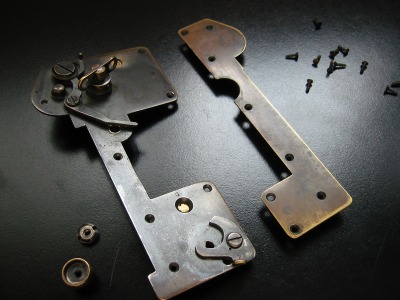
it. Take notes and photos while disassembling and put the screws next to the
parts they belonging to. Even better, save them in separate boxes.
Remove the hood inside the hinged hood cover and remove the screw holding the hinged cover. Then remove all screws of the overhanging projection at the rear.
Note: There are four bigger screws on the front side of the rear to resist the spring pressure of the hood cover.

Next,
you will have to remove all the screws from the left and the right brass cover.
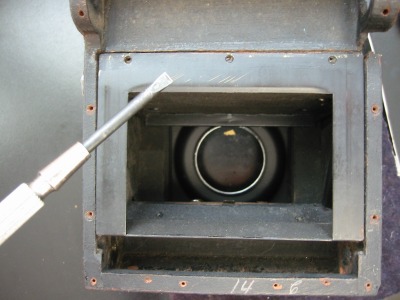
However, that is not sufficient: the right cover will not come off, because the
mirror level holds it on its place. Therefore, we have to unscrew the three
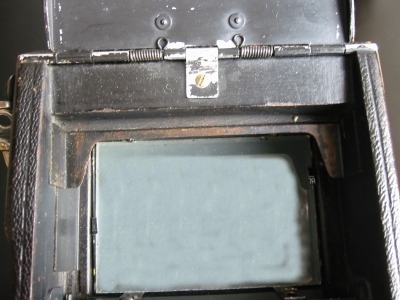
screws on top of the mirror. (White arrows). To get there we must remove the
ground glass. This could be a bit tricky. There are four small clamps holding
the ground glass. They have to be bent strait up. They easily break off, so you
will have to do that very carefully. Then try to lift the ground glass with a
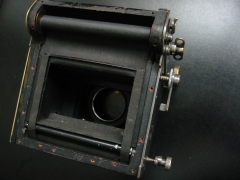
very small screwdriver. After removing the ground glass, you will get access to
the mirror box. Now you can unscrew the three screws on the shaft. Pull out the
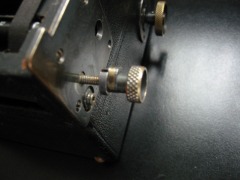
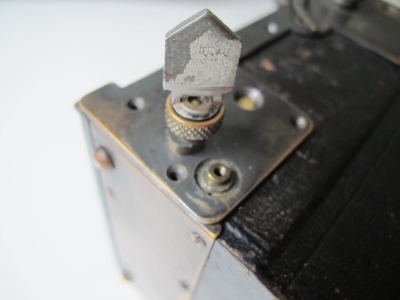
shaft with the mirror lever. Now tackle the tension knob below, by turning
the inner bolt anti clockwise, while holding the outer one, but not before
setting the tension knob in position 1. The inner bolt has two notches. You will
have to find a fine but strong pair of tweezers to get hold to it. The spring
unrolls and the complete Shutter Cover assembly is free to remove now.
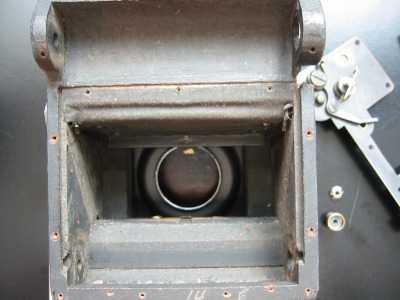
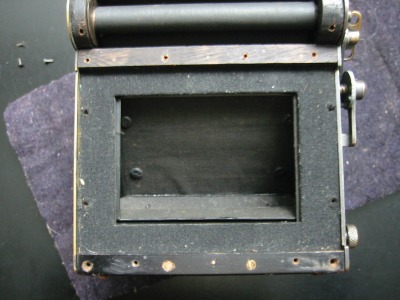
The two focal plane shutter
curtain rolls are still in the camera and to get them out we have to remove the
light baffle. To give you a better view on the light baffle, I
already removed the focal plane shutter curtain. If not necessary, do not
remove the mirror. If the mirror needs cleaning, try to do that with a very soft
brush. Avoid any contact with your fingers.
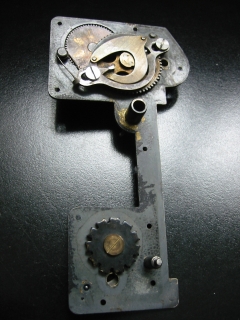
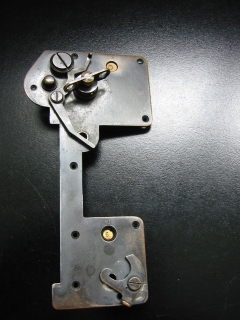
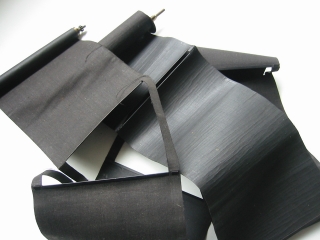
The inside of the brass covers and the inside of the camera, shows decades of dust, dirt and gummed oil. This is a beautiful challenge to start the cleaning. Clean all parts of the shutter cover with refined petrol or lighter gas. Roll out the curtain, lay the shutter curtain flat on your desk, and examine the fabric on pinholes. Clean it carefully with a sponge and some clear water. Do not remove the curtain from the rollers. The Focal Plane Shutter, with its five slits, can be a bit stiff and will automatically rolls back in a certain position, due to many years of forced immobility. I successfully brought it back to its flexibility by laying a wet tissue on it for several hours. Clean carefully the inside of the camera house. Clean all the mechanical parts of the rollers with lighter gasoline. Before reassembling use some light oil. Not too much. Just enough!
First of all replace the left brass cover then the upper roller. Replace the lower roller into the roller case and replace the light baffle.
Replace the assisting roller with one end in the left brass cover hole. The focal plane shutter has to be positioned on its largest slit.
Set the Shutter Indicator in position "O". This correspondences with the "Open" position of the curtain slit. Now bring the right brass cover into position without loosing grip of the position of the upper roller. At the same time (you'll miss a third hand), try to position the two lower rollers so that they fit into the proper holes of the brass cover. Replace only one screw next to the winding key but not too fast. It will give you the opportunity to lift the lower side of the brass cover to load the spring without affecting the counter mechanism. This counter must be positioned on "0".
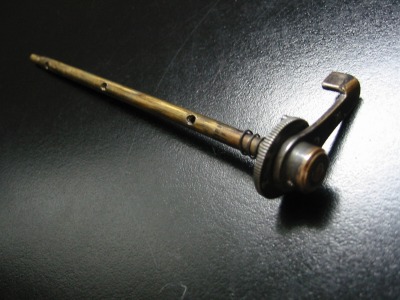
If this all fits and thus is in the proper position, you may test that by turning the winding key just half a turn and watch the curtain movement. You'll miss the working of the spring. So we have to load the spring. To do this we have to have grip on the spring shaft. Just for this purpose we'll temporary mount the bolts the other way around on the shaft.
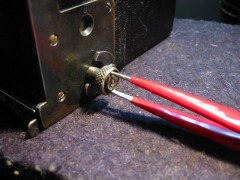
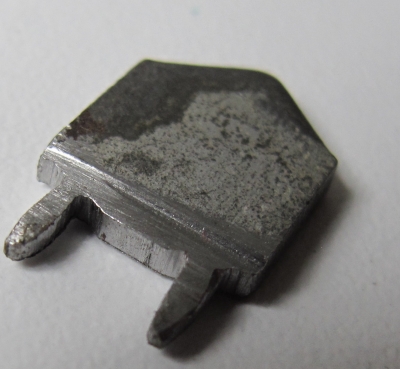
Wind up the spring of the shaft from the lower roller until the upper side of the curtain comes down. Another two or three turns should be enough to guarantee the good working. Now unscrew the bolts and mount them as they should be mounted. First, the longer nut while holding back the spring-loaded control (P) and then the other one. While holding tight the longer nut, screw the small one clockwise against the other by using a pair of tweezers or a self made tool like this:
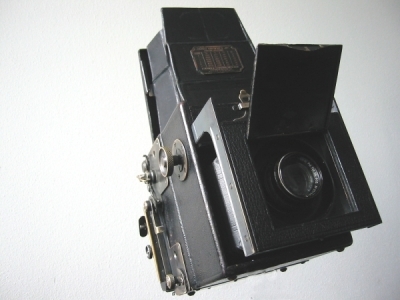
The Auto Graflex Junior ready to shoot.
Auto Graflex Junior History and more How to operate Key control functions
Any Questions? Graflex Roll Holder for Auto Graflex Junior Back to Graflex Cameras