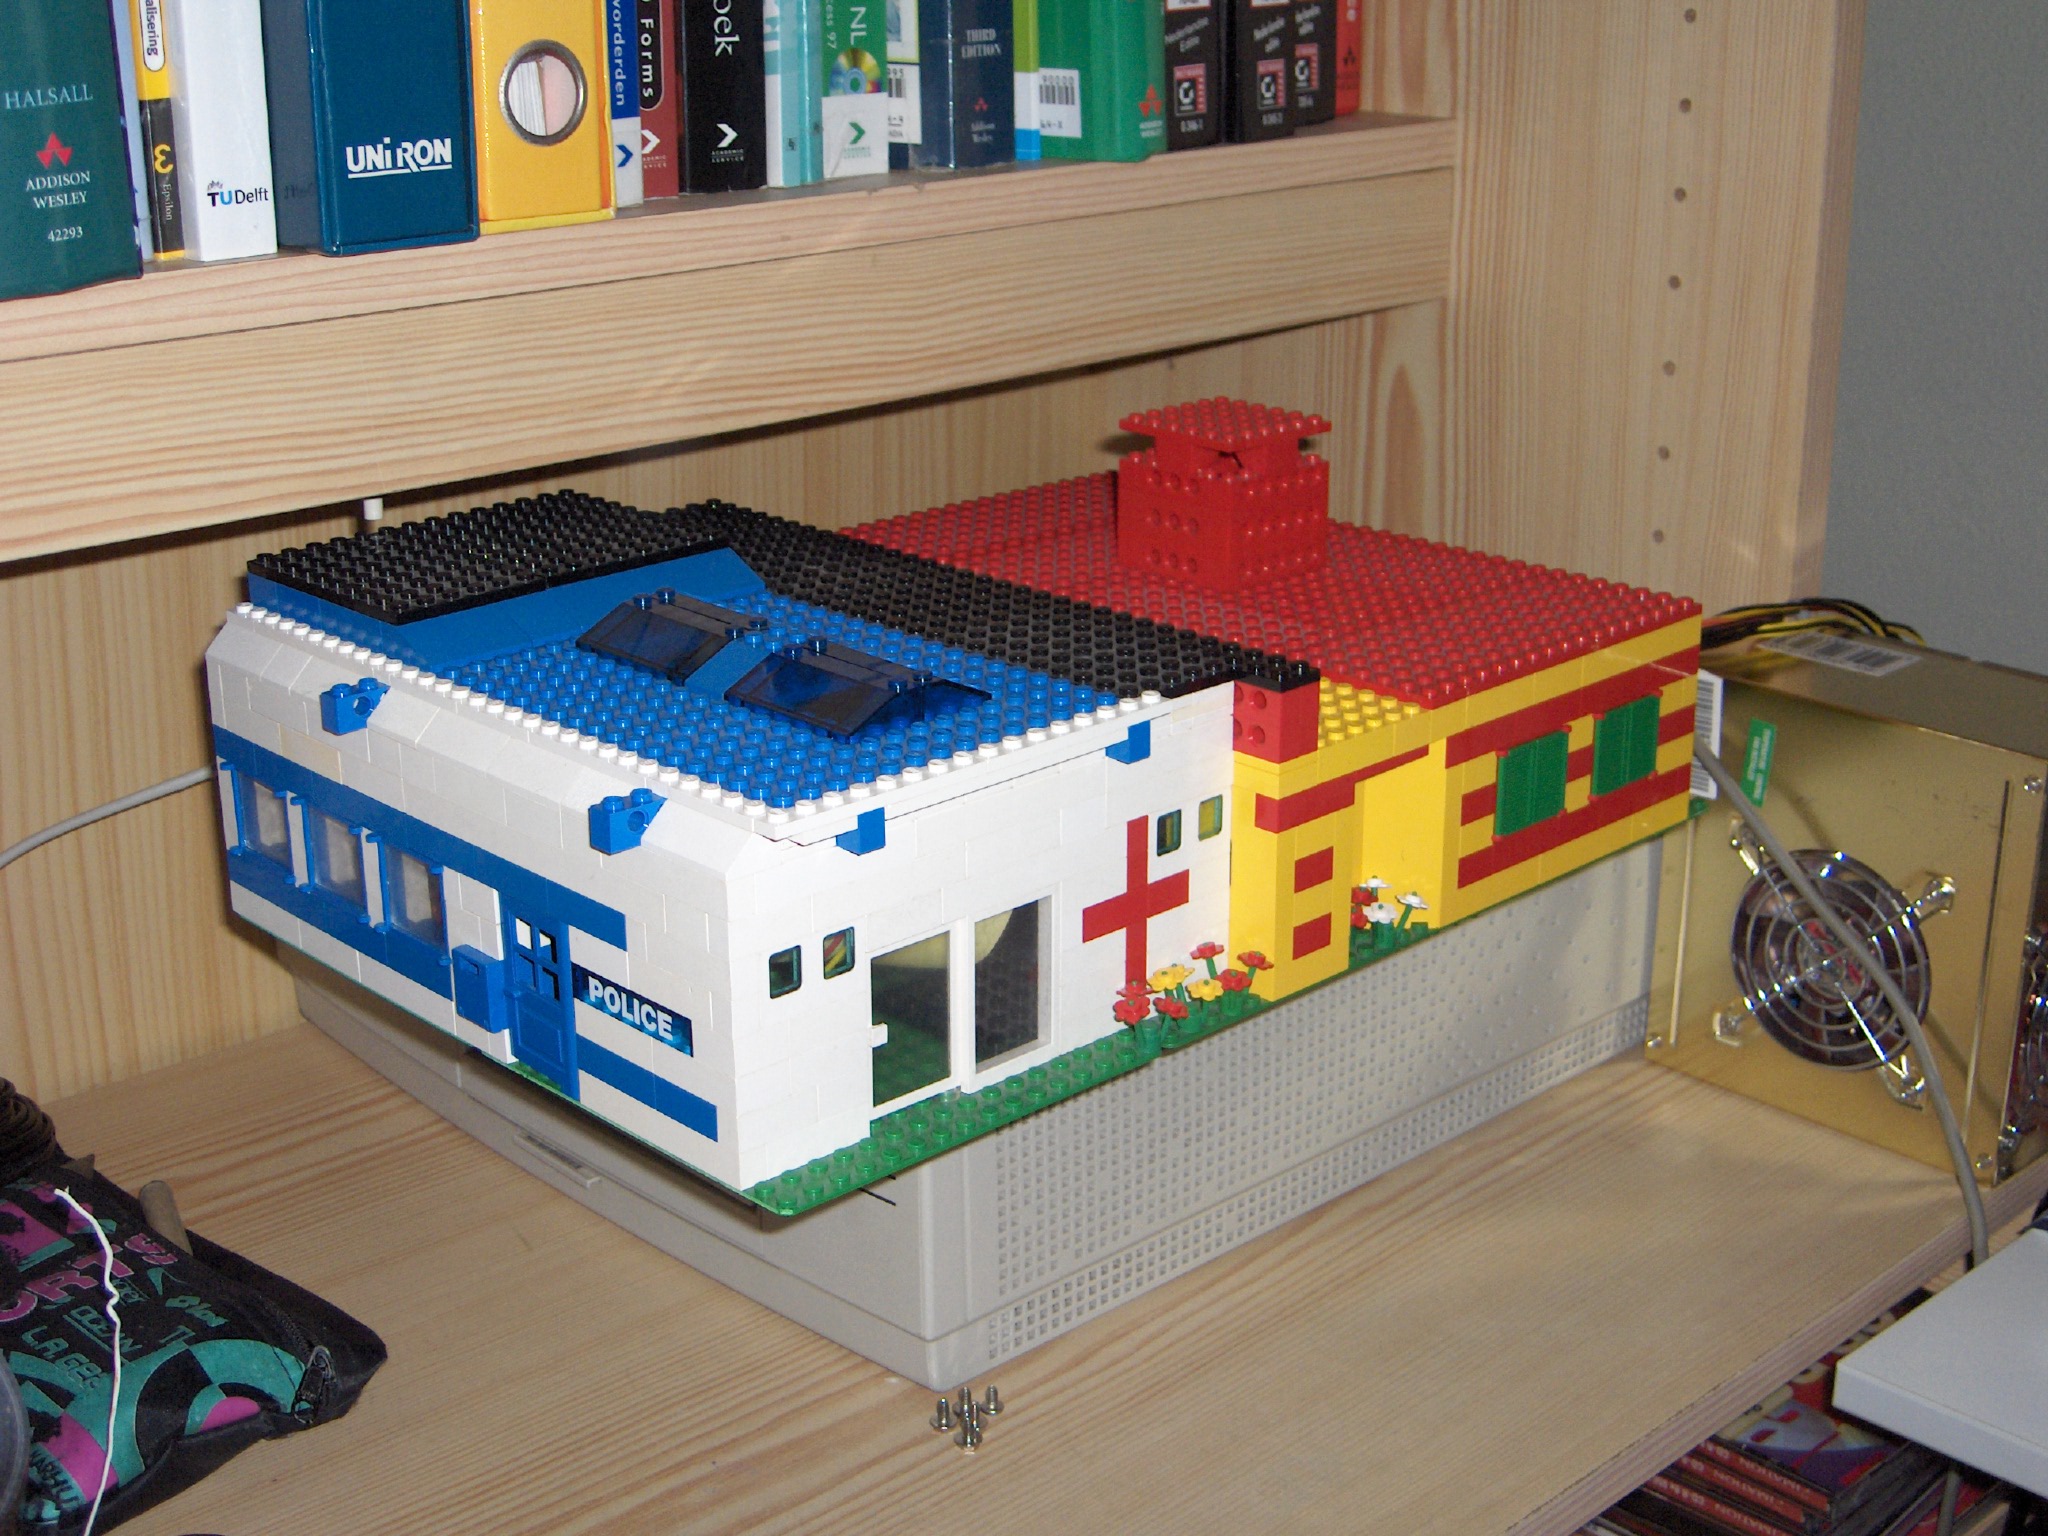
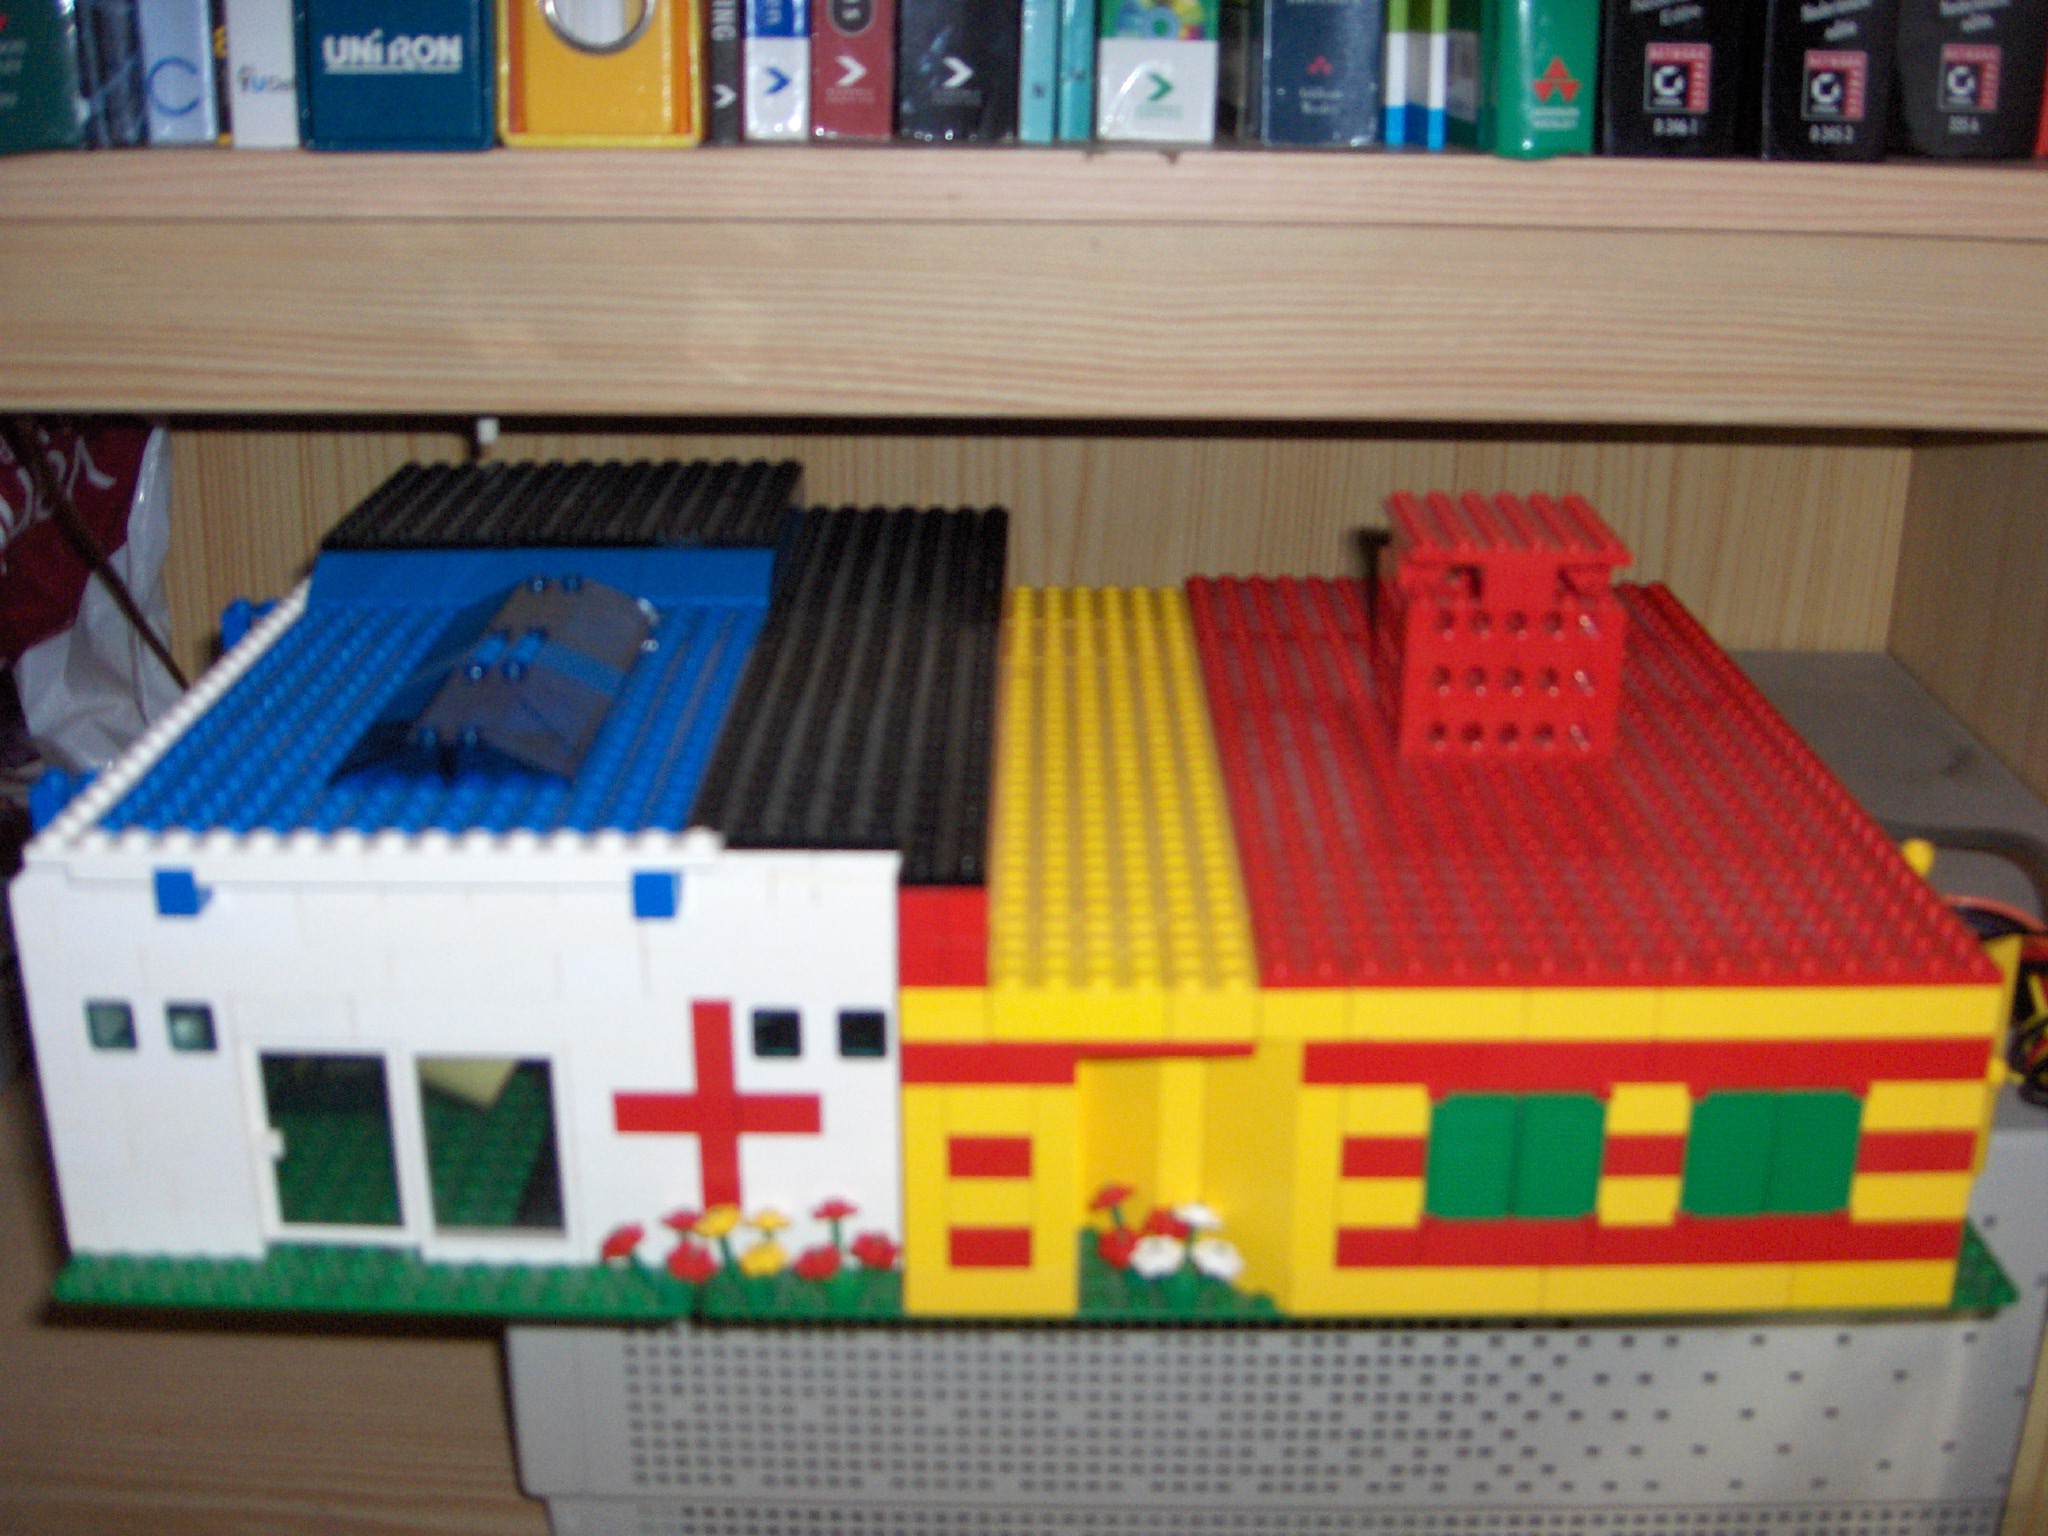
Left side photo of my Lego PC, a police station with first aid post.
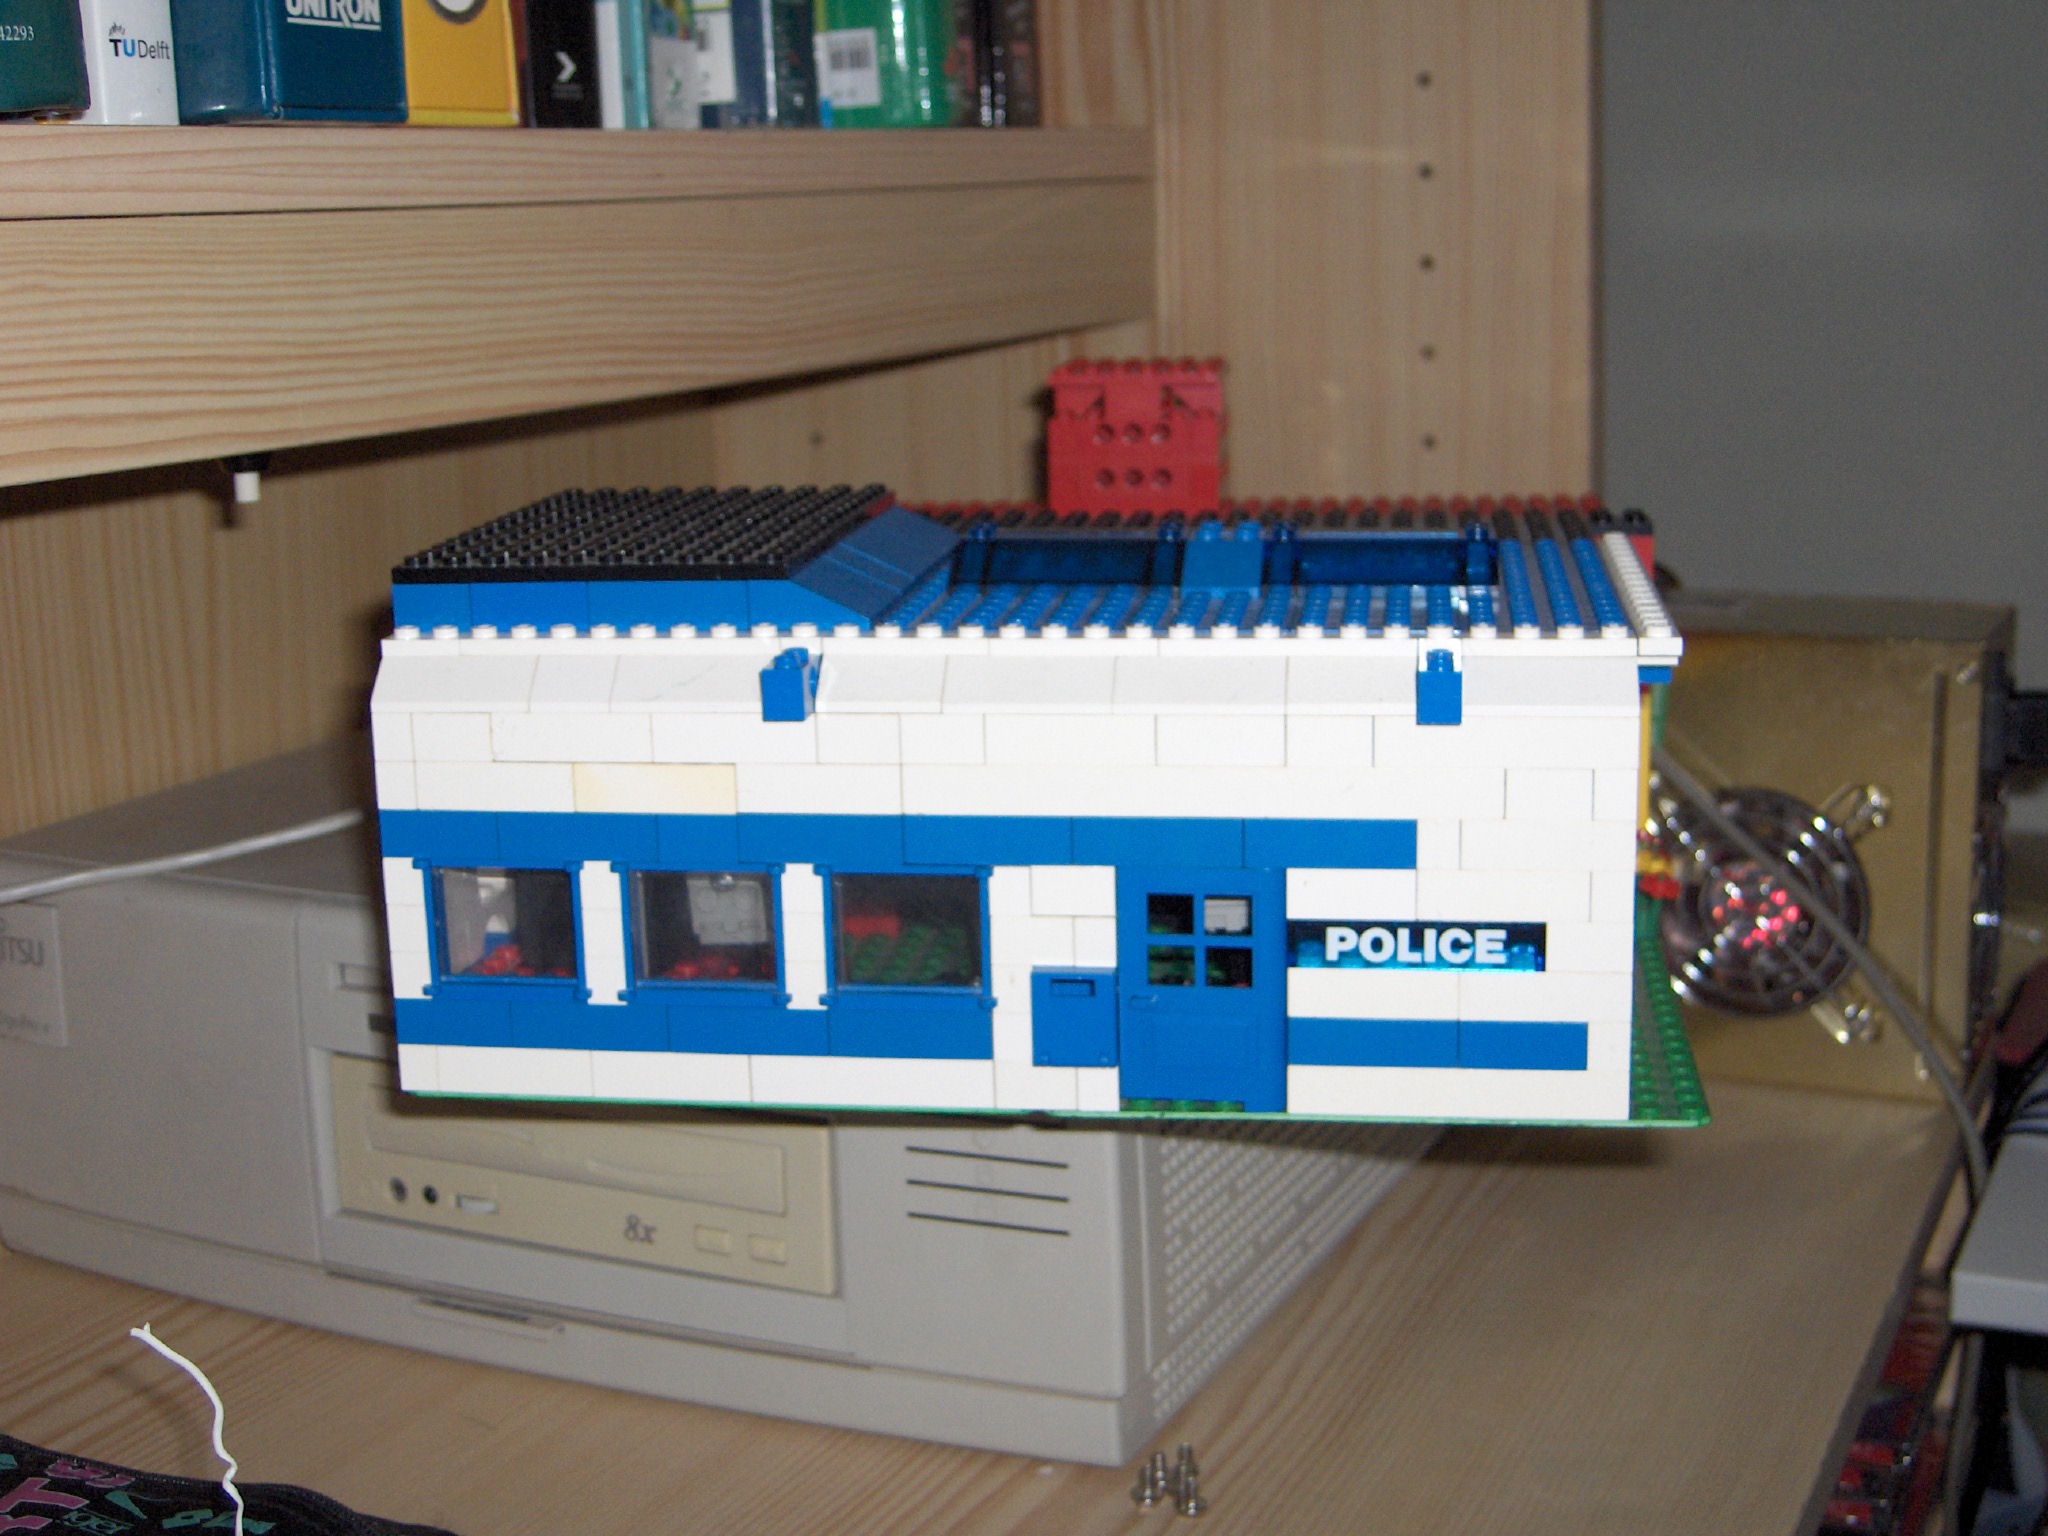
A photo of only the police station, windows can open for extra ventilation (photo skipped).
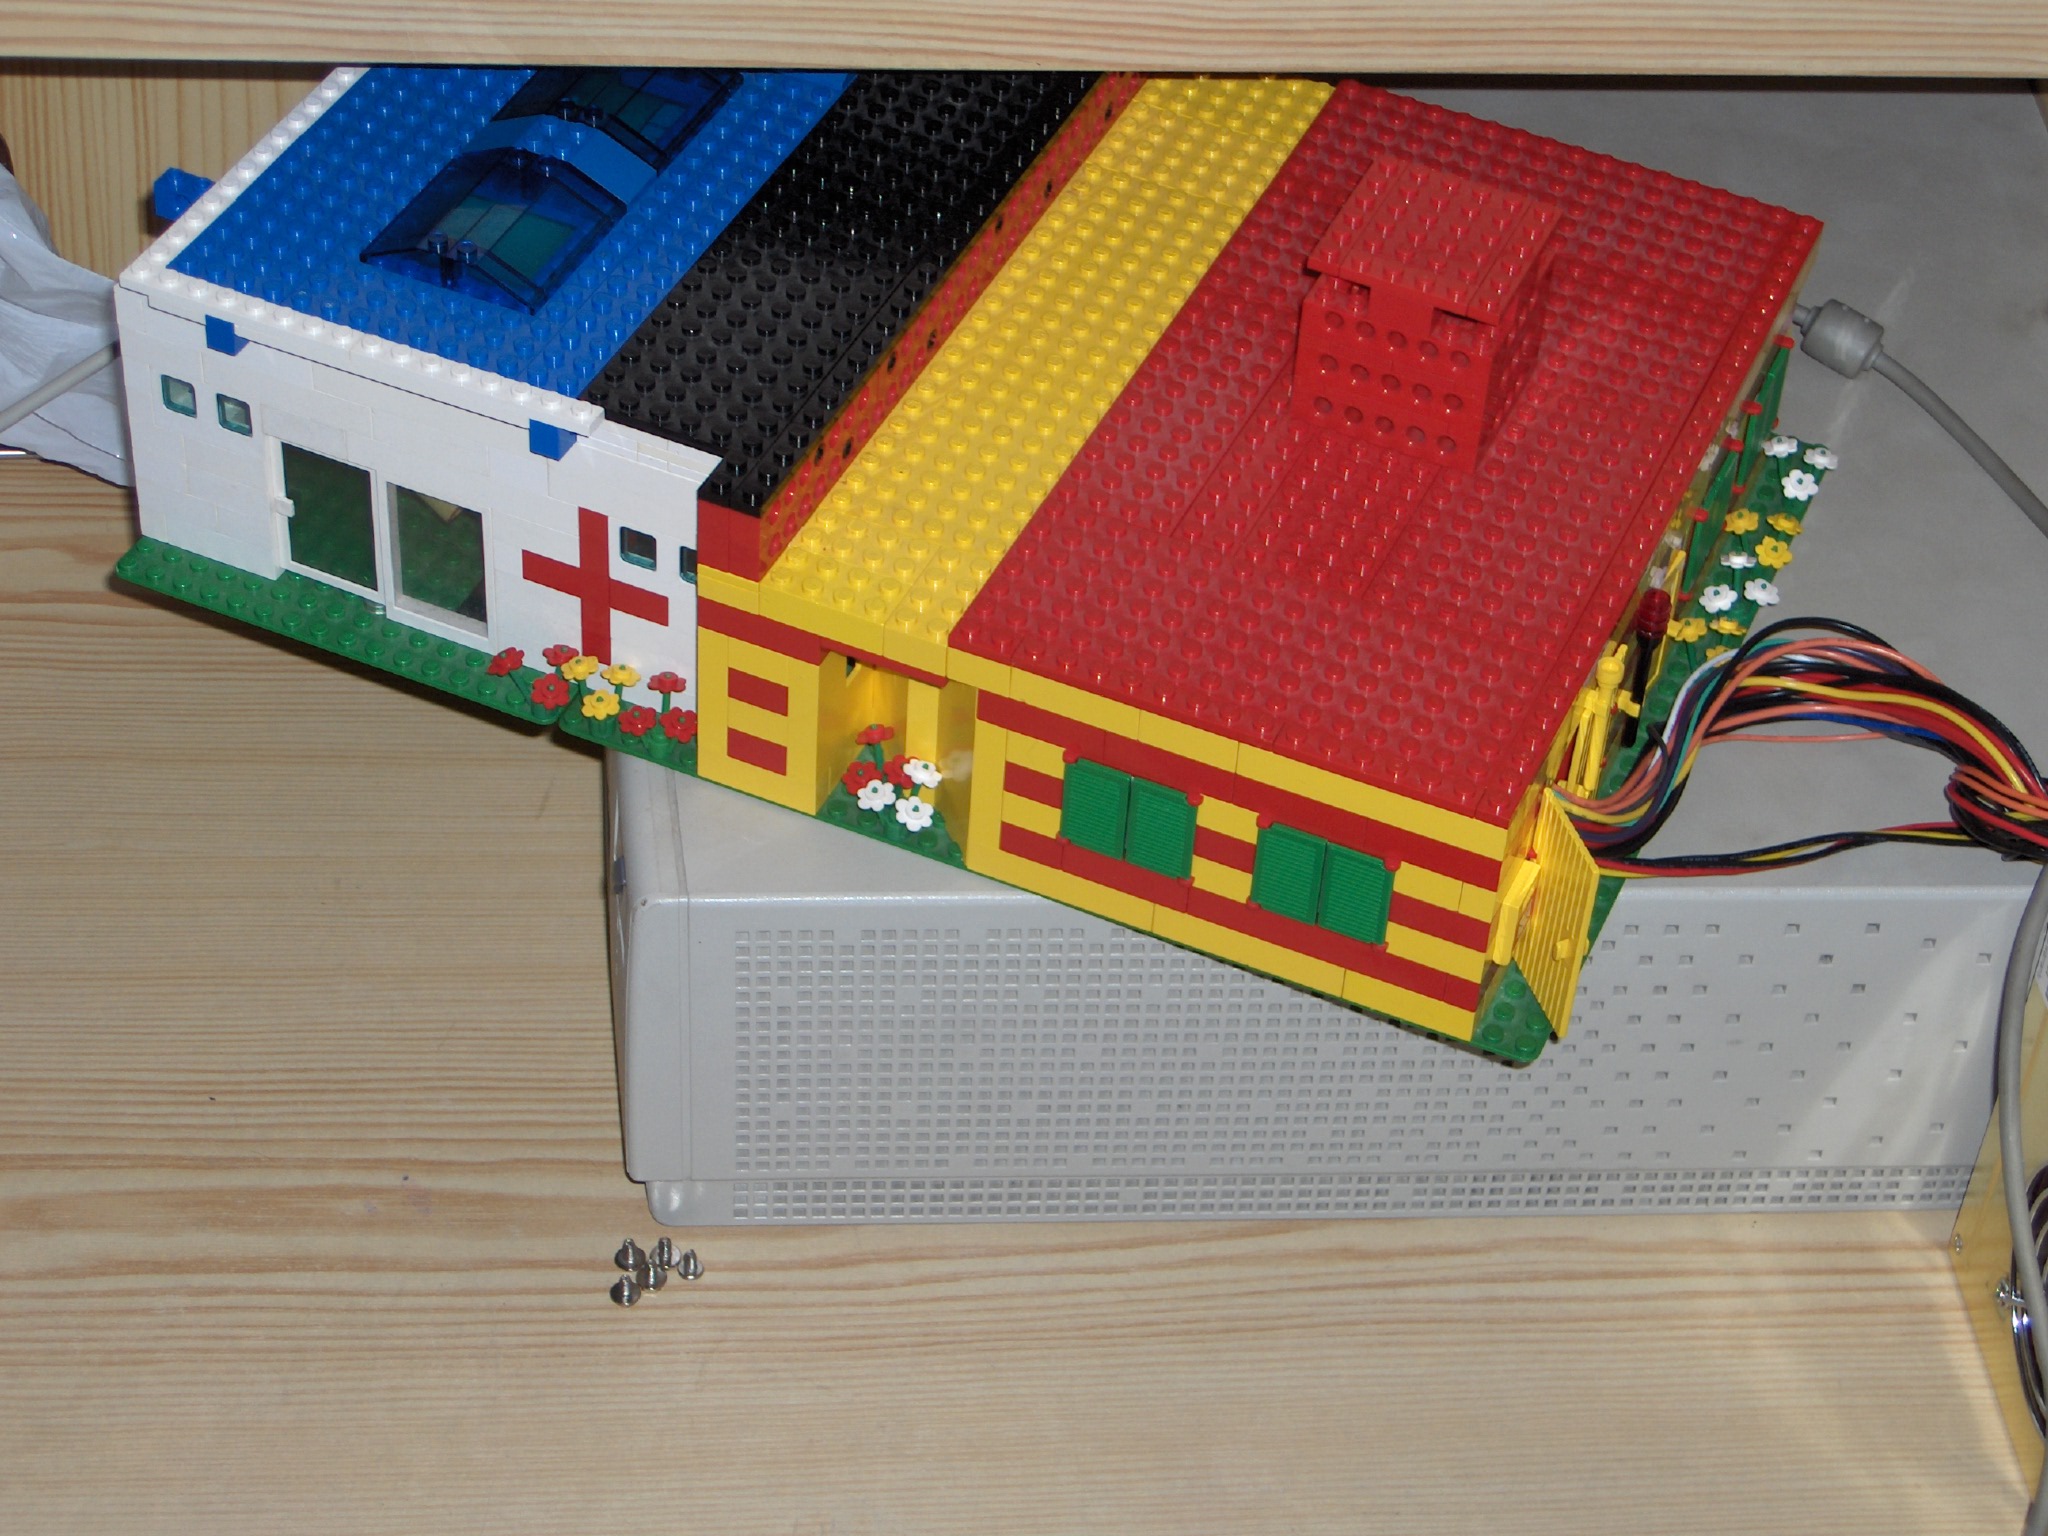
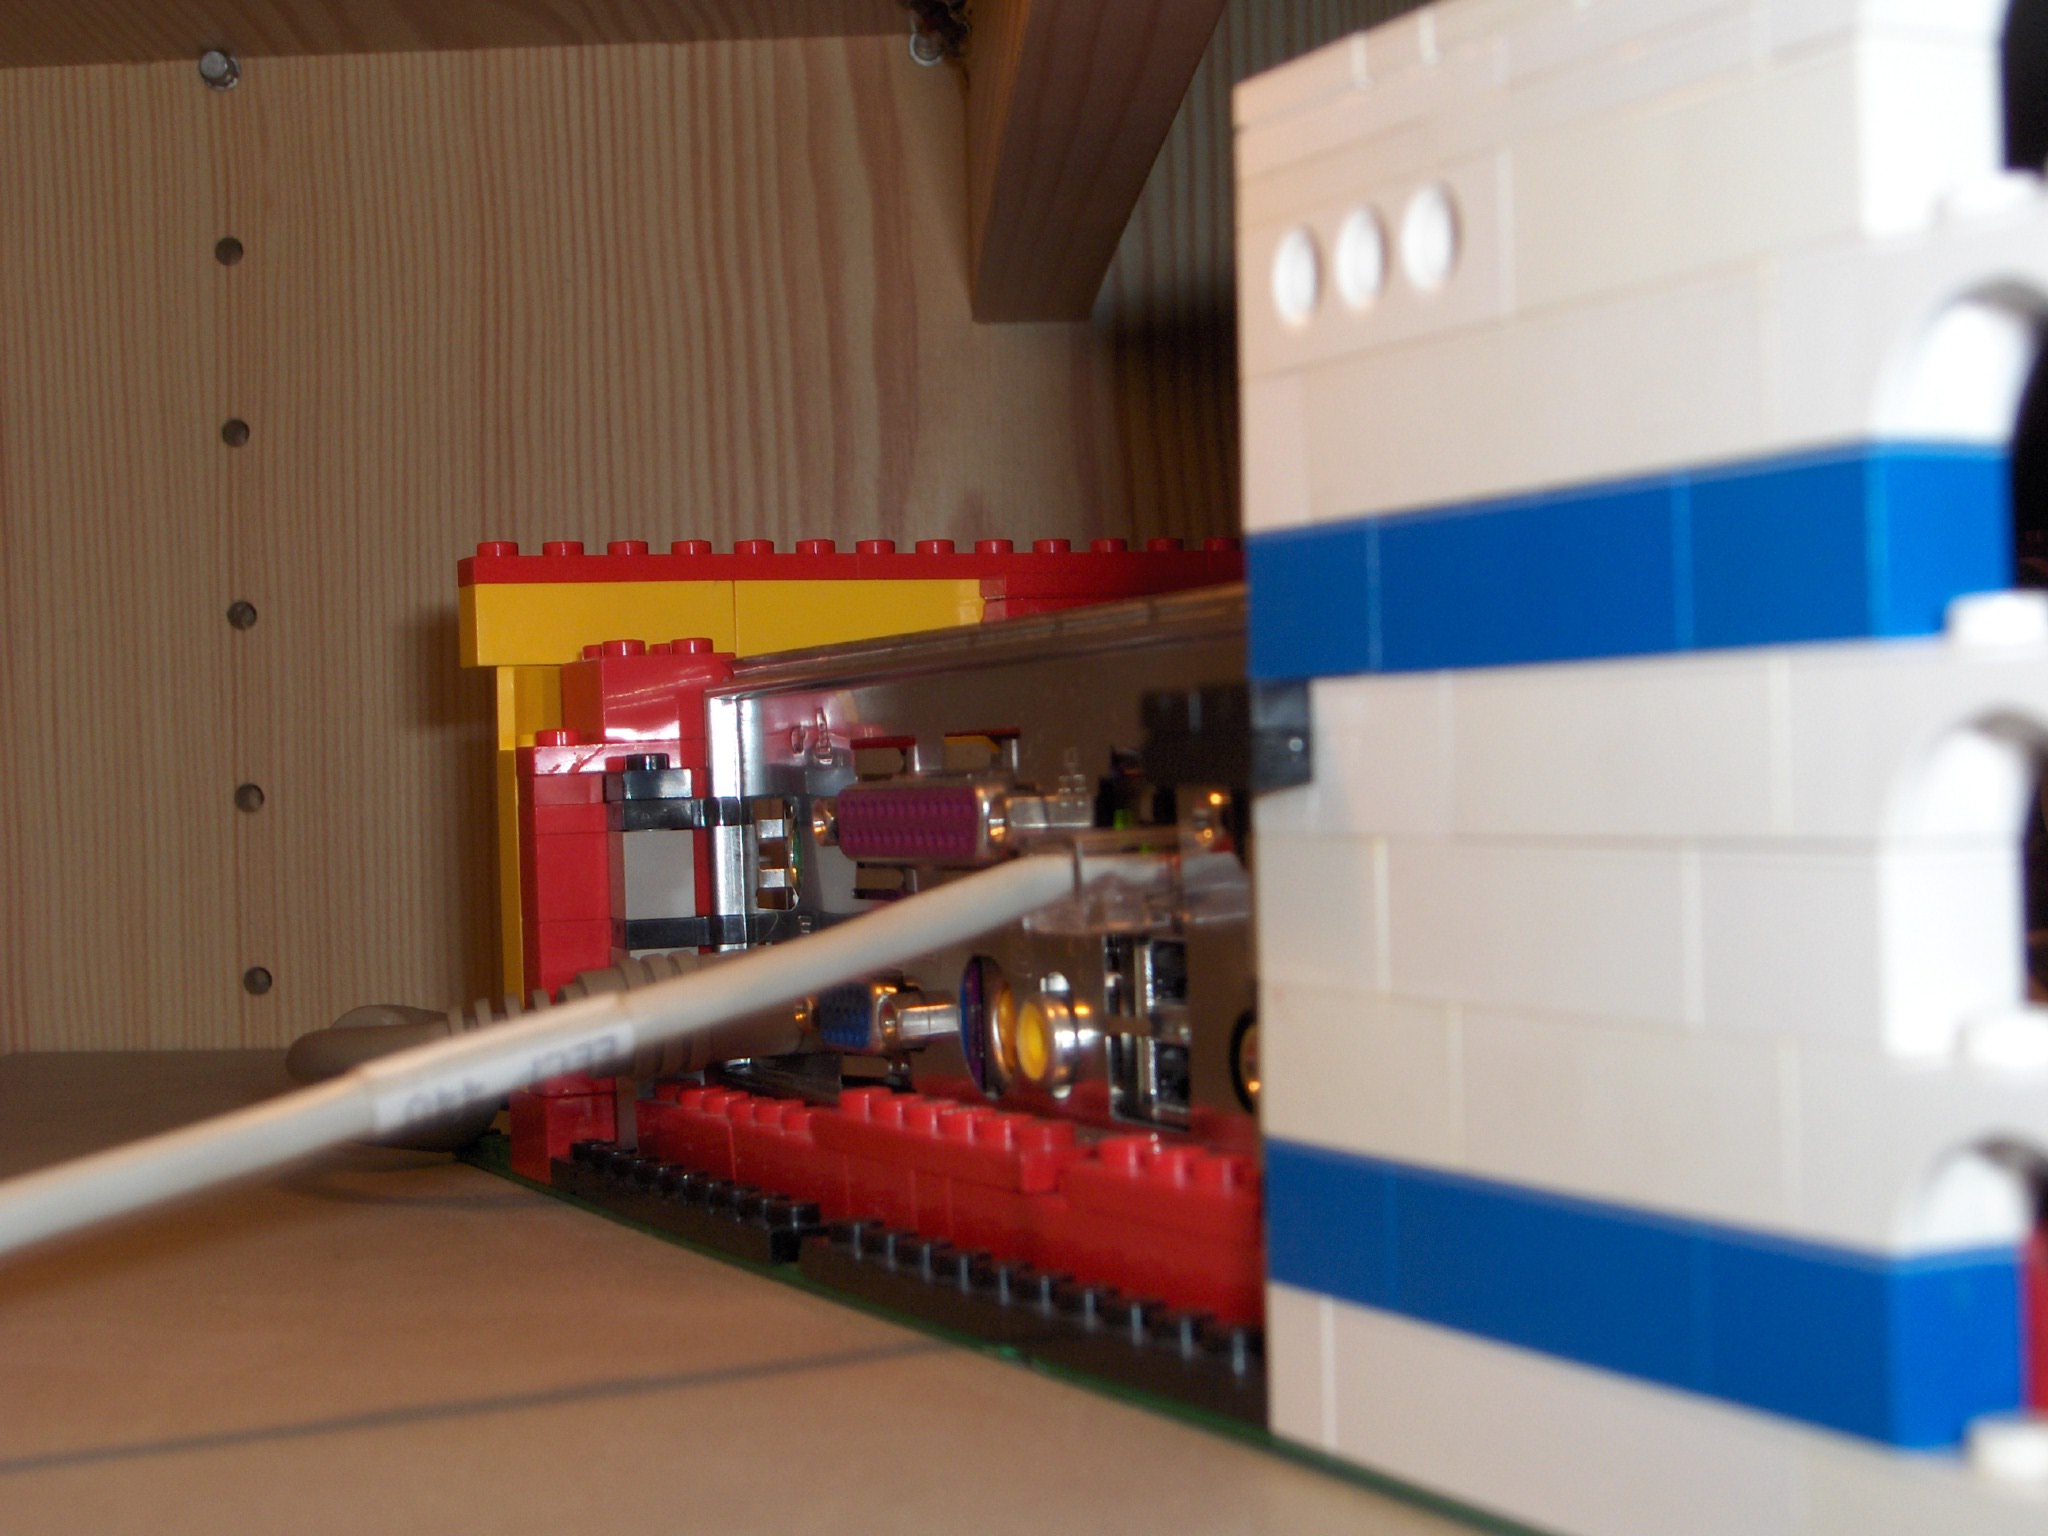
The side of the house, the air duct on top is for the hot air of the CPU...

The power cables go into the garage (the ATX plug was too big to fit through the front door, lol).
Normaly these doors are as closed as possible, this is a exception to get a idea how big/small the door actually is.
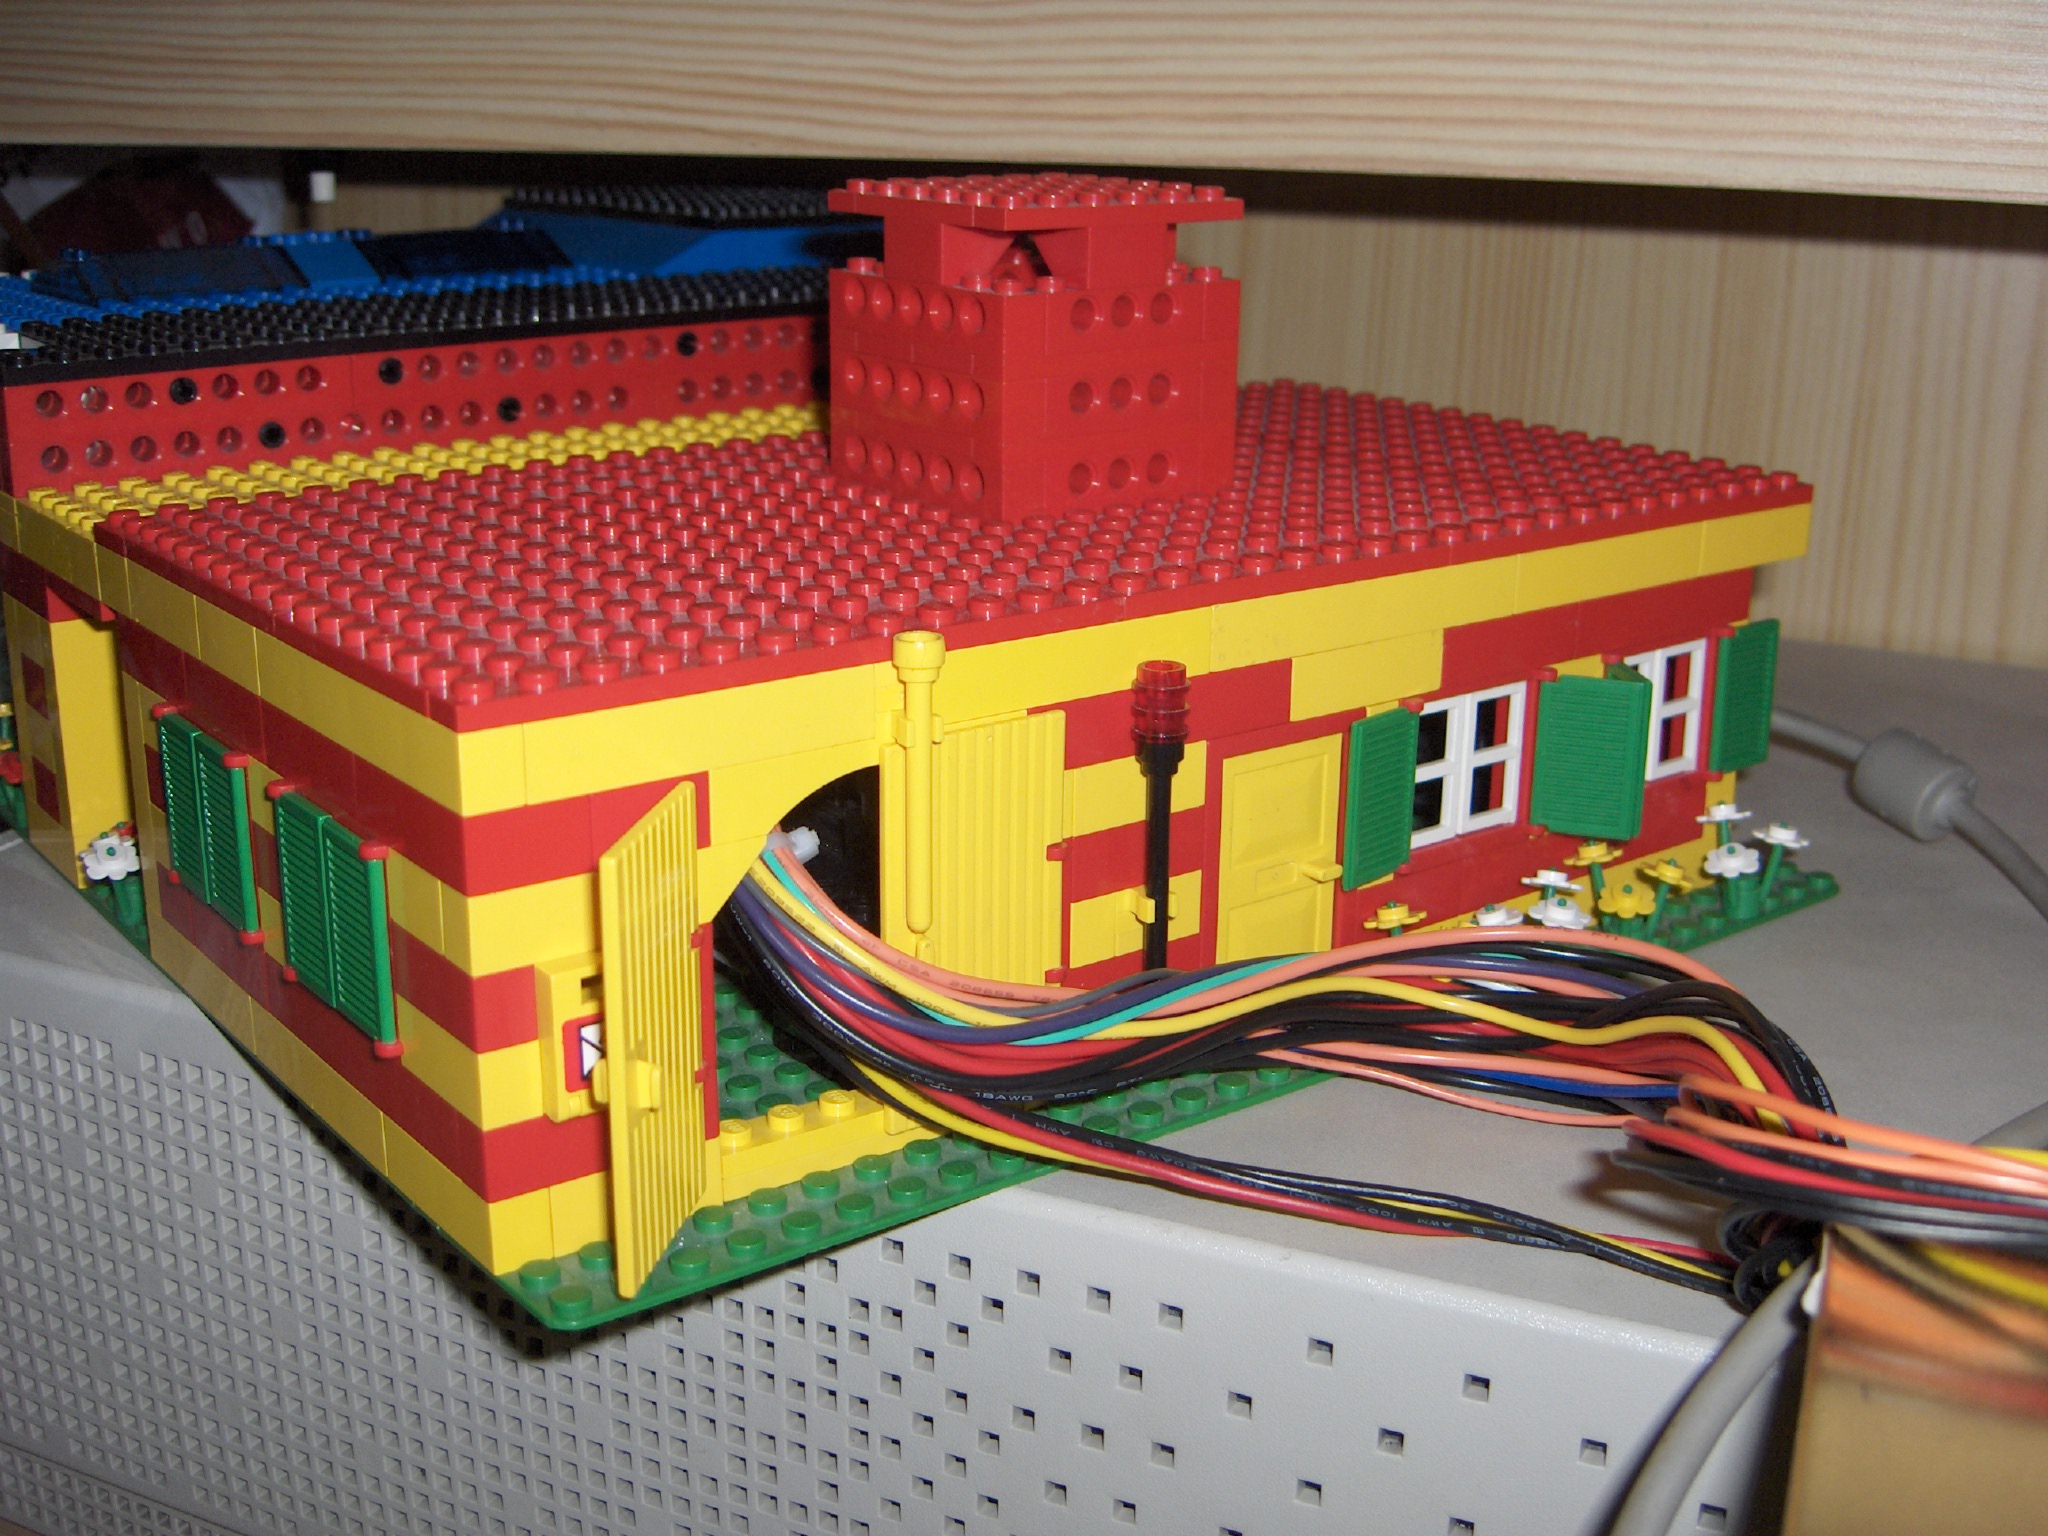
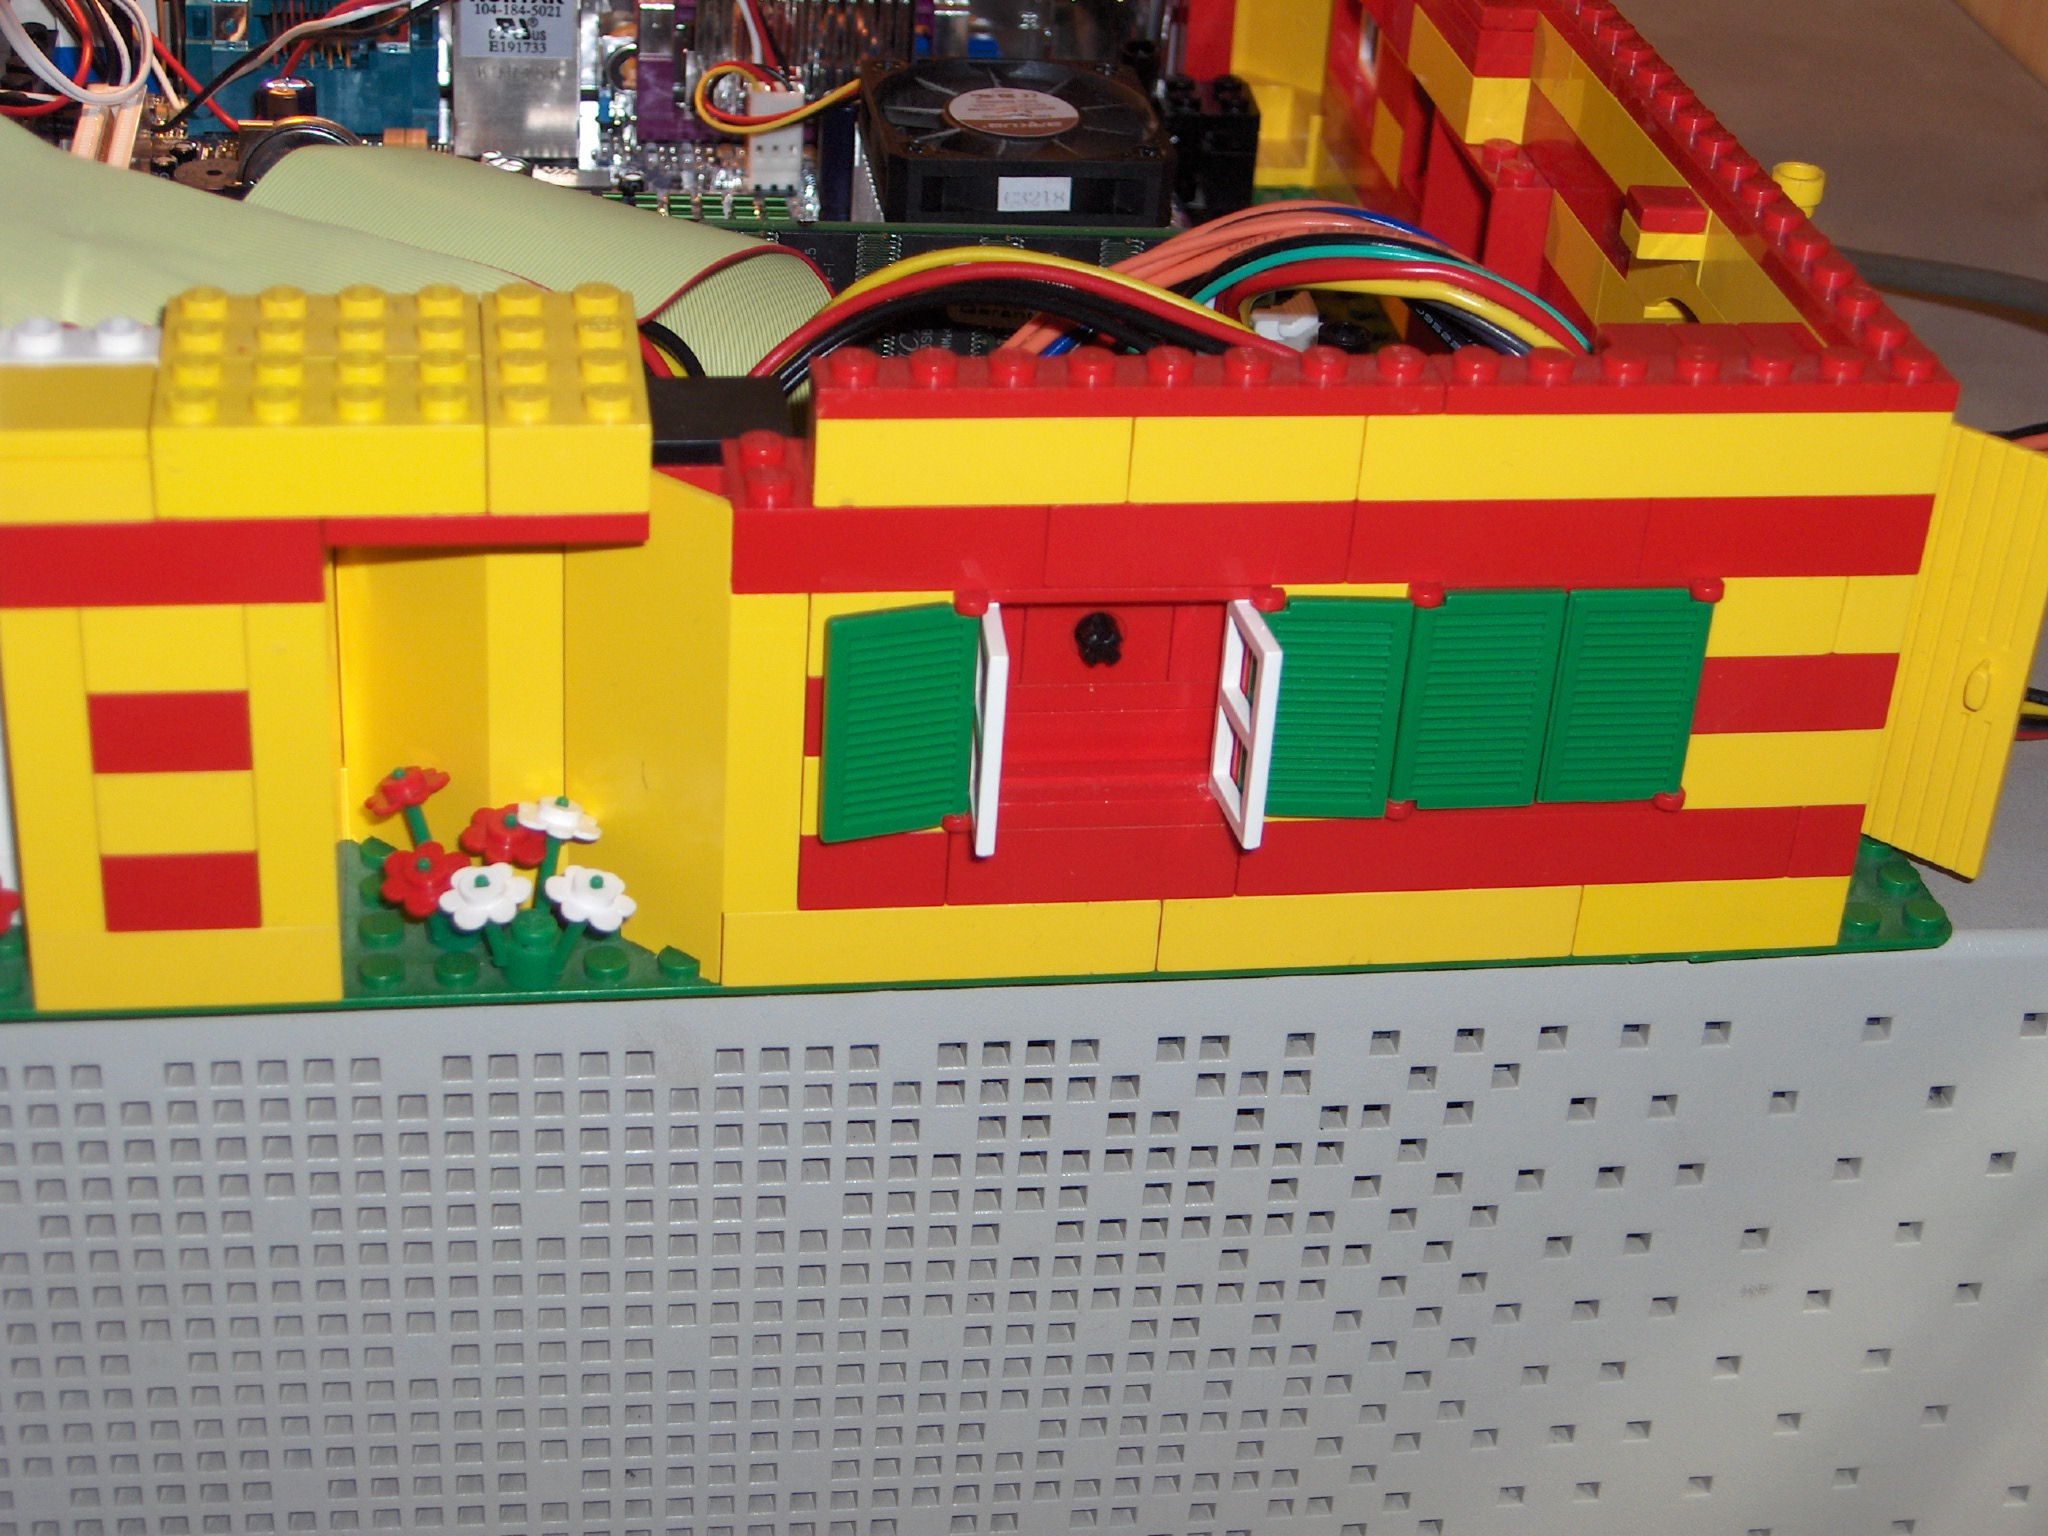
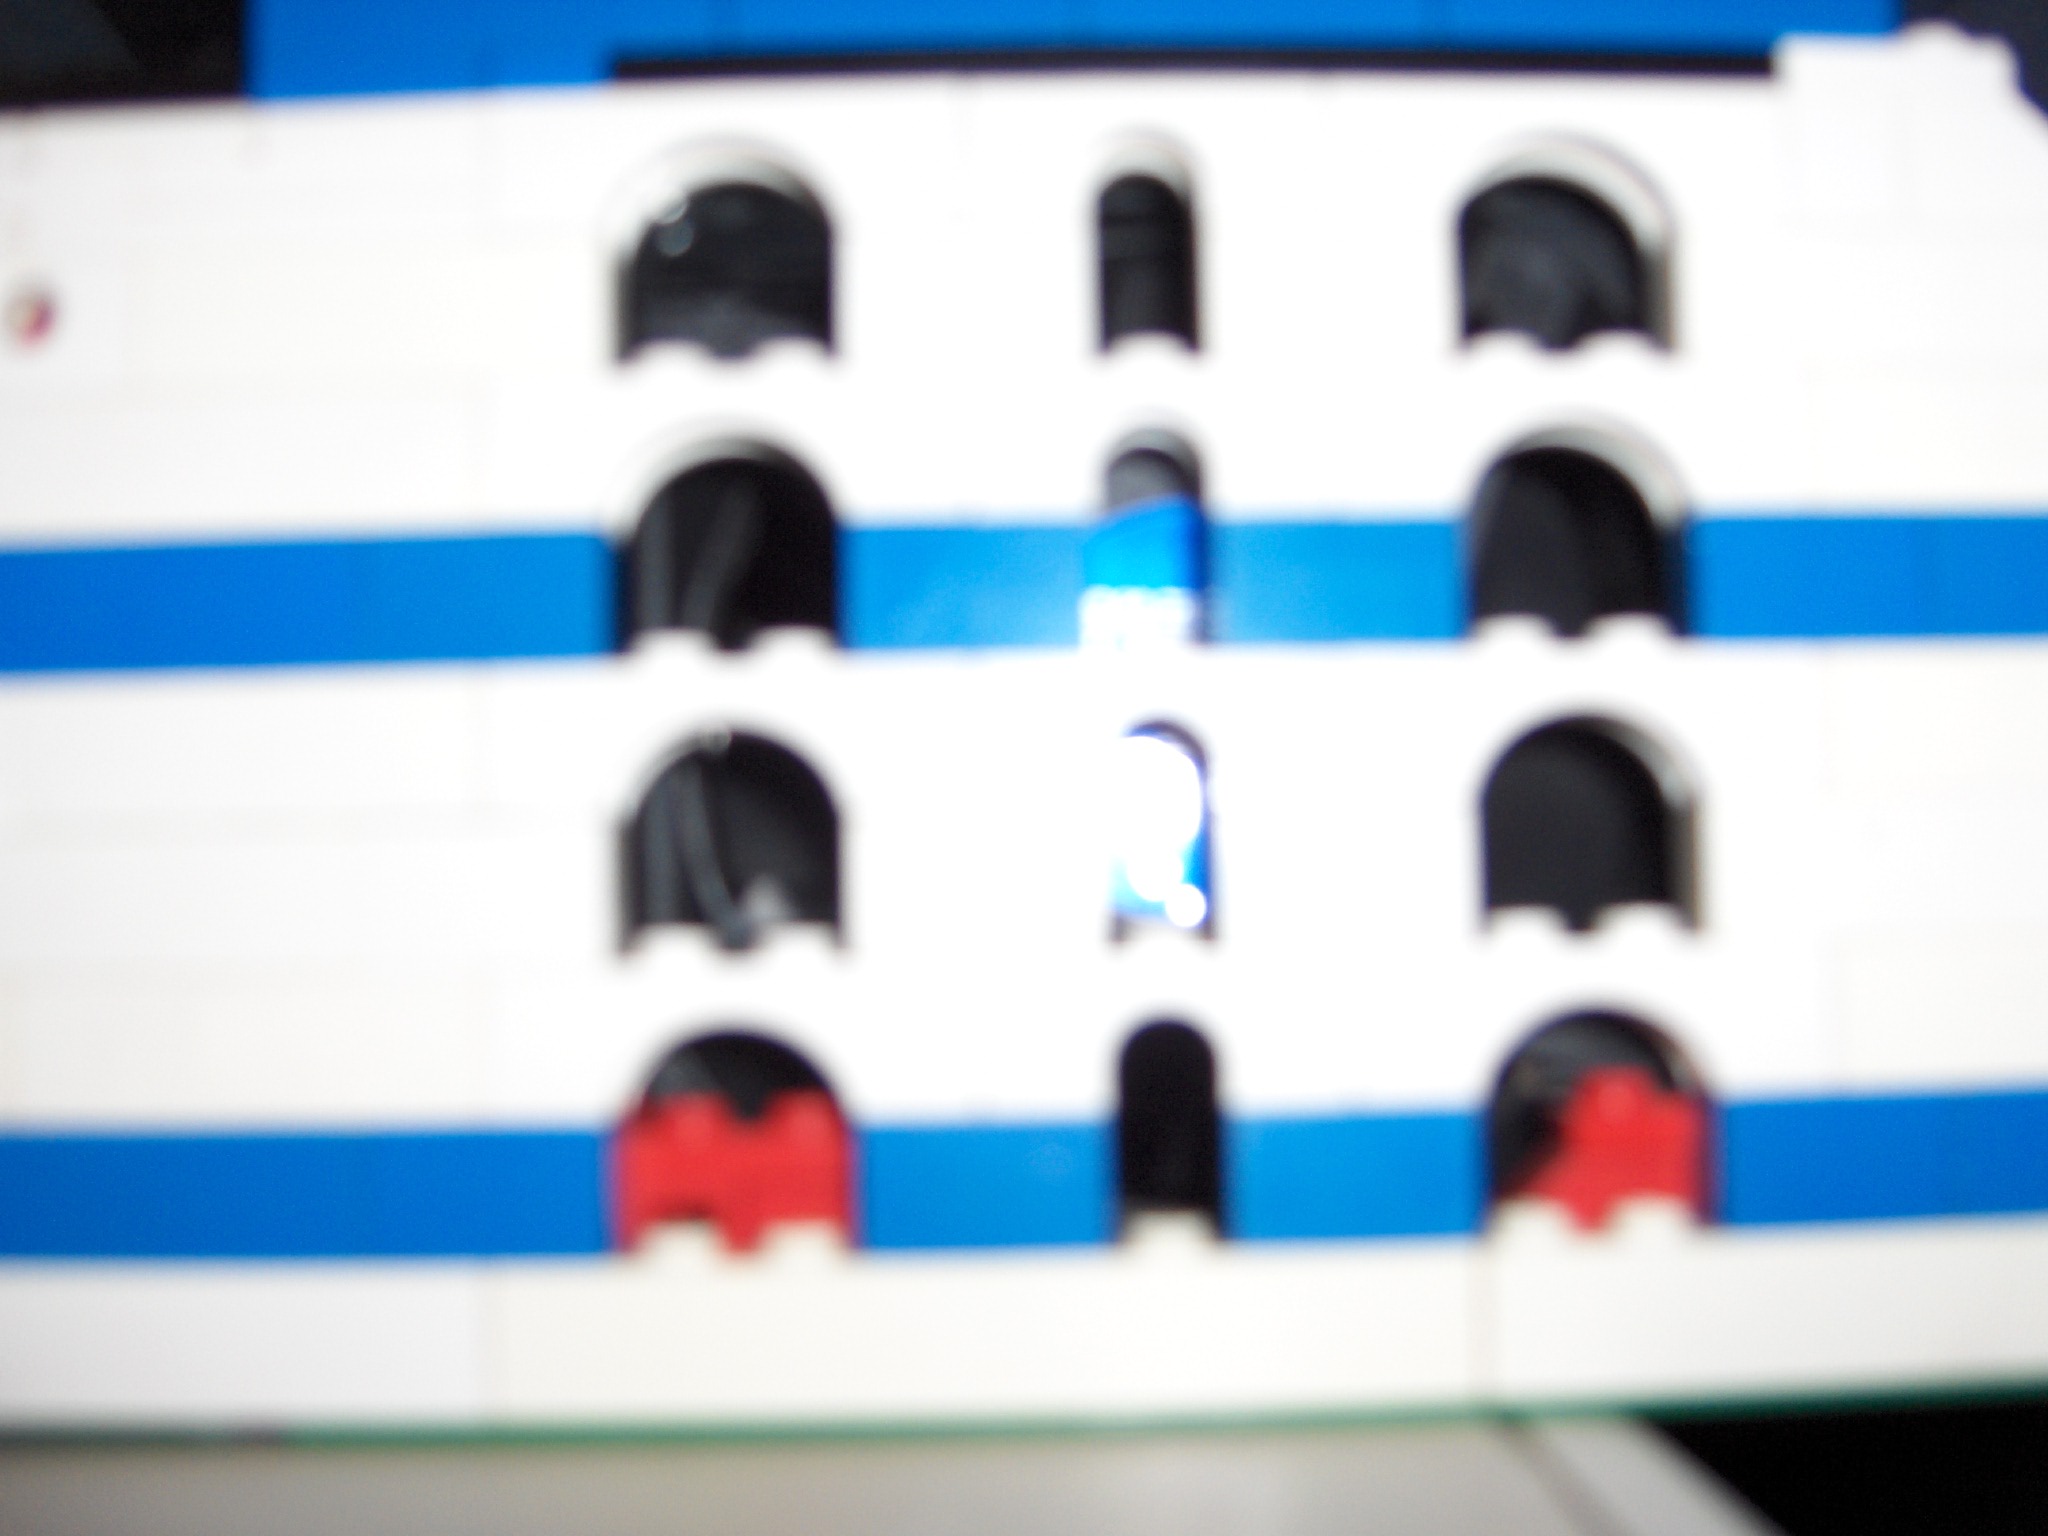
A better photo of the right side, a nice corner house, with windows blinds that can open and close (normally closed).
This photo clearly shows the airholes of the middle support beam, they are there for strength and harddisk heat dispention.
And, have you found the power switch yet ?
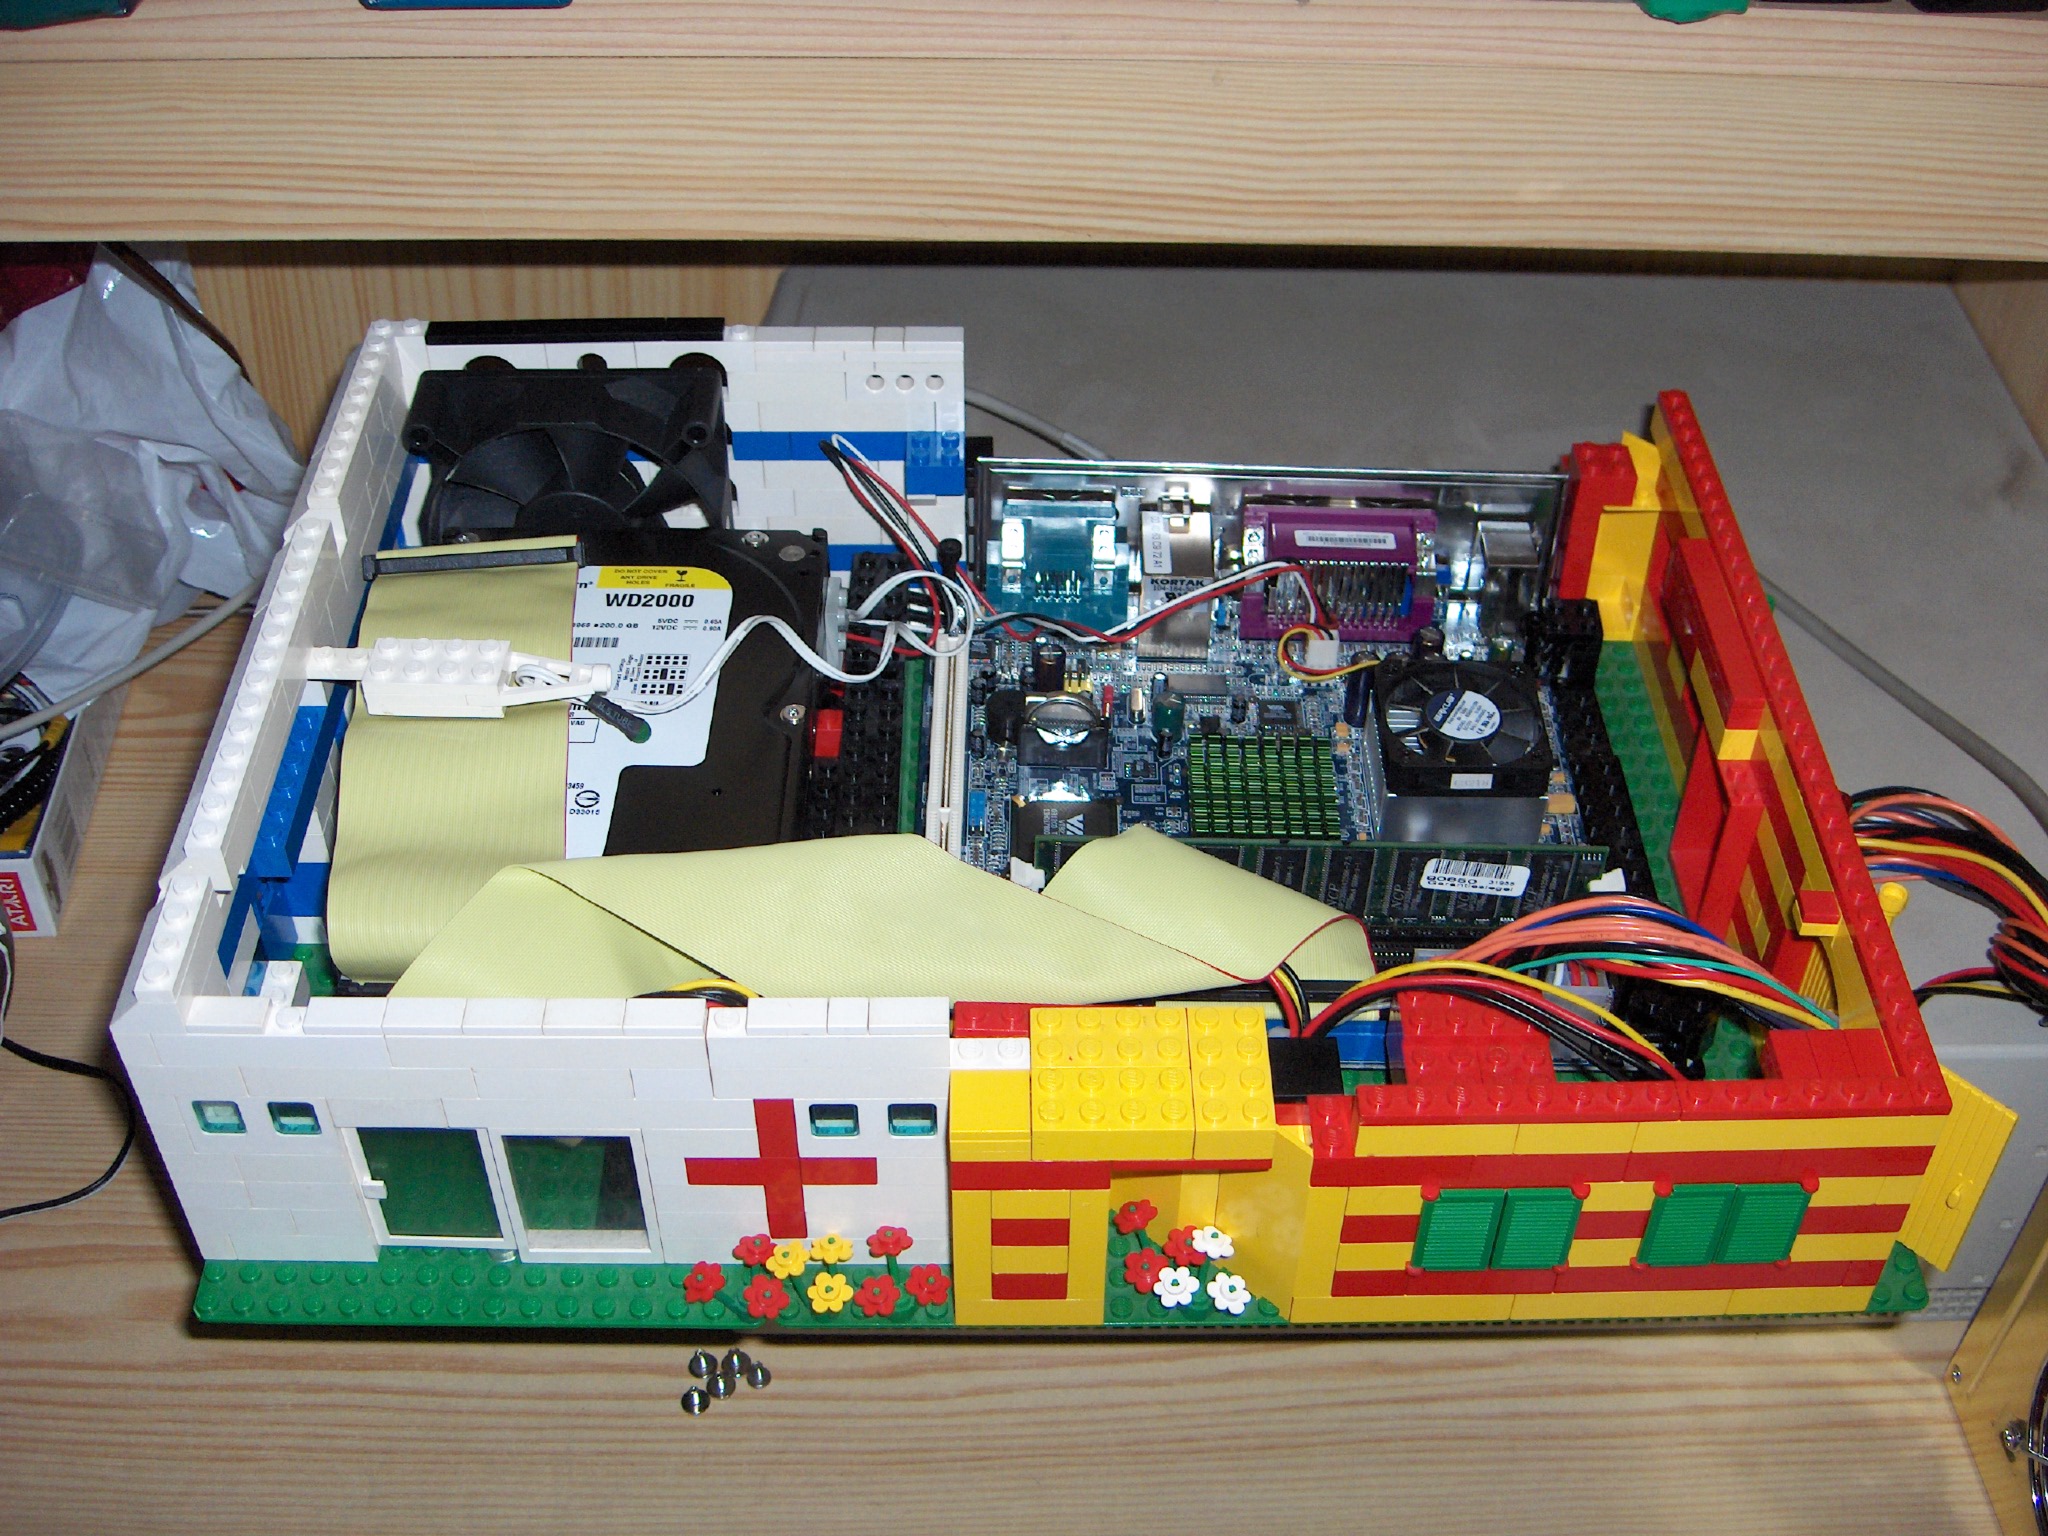
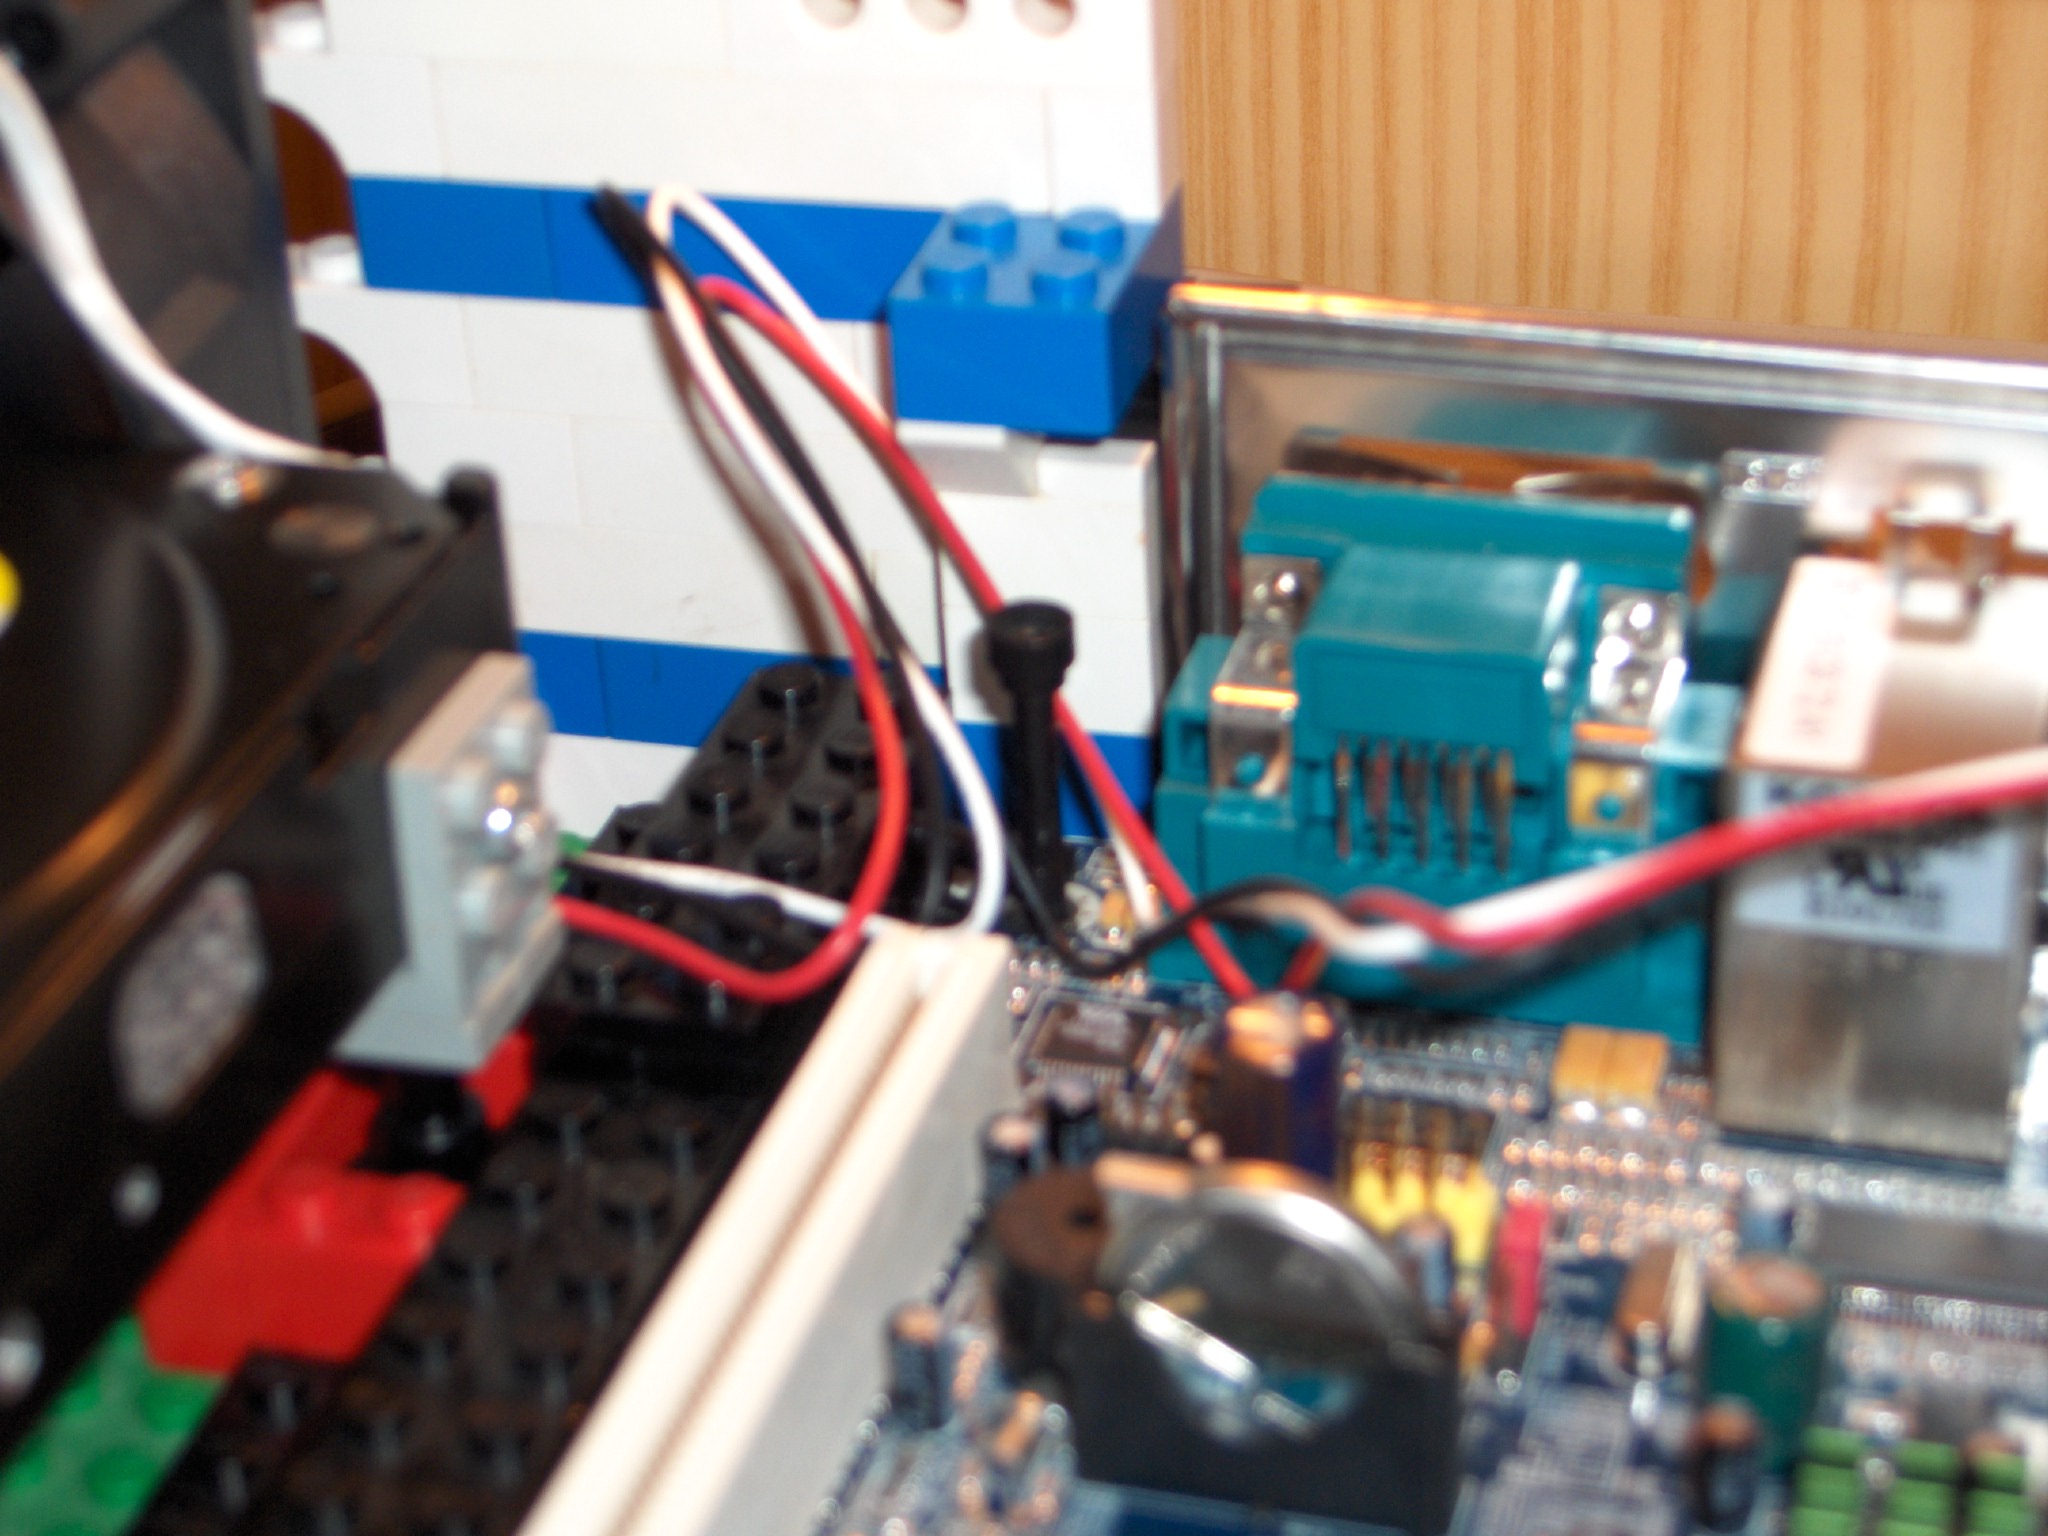
The inside of the PC: nice, clean, and cramped.
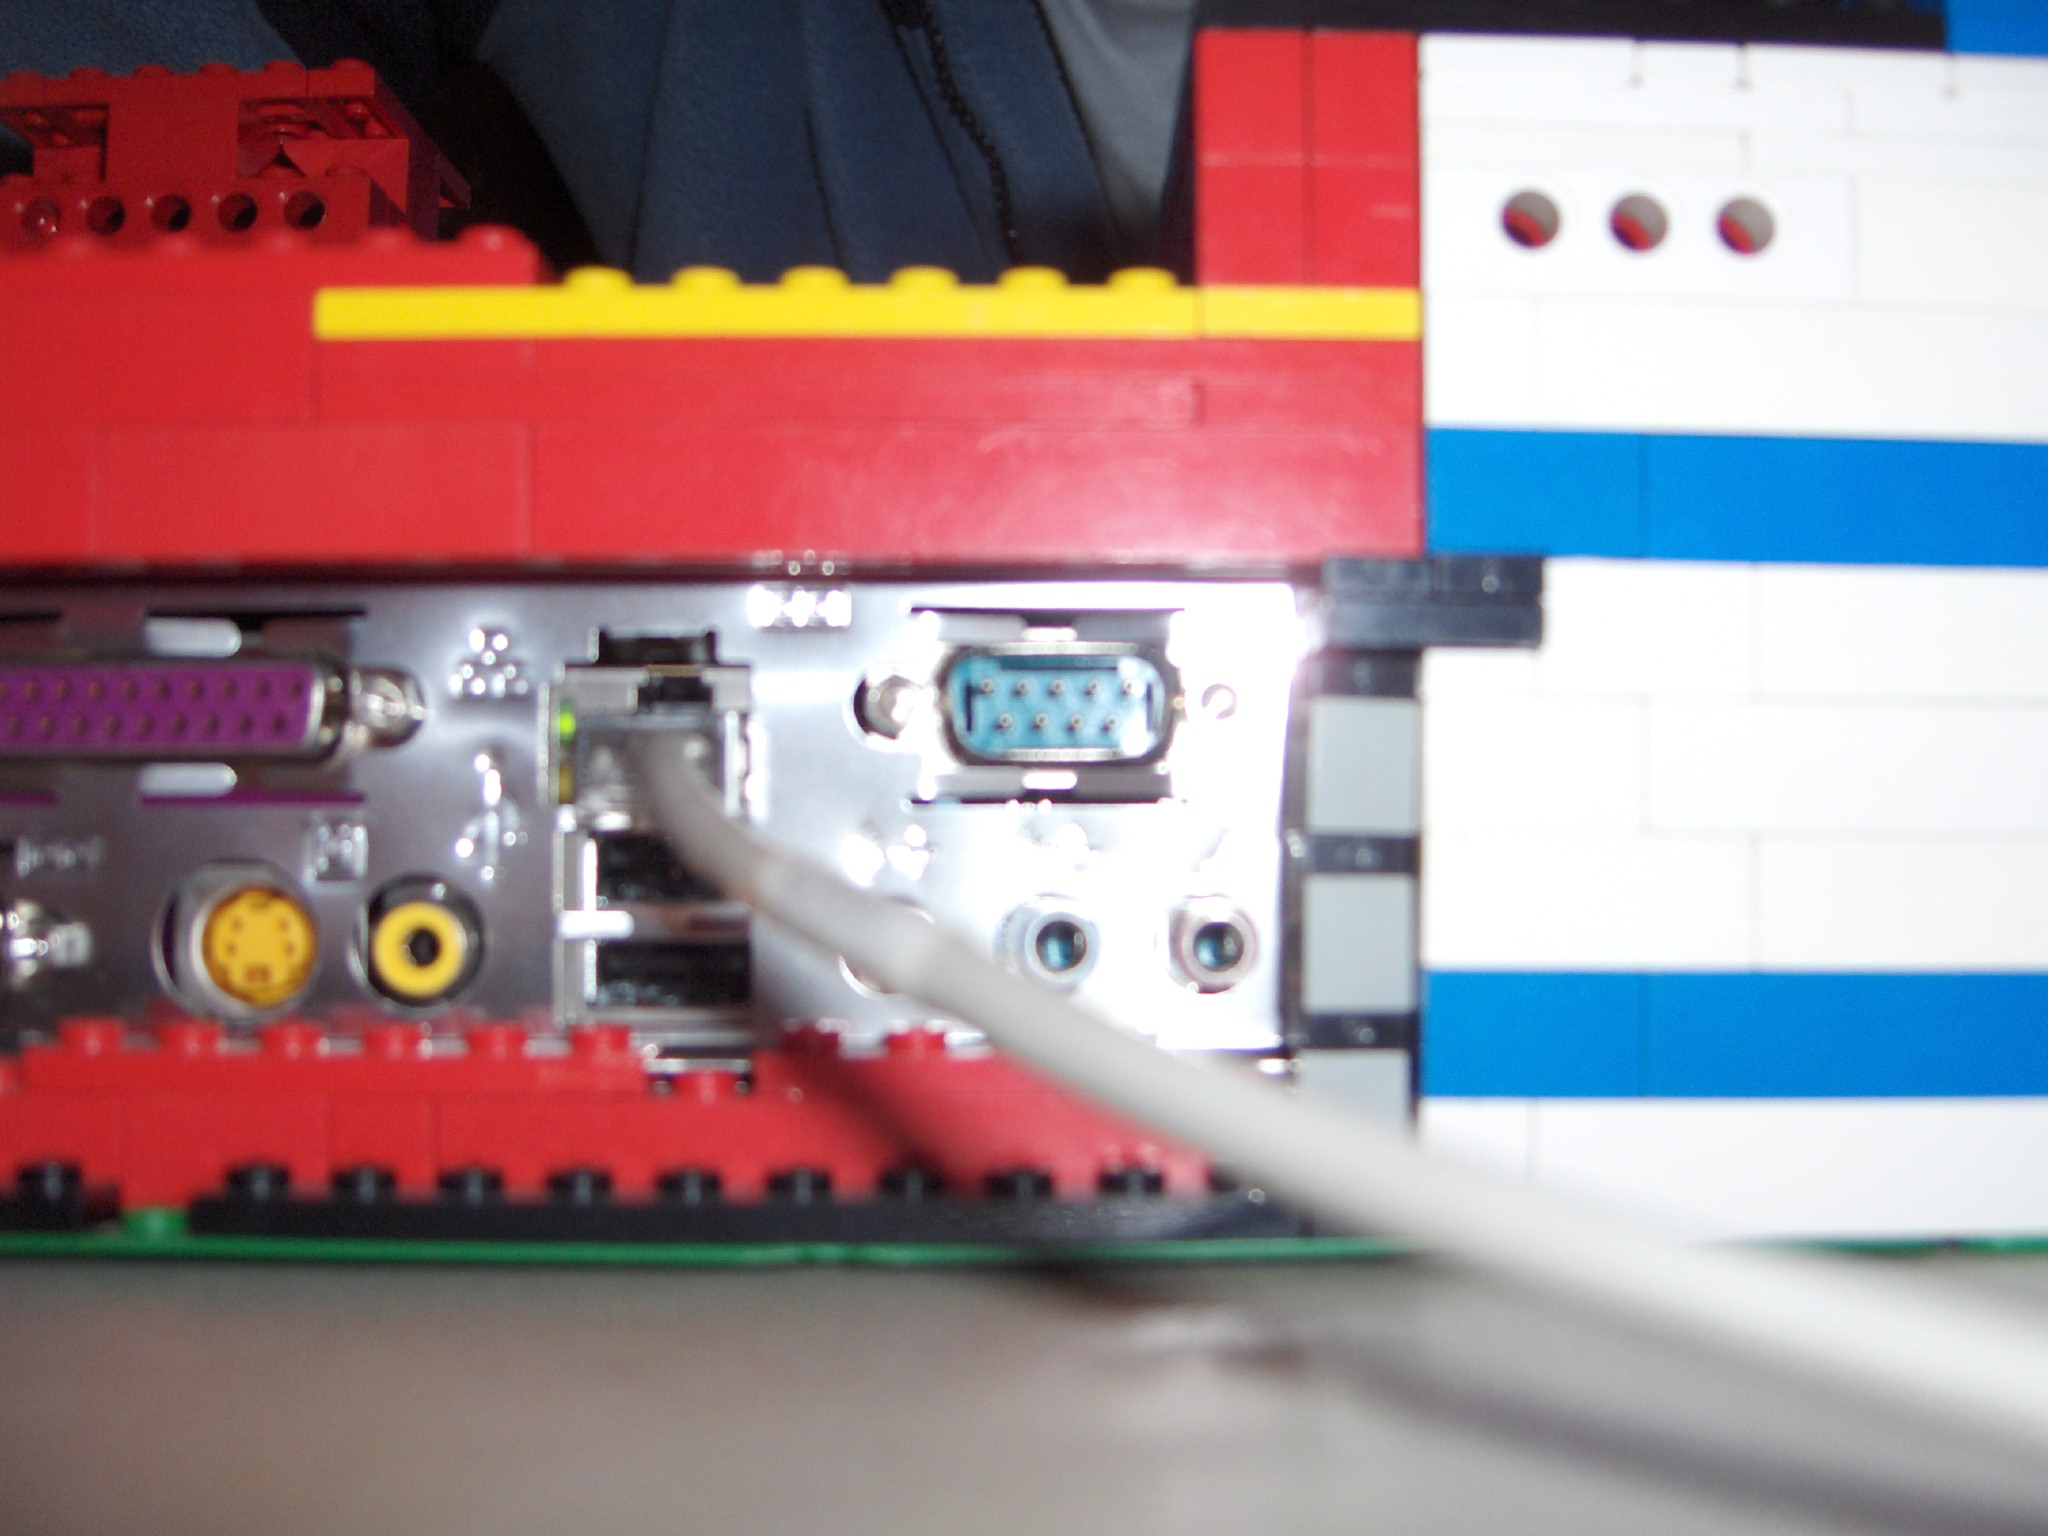
Tight fit on the right (sorry for the blurry photo).
You might also be able to distinct the claw holding the mainboard, a better photo of this comes later.
The power switch in a clean Lego implementation, Mom has yet to discover it.
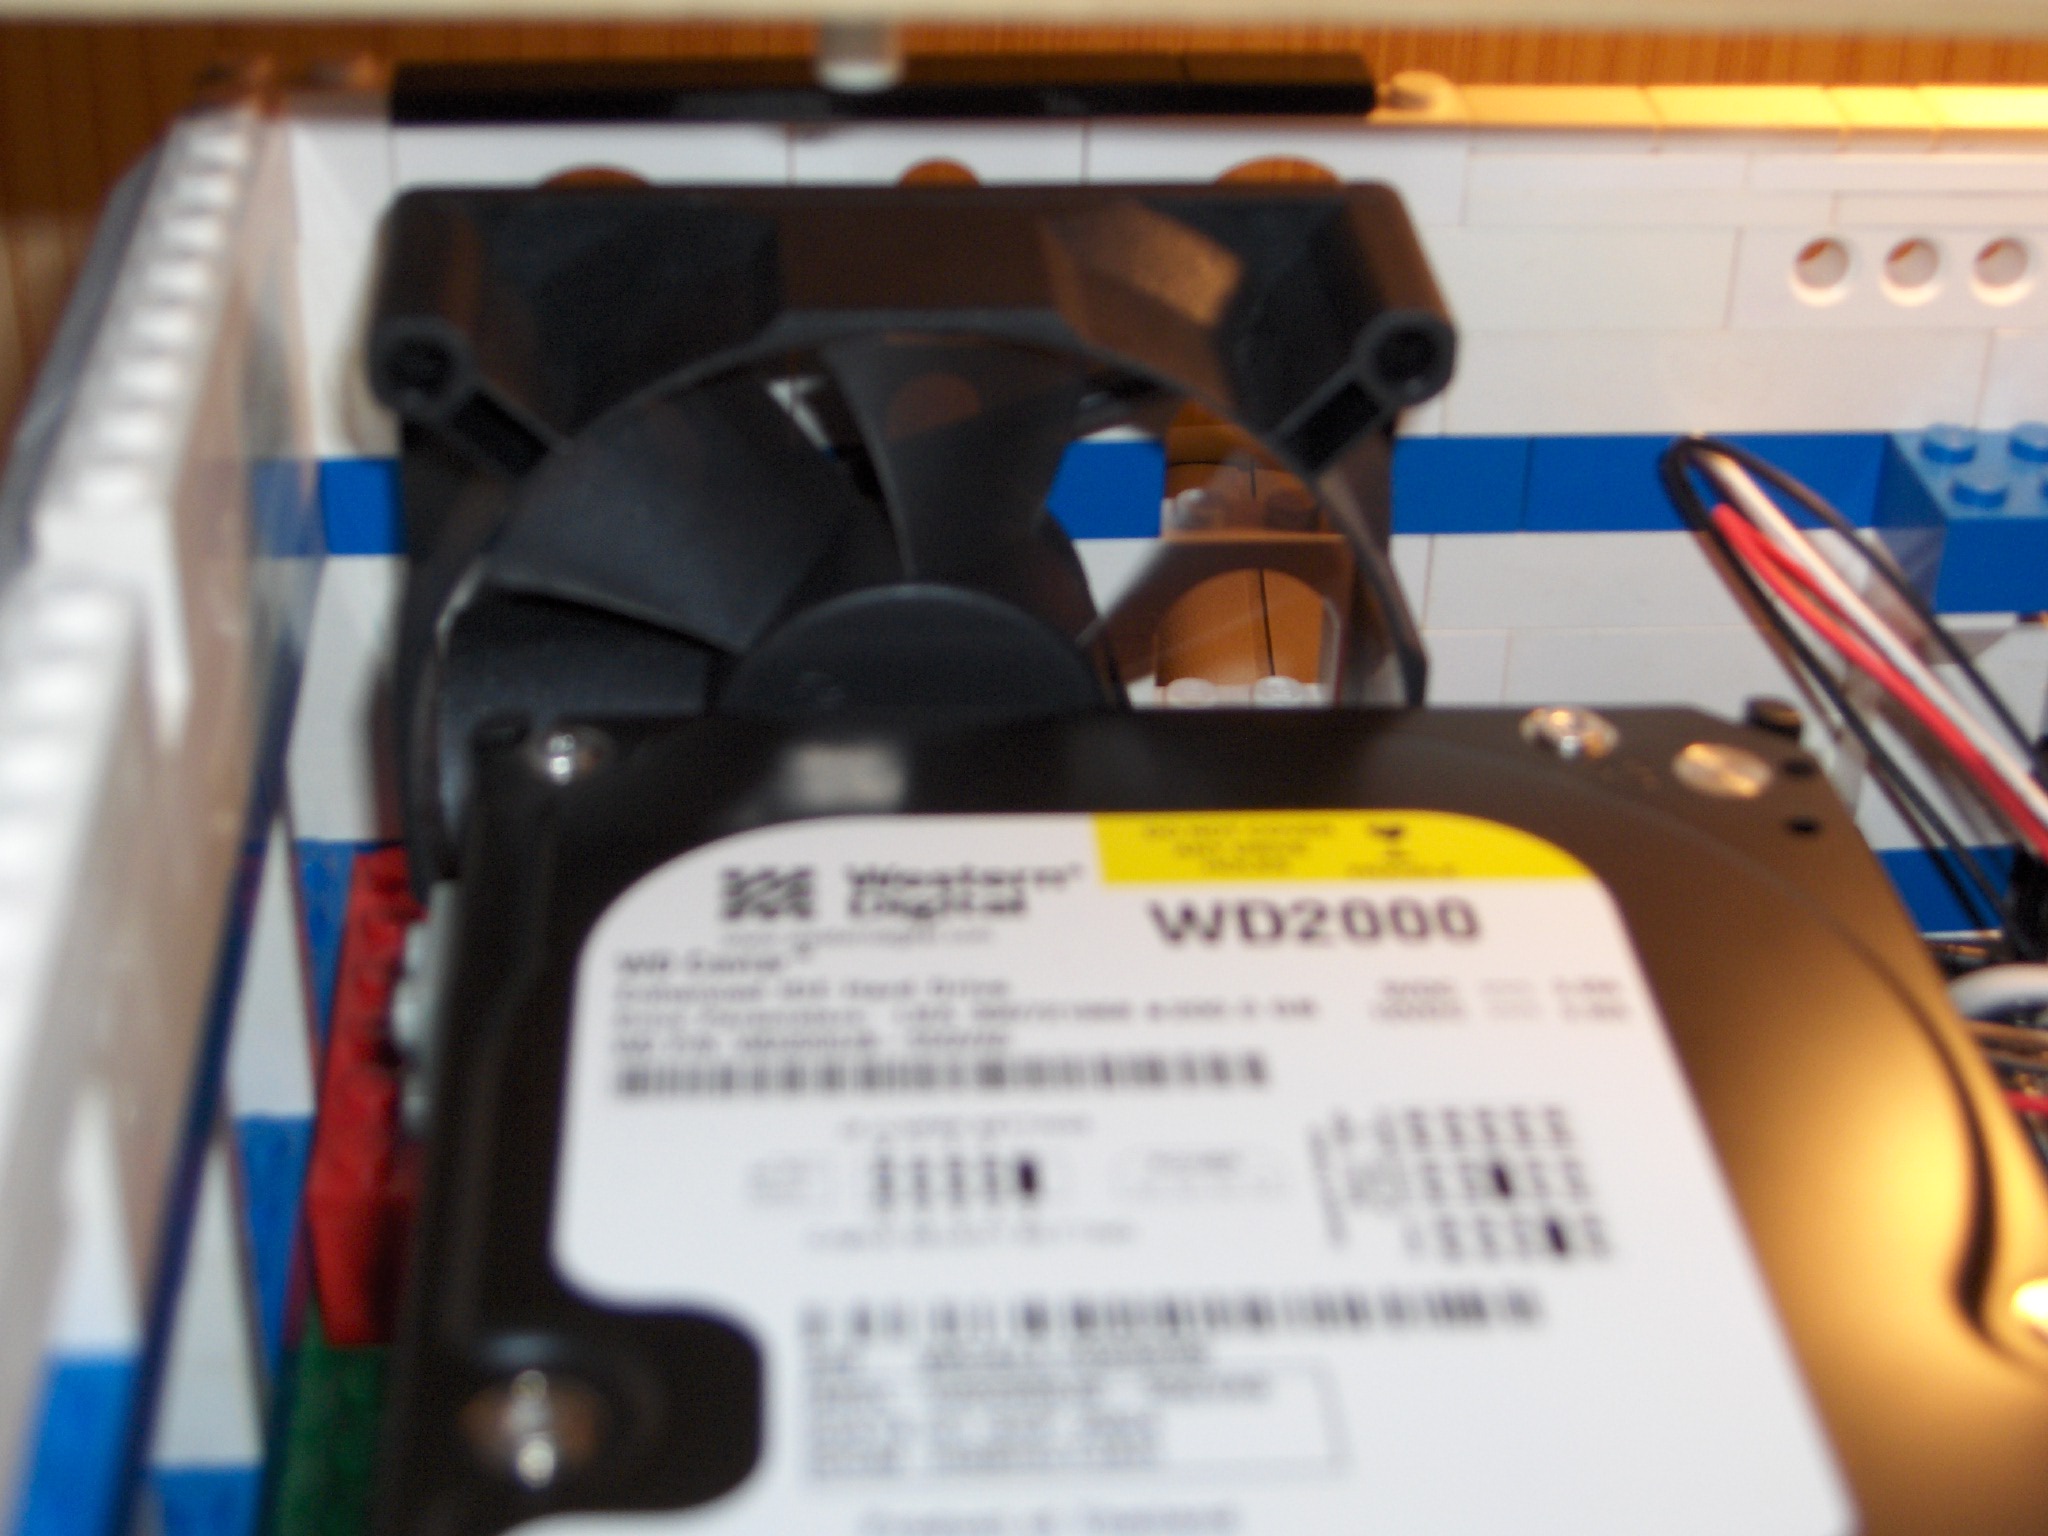
Case fan keeping the hard disk cool, is easely changable (mounted entirely with Lego).
The only screws (4) used are for harddisk in place...
The mainboard itself is holded in place by that turned over "antenna" (one in each corner ofcourse).

On this picture you can better see how the mainboard is held in place,
2 small robot arms are holding the antenna. Its mounted on a rotation brick to exactly match the required position.
Special care has been made that the roof is easely removable... IF you know how to do it.
The red edge is actually part of the roof, the "blank" reds hold the roof in place and and help with the weight distribution.
Here there are only "blanks" blocks (the black and white strips) are at the back and at front (not shown).
For the left side I used to long support beams that are sticking out which I can use to lift the cover w/o damaging the structure.
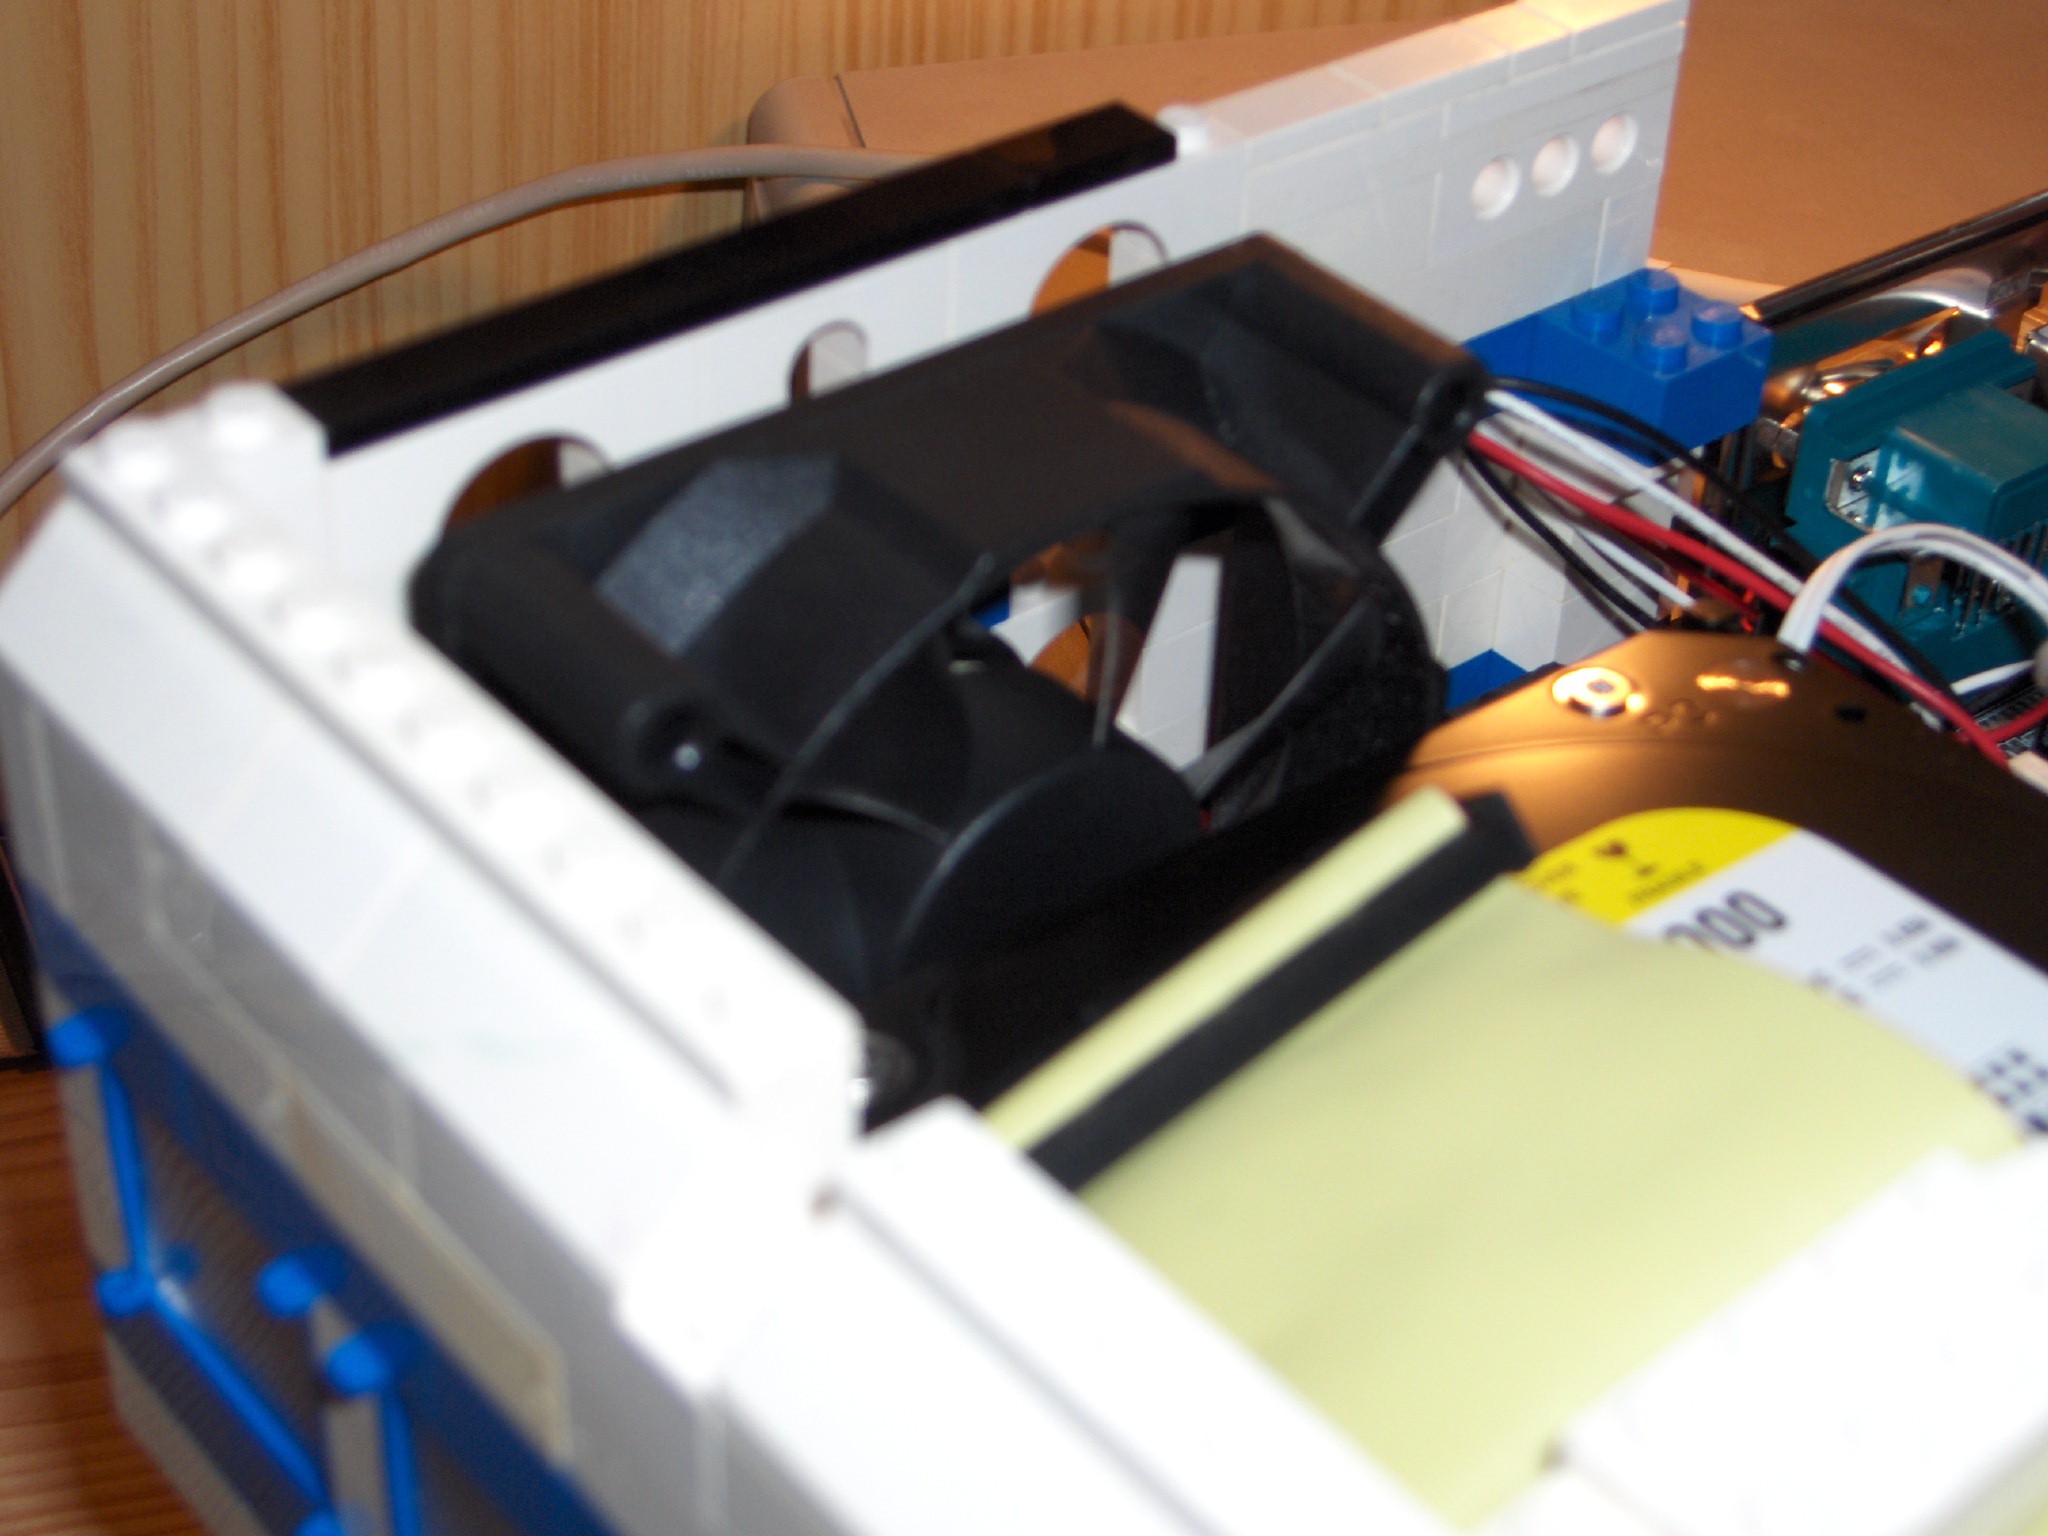
To stay in my police station theme I used a jail like structure in the back for hiding the 80mm case fan.
It also acts as finger guard, luckely I don't have children that might try it out...
The backplate is tidly held in place by Lego "claw" bricks (2 in the back)... That backplate isn't going anywhere !
To minimize air intake in the "dusty" side it is all tidly build, there is not a single
spot were you can squeze in a creditcard. (roof was removed, but also top is well covered).
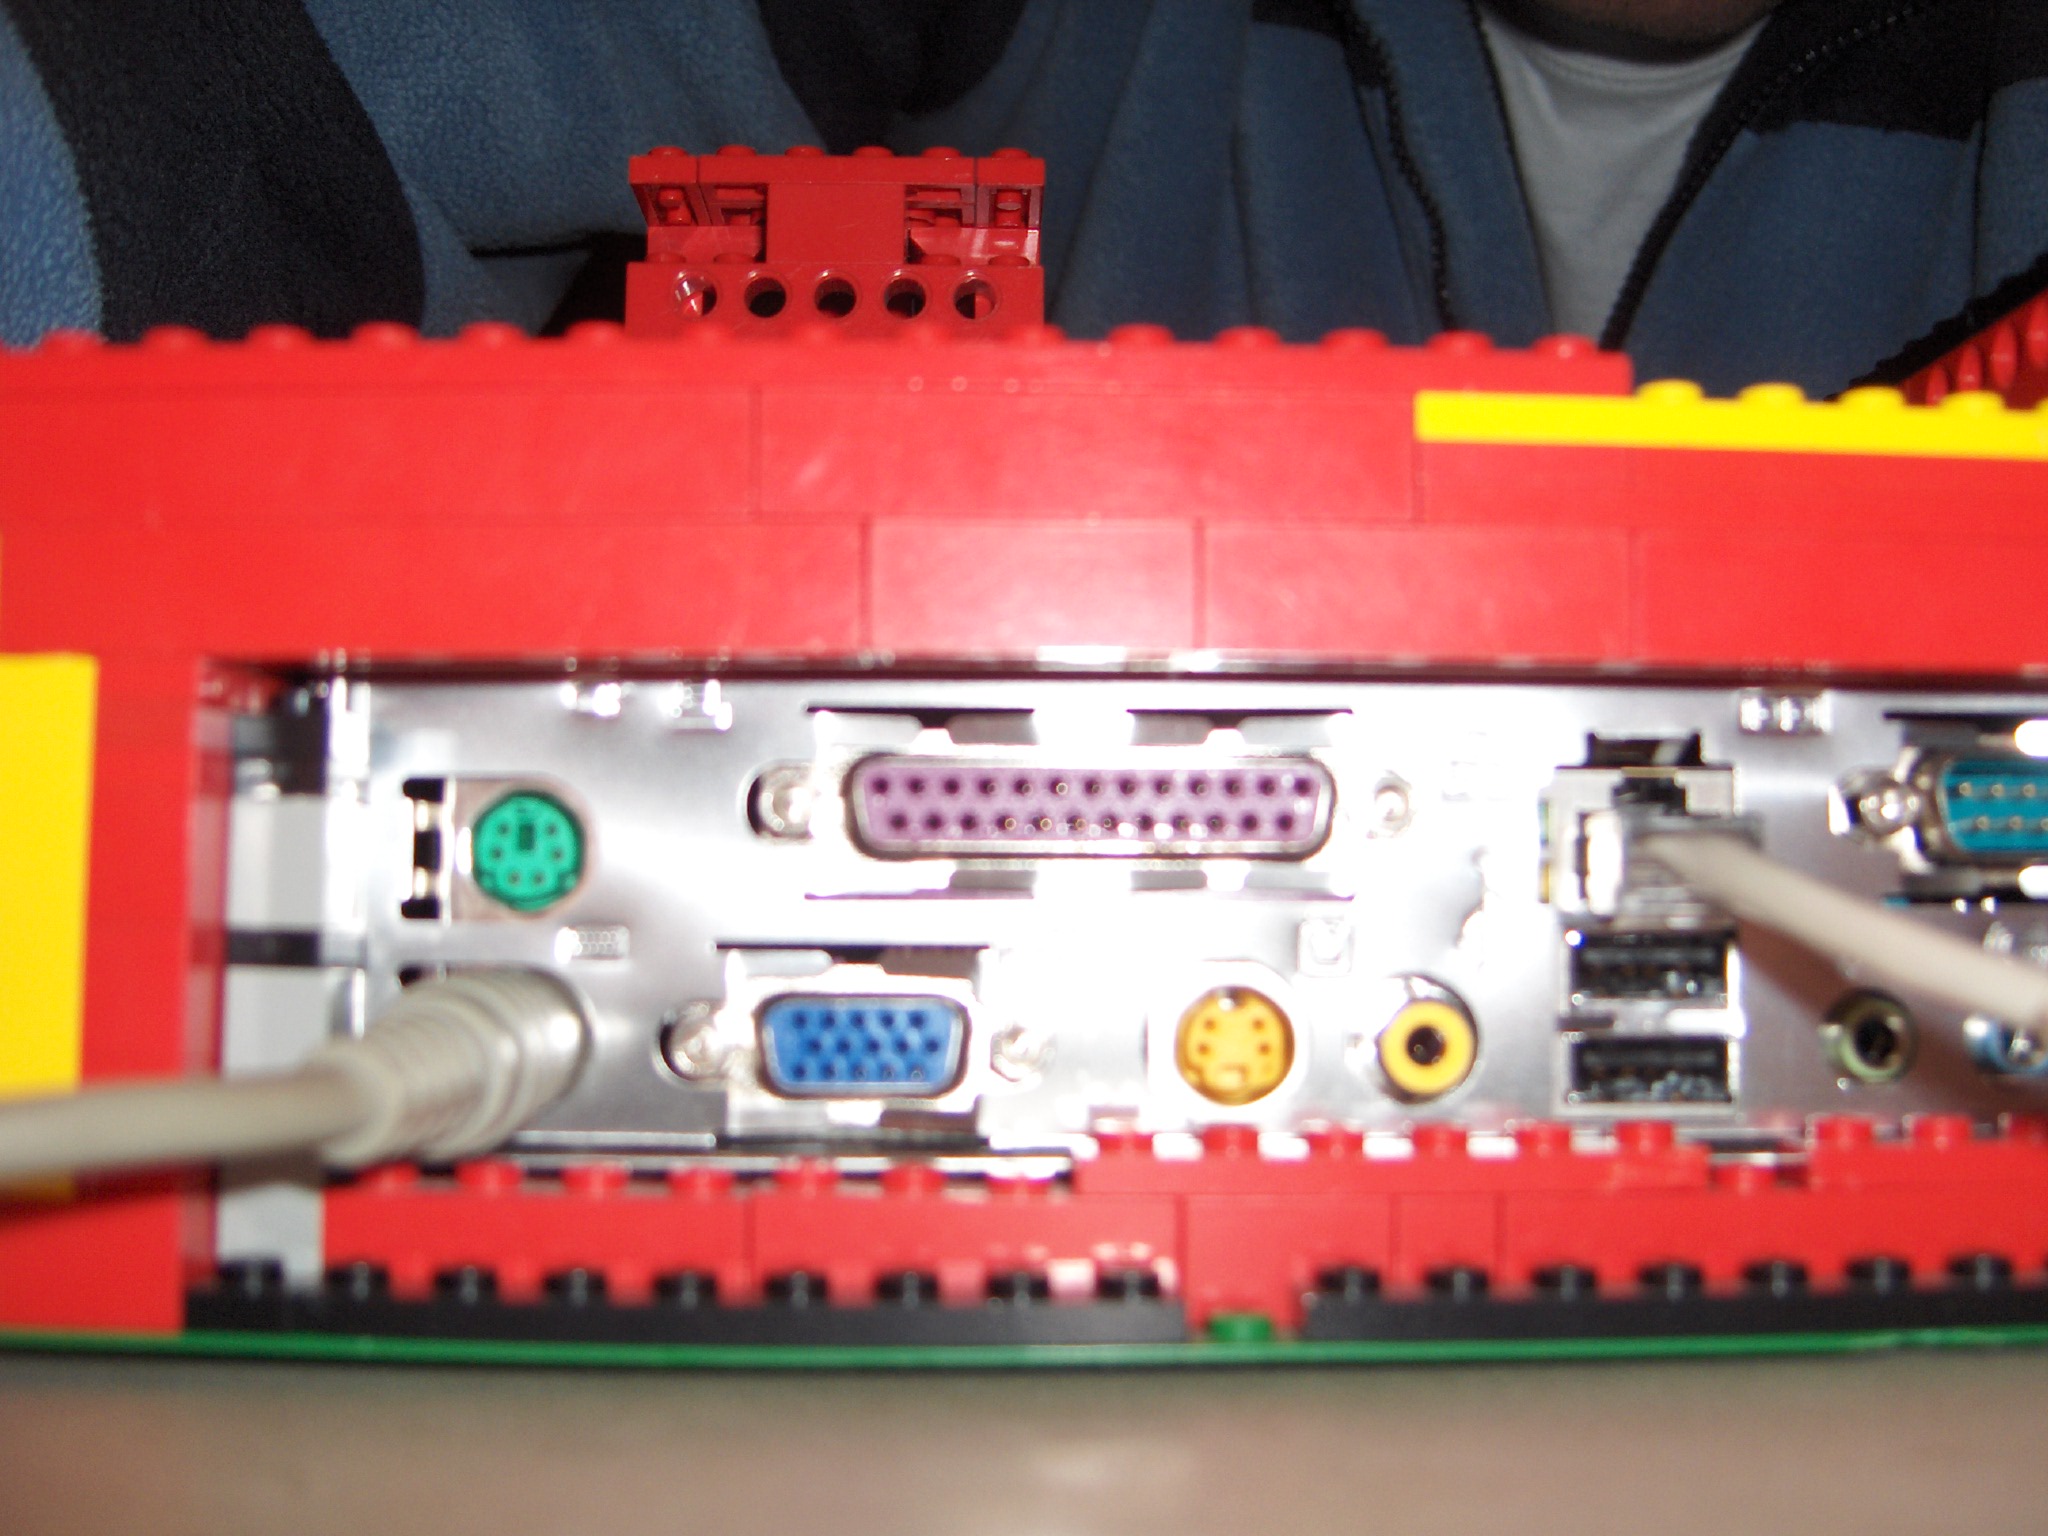
The backplate, cleanly covered in Lego, without any holes for dust to come in.
Another photo of the backplane, this time showing the other claws holding the backplane in place.
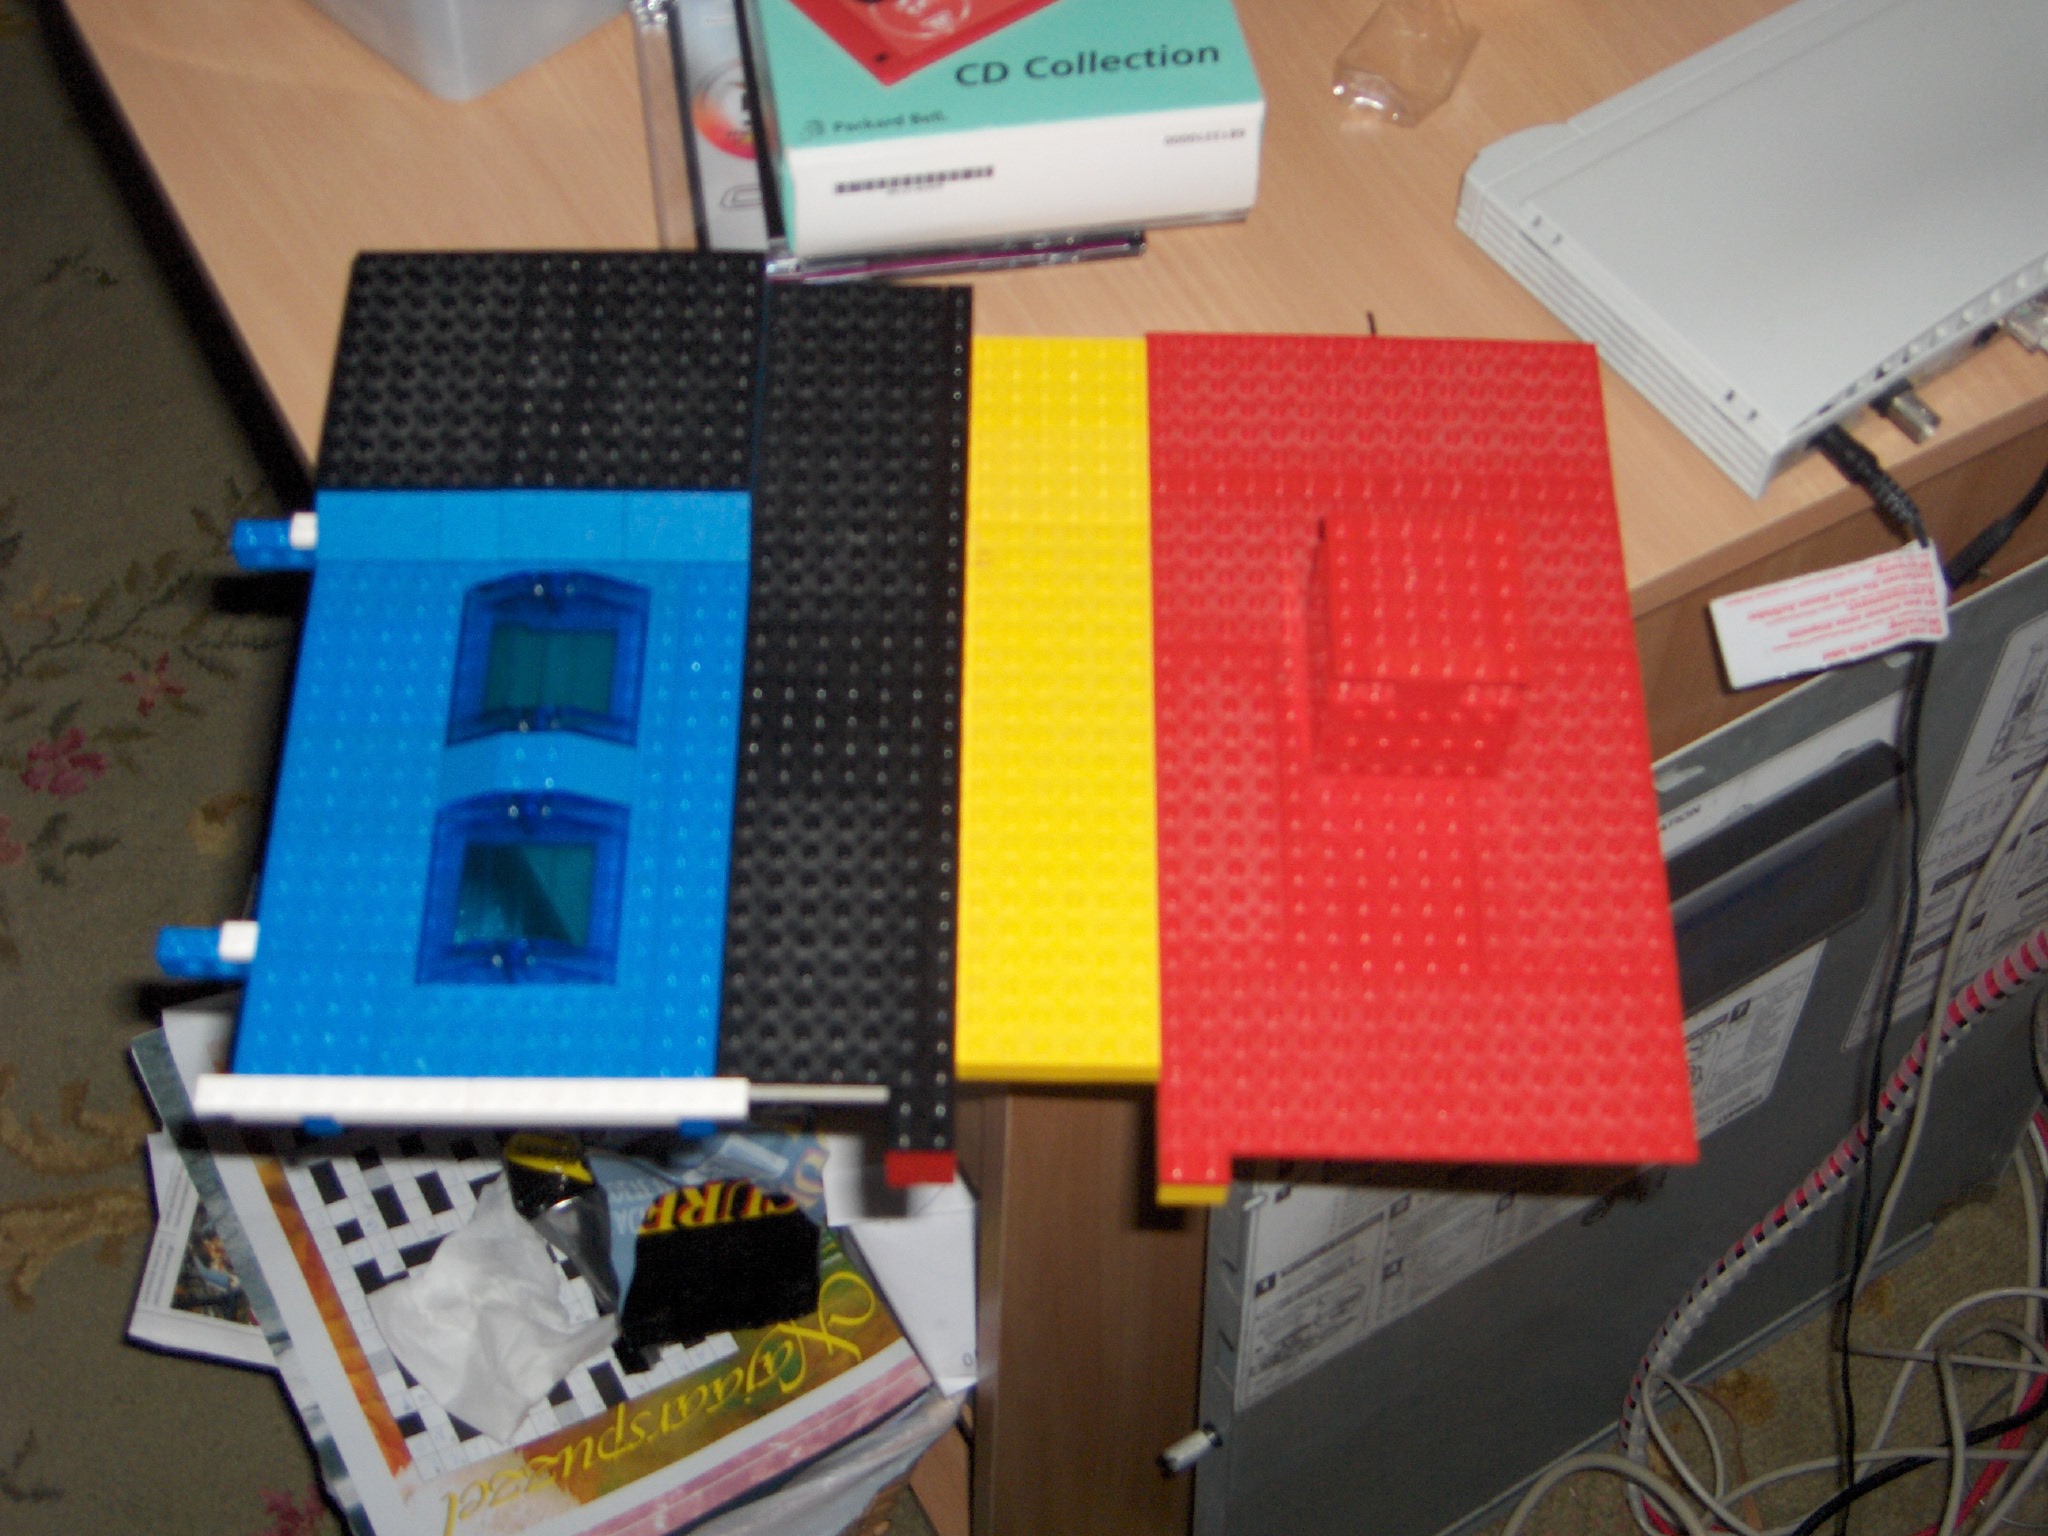
The loose roof plate. You should now be able to see how the roof was removed.
(the 2 support beams are sticking out)
You can also see the exhaust vent, it is exactly above the CPU cooler, so we can honestly say it is "fully functional" !
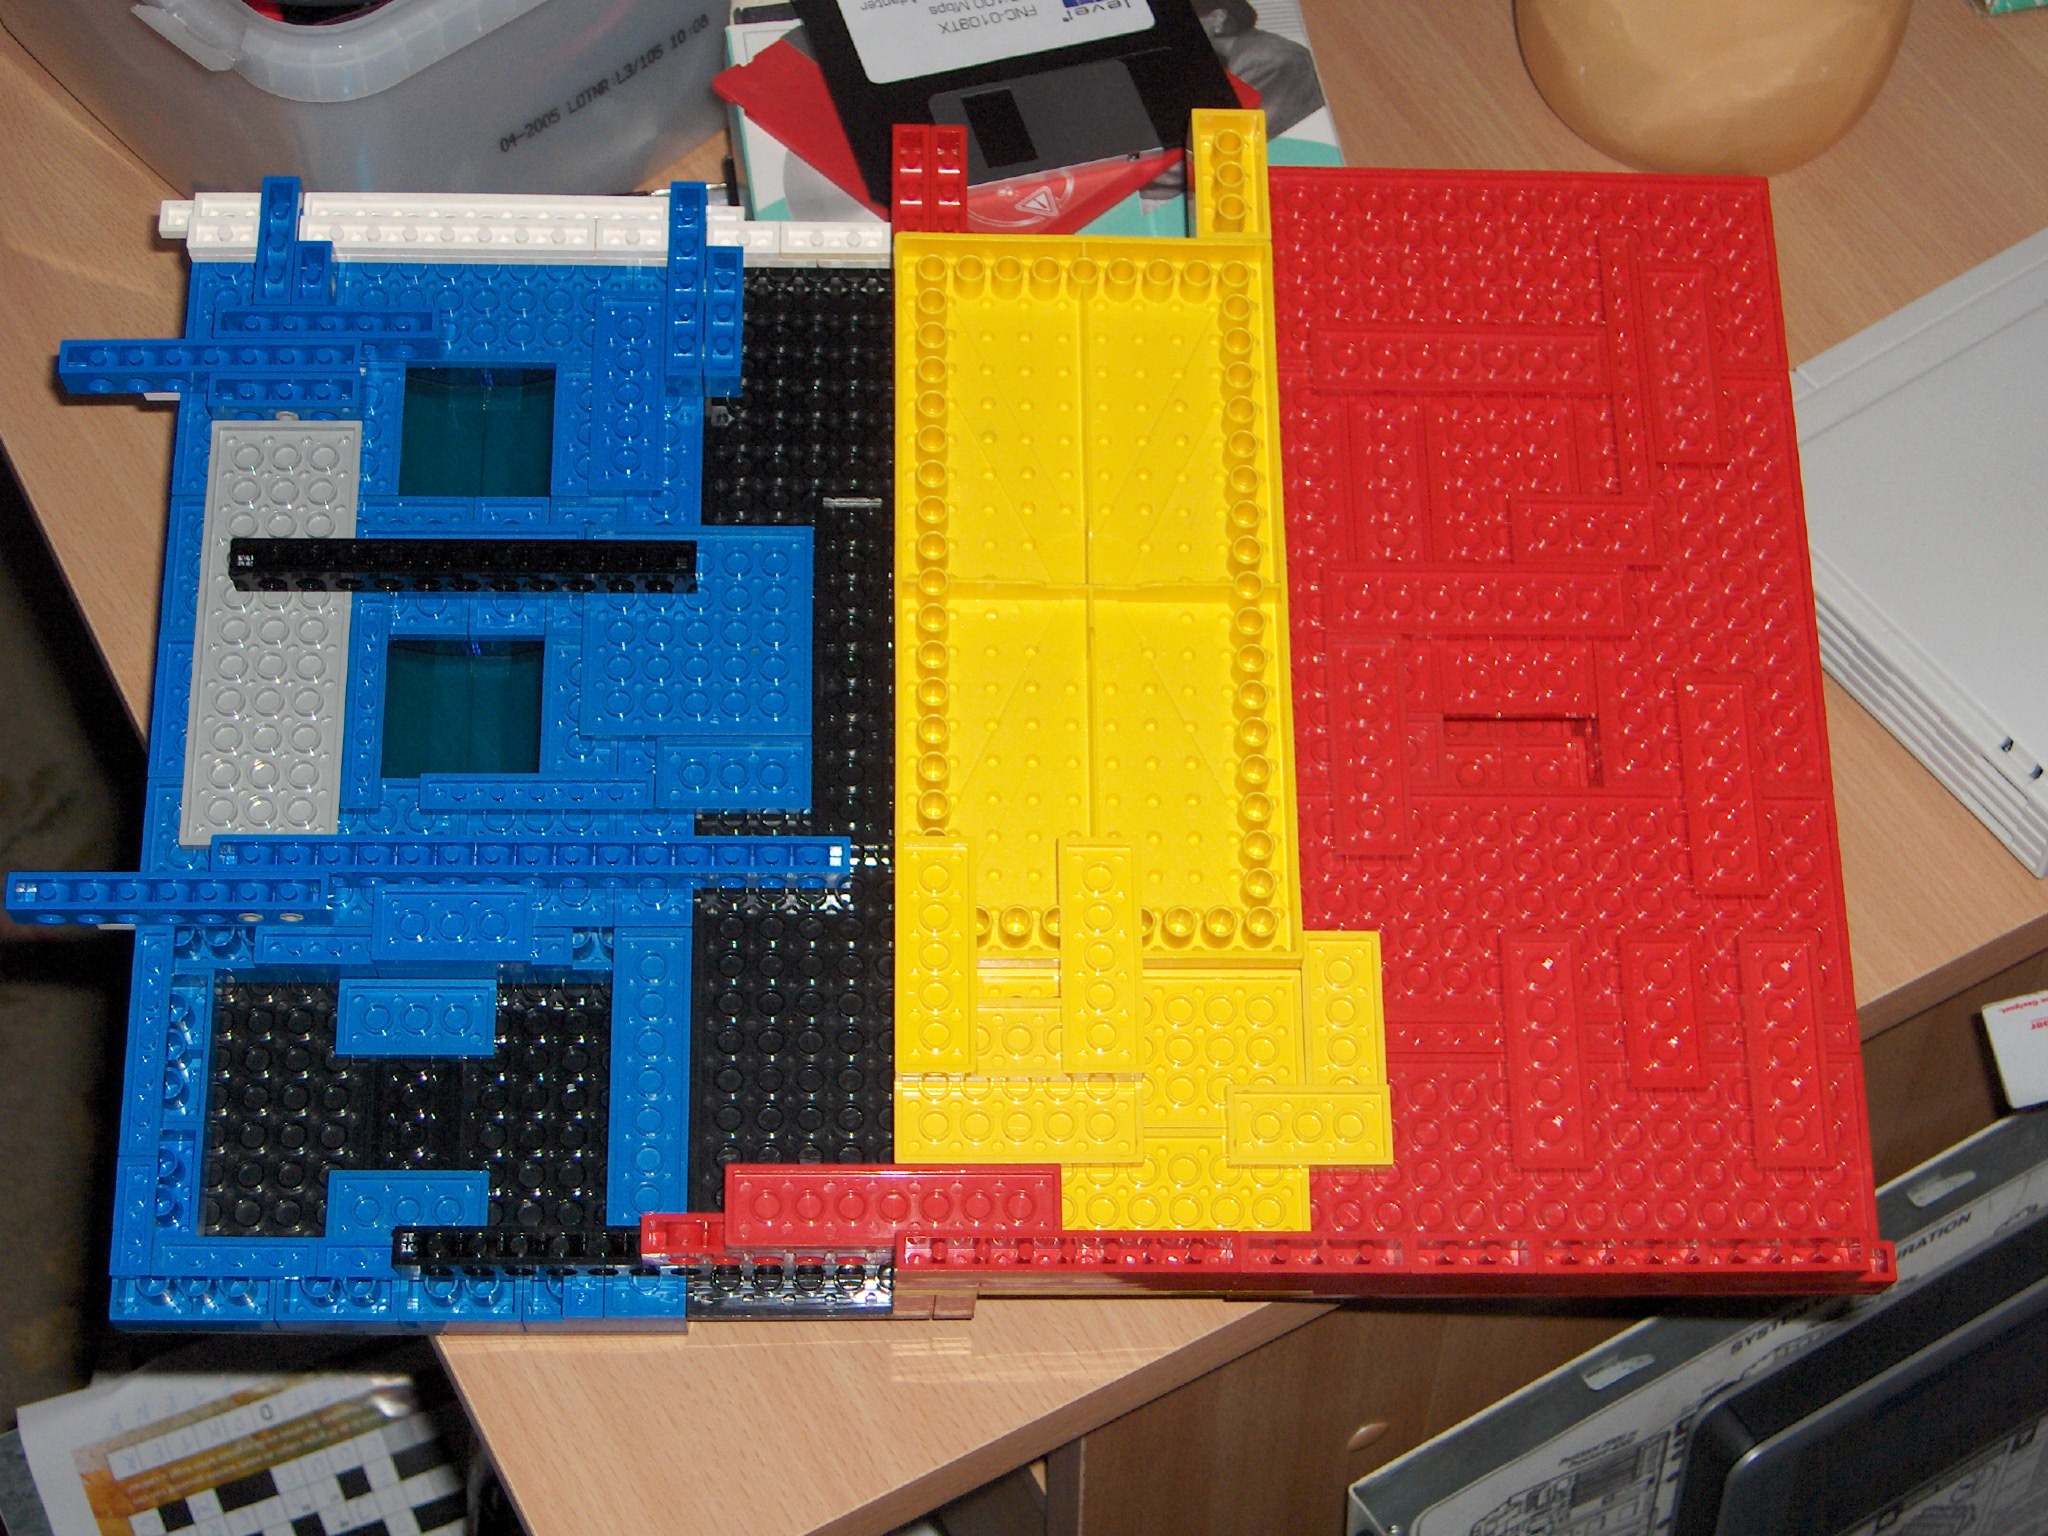
The other (bottom) side of the roof, as you can see they are nicely reinforced.
There is one big support beam running in the middle for one side to the other. (you can see the 2 red technical Lego beams in the back (behind the yellow), they go all the way to the front and can carry quite some weight.
You can also see the hole were the "hot air" from the processor leaves the system, we wouldn't want my case to get warm, would we ?
It is constructed in a "waver" style, to minimize the amount of dust that comes in that way.
The last photo, a front shot, with everything back in place (took me about 10 seconds).