|
|
|
|
The Skirt assembly For the skirt construction, the Mark Porter plans give a good position layout and a detailed graph of each individual section. Unfortunately, those drawings are not up to scale, so you'll have to resize them. I did that job by importing the images into MS VISIO, which will allow me to resize them to a 10mm square grid which also prints as a 10mm square grid. If you can get hold of VISO, please feel free to download my 1:1 panel drawings. P1, P2, P3a, P3b (Mind that between P3 and P3b, a straight section is inserted of 60 x 39 cm. There is no drawing for that!)
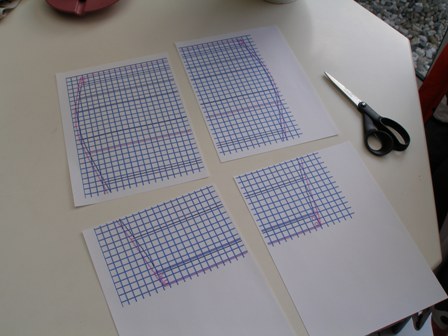
As said, first scale-up all panels, which will mean that for the panels P1, they must be stretched over multiple a4 sheets (which VISO will do perfect). This looks like: (Klick on images for bigger picture)
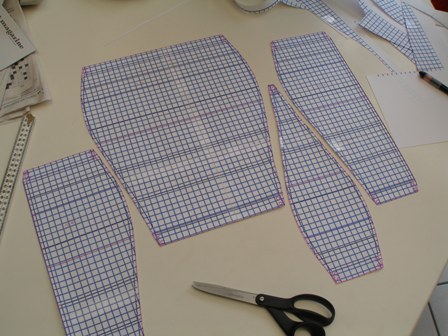
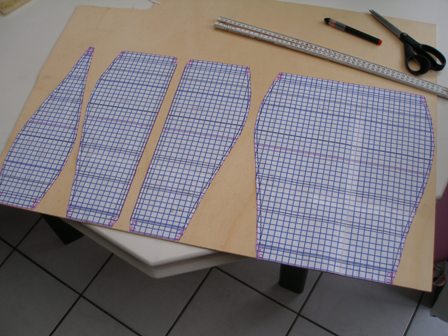
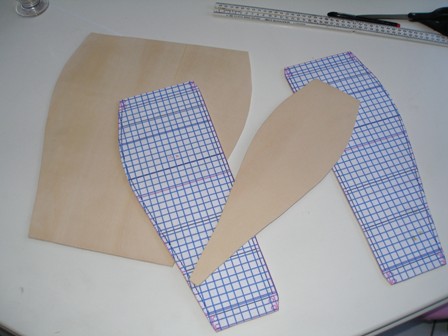
Next, I made 4mm ply templates from them, to be able to cut the kite fabric alongside with a Stanley-type of knife.
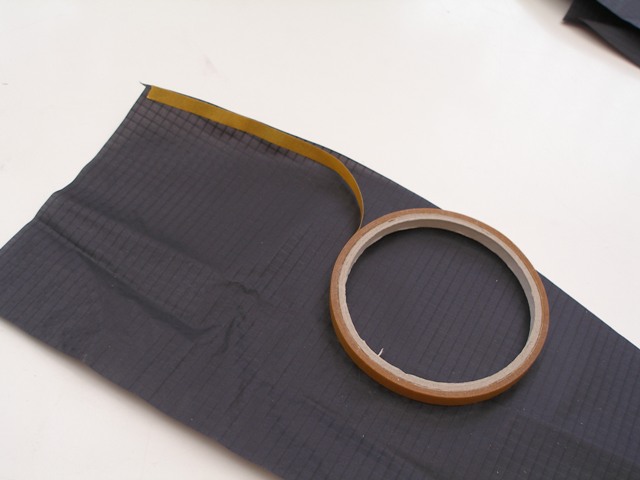
The ply template worked very well as a cutting template. So I ended up with a lot of individual panels which need to be assembled to one nice skirt. From my good friend Emiel, (the one who supplied the kite fabric) I also got a nice tape to glue the seams before stitching.
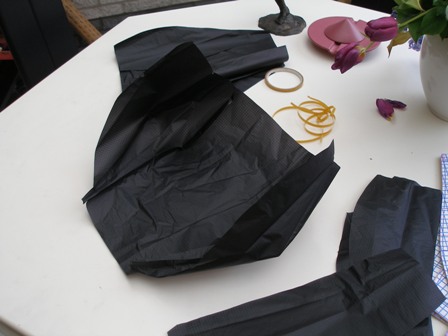
A intermediate 3d view of panels P1 and P2:
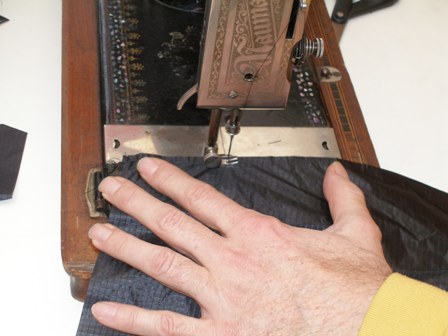
After the tape, comes the sewing:
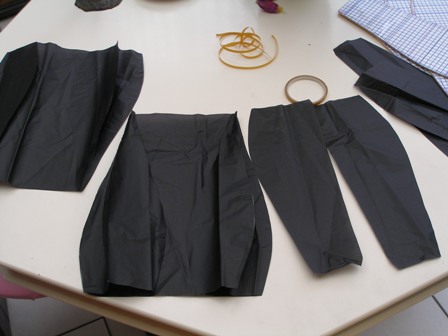
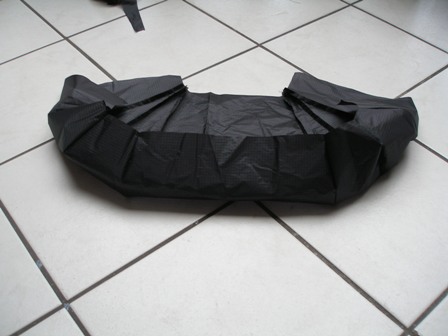
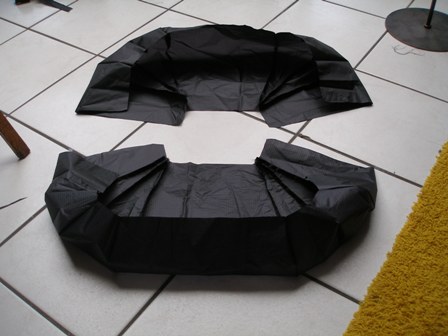
Bow and Stern sections:
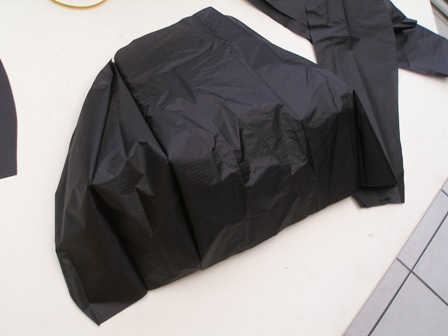
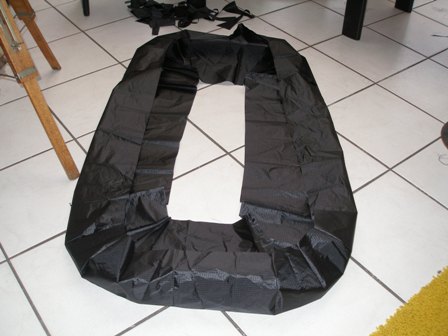
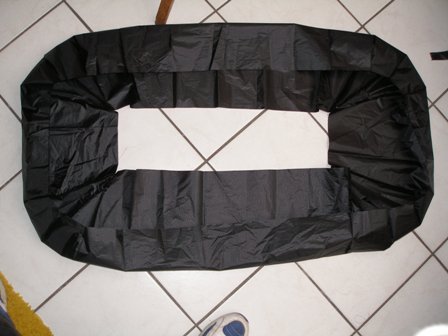
And the complete skirt:
|