|

| ||||||||||||||||
|


 | 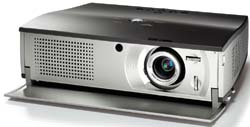 | PLV-Z1 |
The Sanyo Z1 was sold today (feb. 2004). I will be replacing it with a BenQ PE8700. I will keep this page with Sanyo Z1 info intact.
I'll try to setup a similarly informative page on the BenQ PE8700.
I have bought a Sanyo PLV-Z1 LCD projector to watch DVD movies and TV on a large screen at home (december 2002). The Z1 is one of the best sold hometheatre projectors of the past year. It is one of the first affordable projectors with true 16x9 aspect ratio. The LCD panel has a resolution of 960x540 which is exactly 1/4 of high definition TV (HDTV = 1920x1080). Light output is rated at 700 ansi lumen, the contrast ratio is 800:1. Noise level is less than 31dB which is quite low and is less than the noise of an average PC. Lamp life in low power mode is 3000 hours or 2000 hours in full power mode. In a properly darkened room low power mode is the best option. Ofcourse this projector can not compete with CRT projectors in terms of image quality, but as a starter/low cost projector it will give many hours of viewing pleasure. The lens shift and zoom capabilities allow a very easy and flexible setup.
Some tips and tricks with the Z1 (the Z2 has different button squence to get into the Service menu):
!!!!! WRITE DOWN ALL SETTINGS BEFORE YOU MAKE ANY CHANGES !!!!!
Z1 factory mode Press "Select" and "Input" together on the projector 5-10 Seconds to get into "factory" mode.
Z1 service mode Press "Menu" and "Input" together on the projector 5-10 Seconds to get into "service" mode.
Z1 lamp counter press and hold the cursor-up on the projector for about 20 - 30 seconds to display the lamp counter.
Z2 service mode Hold down "Menu" button on the projector 5-10 Seconds to get into "service" mode.
Z2 lamp counter Hold down "Power" button on the projector 15-25 Seconds to display the lamp counter.
note that the 'confirmation' option must be switched 'on' otherwise the Z2 will switch off immediately after pressing the power button. Press power (the "power down?" box pops up, just keep pressing the power button for a few seconds).
some people have reported vertical lines every few centimeters. This is often referred to as vertical banding.
In most cases this can be fixed by adjusting factory menu entries 14 and 65. Adjust one or both of them and see
that the banding changes. Try your new setting on different scenes (light / dark / blue / green / red).
I have one report that someone was experiencing vertical banding on the Z2. He changed F14 from 2 -> 3 and said
his banding problem was completely solved!. In the Z1 F65 seems to work as a finetuning within the F14 (0, 1, 2, 3) setting.
Another report of a Z2 user : for him F14 increased banding by setting it to 3.
He used Servicemenu entries 13, 14 and 15. Mainly S14 setting it from 73 to 90 and solving vertical banding in most (but not all) scenes.
I will check these S13/S14/S15 out on the Z1 as well because I still have slight VB in dark/red scenes.
My Z1 was ISF calibrated by Rob Dingen
The calibration makes sure that all colors are evenly present in the picture at dark and light conditions and
everywhere in between. This is called grey scale calibration. It reduces the total lightoutput slighly
but after calibration more detail is visible in dark scenes and no or as little as possible information is lost.
See the calibration report
Factory Mode menu :
| entry no. | meaning | Default setting on my Z1 | now set to |
| 14 | banding setting | 0 | 1 |
| 65 | banding setting | 5 | 5 |
Service Menu :
| entry no. | meaning | Default setting on my Z1 | now set to |
| 1 | Bias R | 144 | 164 |
| 2 | Bias G | 140 | 200 |
| 3 | Bias B | 144 | 173 |
| 7 | Gain R | 563 | 557 |
| 8 | Gain G | 553 | 307 |
| 9 | Gain B | 560 | 323 |
| 10 | Gamma R | 202 | 250 |
| 11 | Gamma G | 203 | 211 |
| 12 | Gamma B | 205 | 176 |
| - | - | - | |
| 13 | banding B | 153 | 140 |
| 14 | banding G | 148 | 148 |
| 15 | banding R | 148 | 148 |
| - | - | - | |
| 313 | 480p scale vertical | 10 | |
| 314 | 480p scale horizontal | 18 | |
| 315 | 480p position vertical | 512 | |
| 316 | 480p position horizontal | 387 | |
| - | - | - | |
| 317 | 575p scale vertical | 17 | |
| 318 | 575p scale horizontal | 31 | |
| 319 | 575p position vertical | 512 | |
| 320 | 575p position horizontal | 381 |
A more complete list of the service menu and its functions was assembled by some helpful people at the german beisammen forum
Great guide for removing dust blobs from the Z1. I never used it myself but it is well documented here : http://www.hubc.org.sg/MyWeb/Z1_dustblob_removal.asp
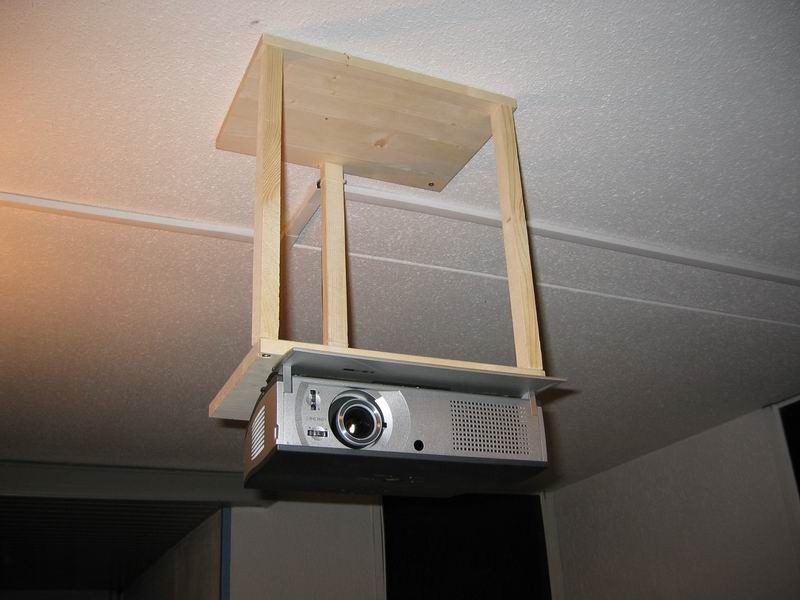
Room layout :

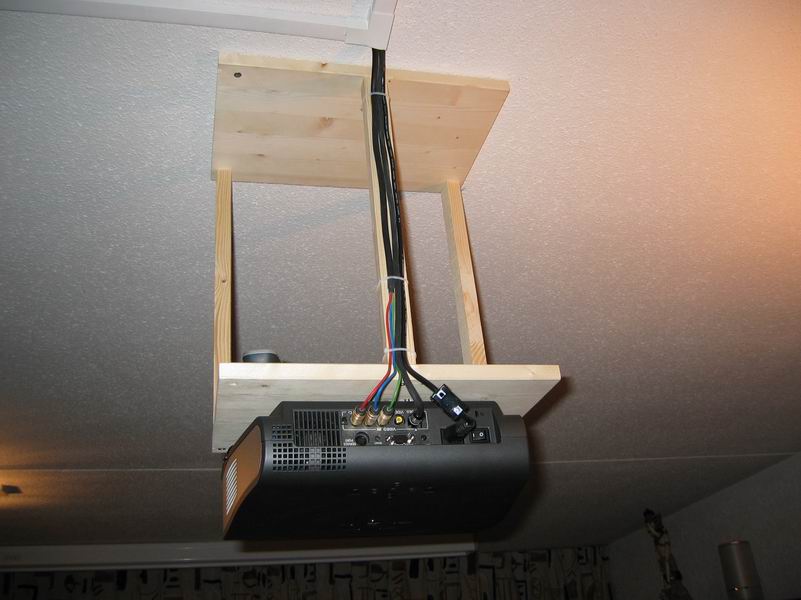
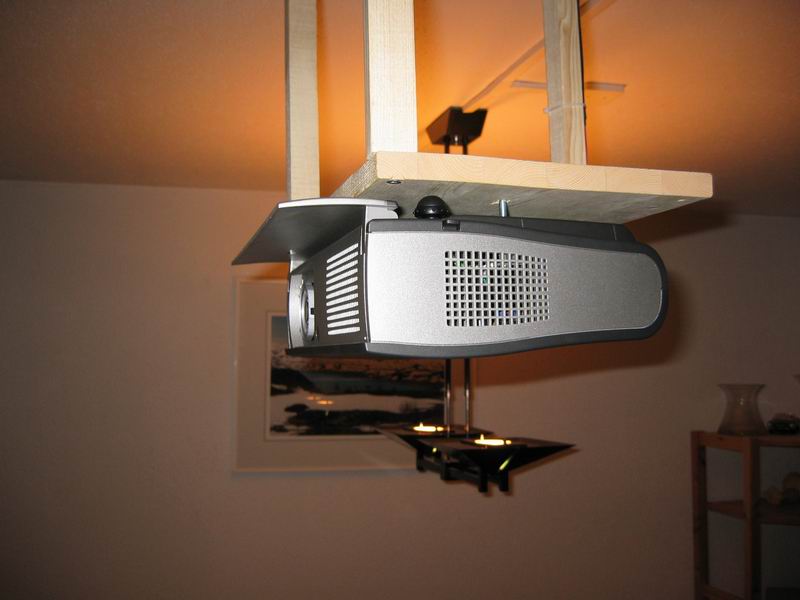
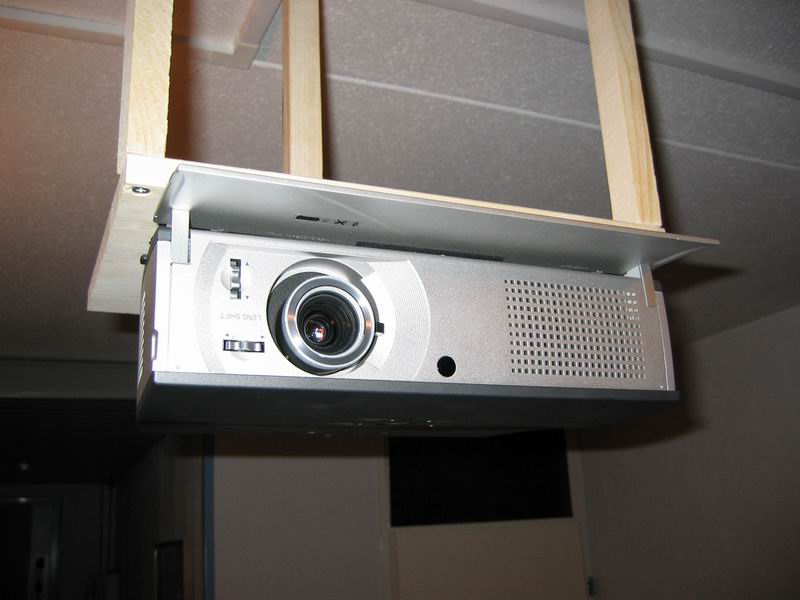
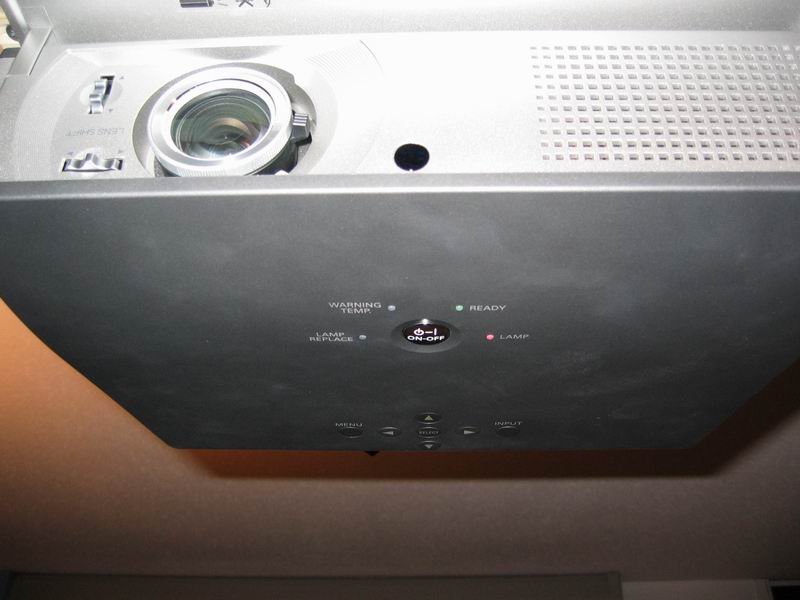
Sanyo PLV-Z1 projector mounted to the ceiling (selfmade mount a 6 €):
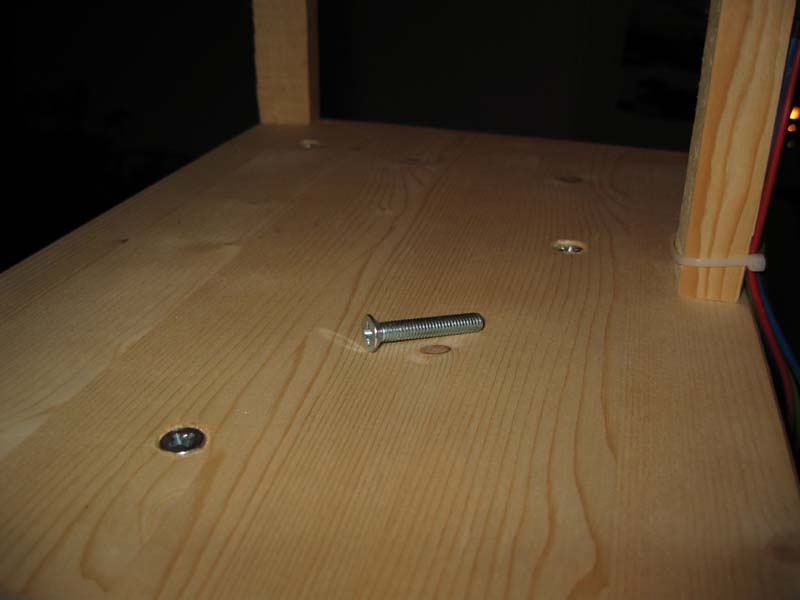
M6 screws used to adjust the tilt of the projector :
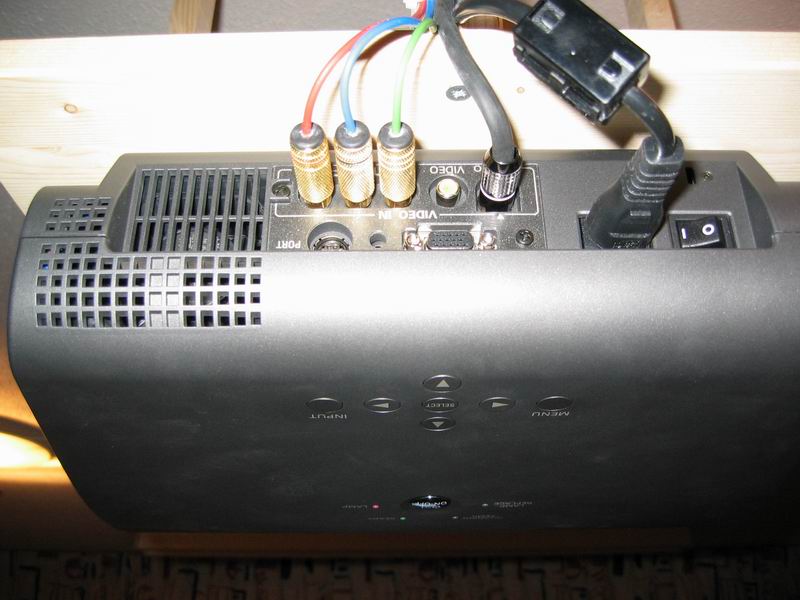
Component video, s-video and 230V powercable (with ferrite core)
Closeup of ceiling mount, without projector. 3 x M6 screws of different length (2cm .. 4cm)