

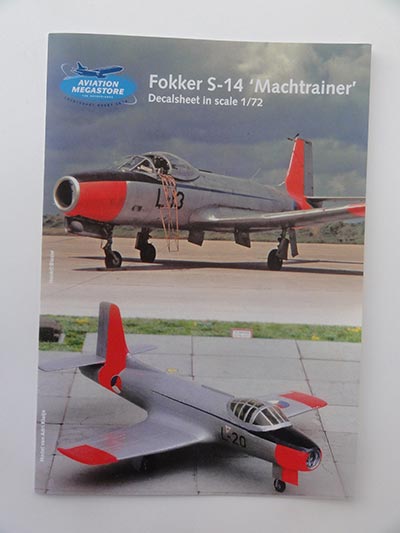
Fokker S-14 model in 1/72 scale
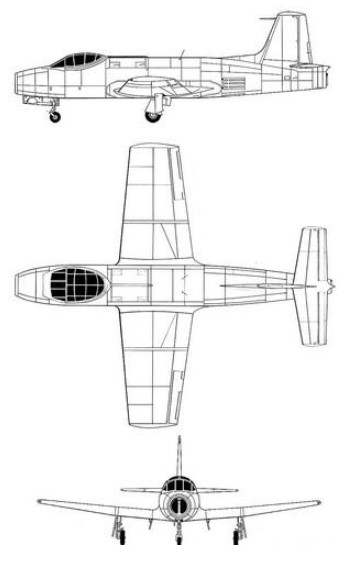
The S-14 jet trainer was developed by the Fokker Aircraft Company after the Second World War. Designed as an advanced high speed jet trainer, the Fokker S-14 "Mach trainer" had its first flight May 1951. The S.14 had a side by side seating and had a single Rolls-Royce Derwent engine. The aircraft met requirements but was only ordered for the Royal Netherlands Air Force. Other air forces often got cheap or free American aircraft due to the MDAP program.
(see references).
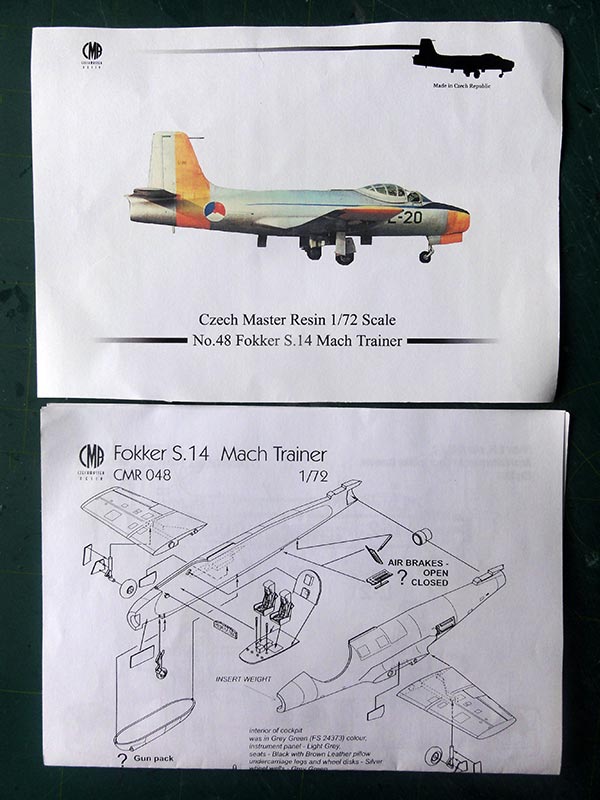
The 1/72 resin model is from Czech master number CMR 048. I think it originates from 1990.
It also appeared under the CMK brand and got a few extra details like the airbrakes and better decals. It comes in a sturdy box.
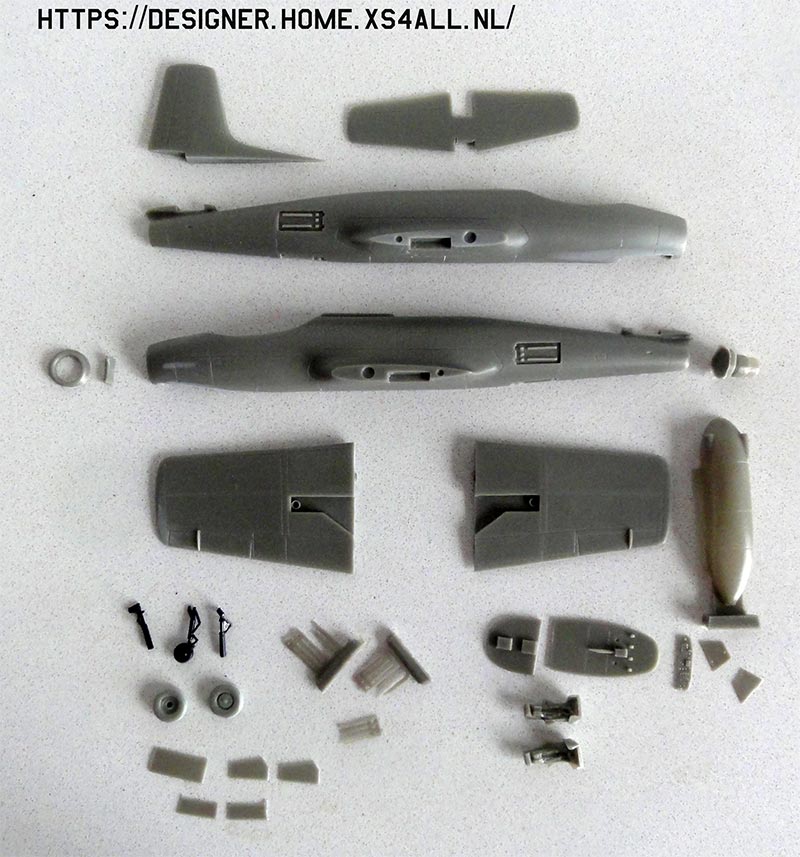
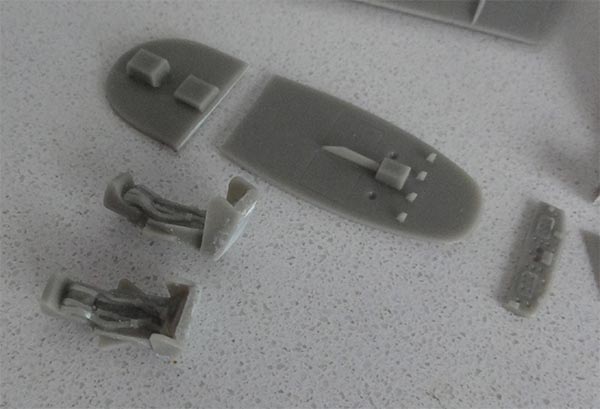
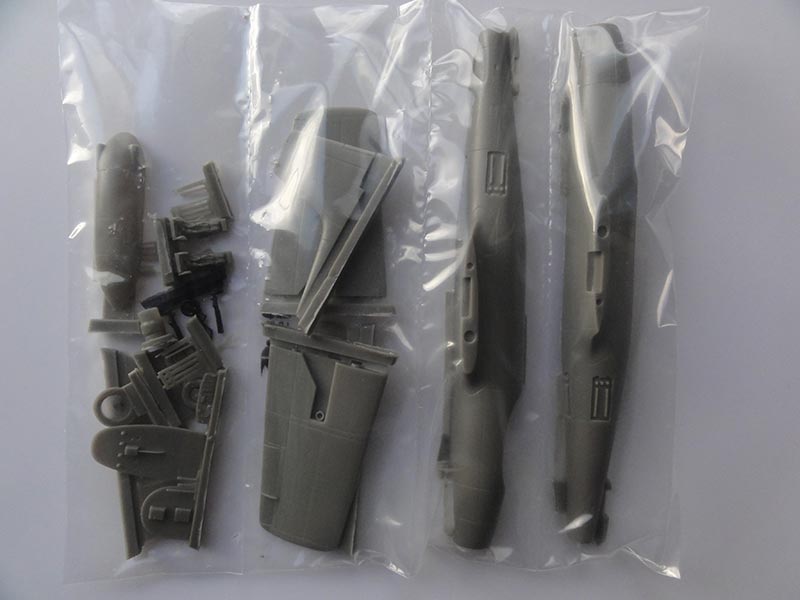
It measures up to scale. The model has resin parts and consists of two fuselage halves, two wing halves, separate tail surfaces and of course several smaller parts. The 2 ejection seats look OK in shape. There is also a sort of gun belly pack provided that is optional, it was rarely seen on the S-14.
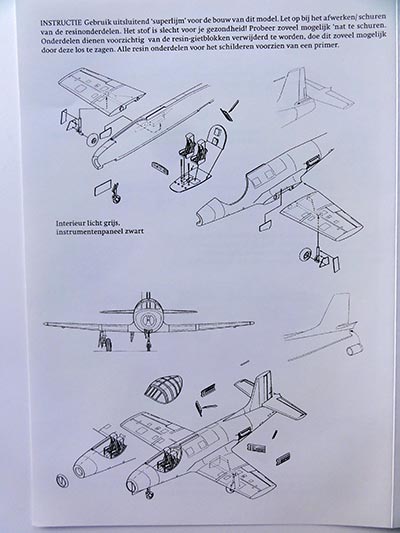
The resin parts are nicely done with no visible air bubbles. The instructions are a bit simplified; details on locations and smaller components installment such as antennas, etc. can be located from drawings and real photos, check the references list.
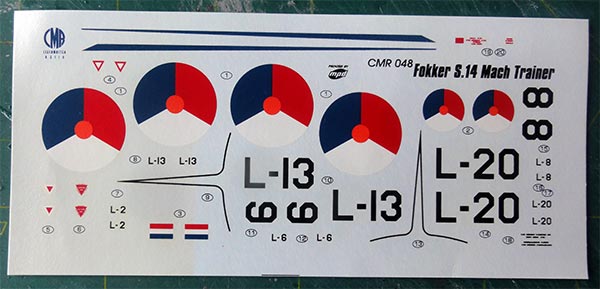
Decals in the CMR 048 kit release are provided for Royal Netherlands Air Force S-14 schemes. But there are no walkway lines on the sheet.
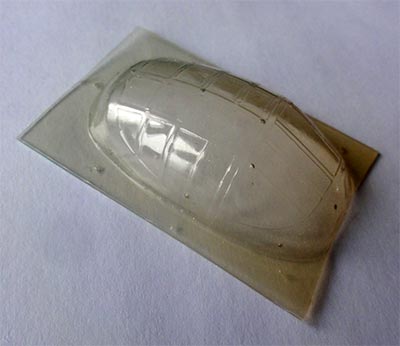
The large bulb canopy is vacuform plastic.
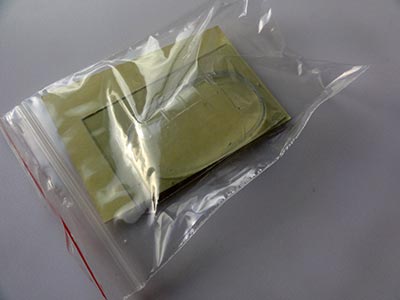
Vacuform transparencies in the kit are in most boxes clear but may have "yellowed" in the older boxes.
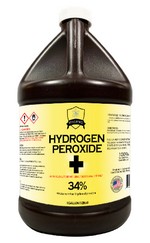
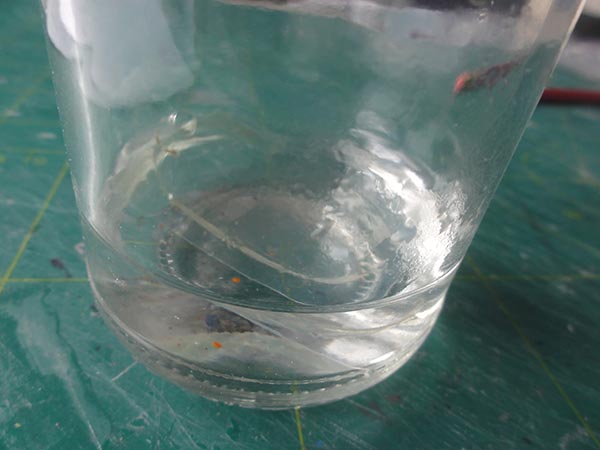
(Any yellow sheen can be removed by dipping the vacuform plastic for a few months in a closed bowl with "hydrogen peroxide" fluid bought in the drugstore; this will remove most of the "yellow" sheen and the part can be set on the model. Though after this treatment it will yellow again over the years...).

These decals are fine. Instruction texts are in Dutch but simple to understand. The stencilling provided are not clearly shown, look at the drawings of instructions.
It was decided to make 2 models. The first model with gears down for a parked S-14 model. The second model posed "in flight".
I used thick Zapp-a-Gapp superglue throughout the assembly.
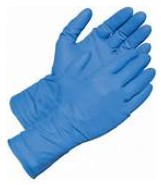
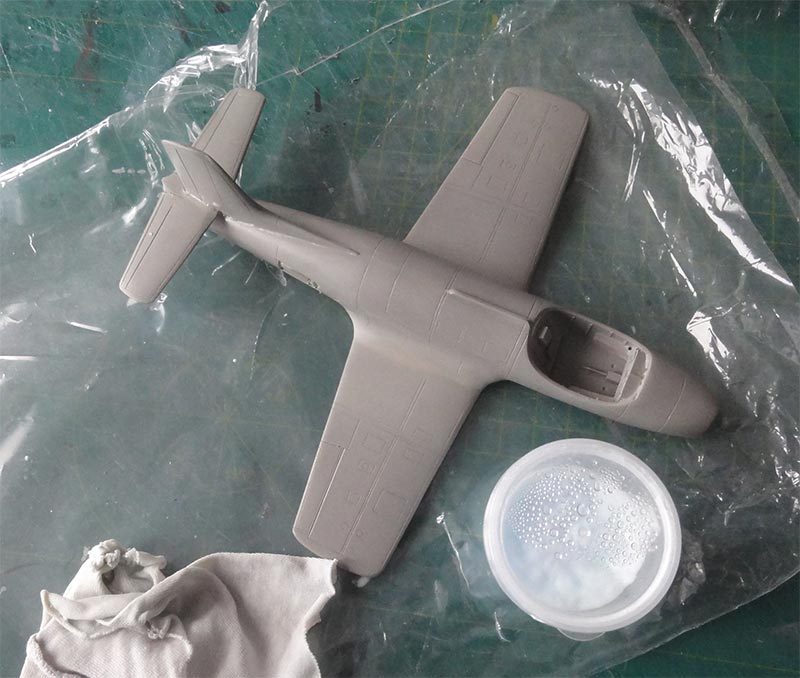
As with any resin model, you must first remove the casting blocks from the parts. This often requires sanding and sawing for the larger parts. Resin dust can cause a serious allergic reaction. Take preventive measures here: wear nitrile gloves, a face mask and saw and sand UNDER WATER in a tub. If later some sanding is needed be careful as well.

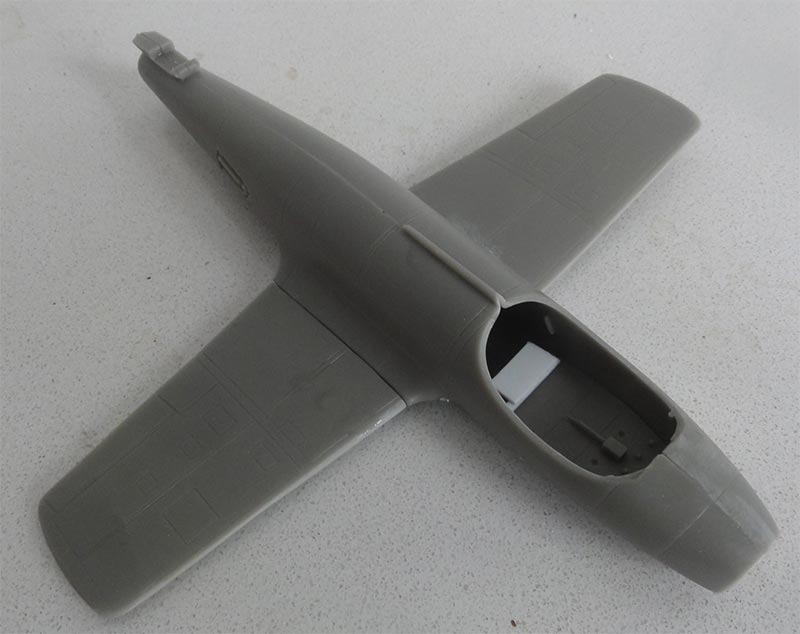
Putty is needed at the joints. Sand after drying. The wing has two halves and they are quite massive.
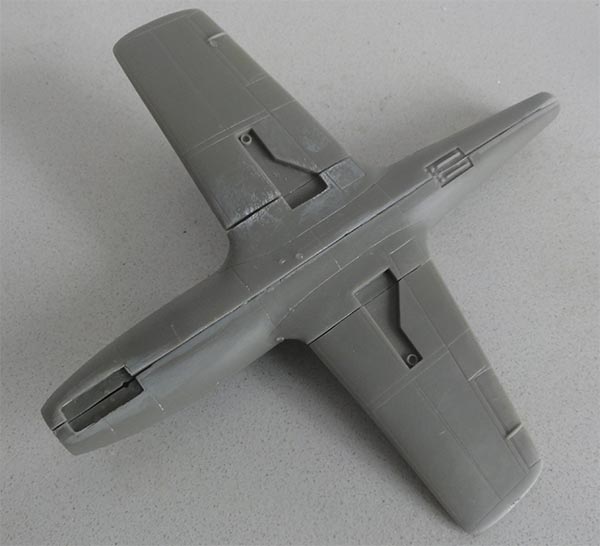
There is a considerable ridge at the lower fuselage joint that needs sanding flush.

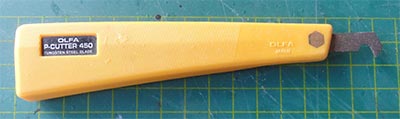
The intake had a vertical splitter beam, align carefully. Some panel lines were also engraved with a scriber using a flexible ruler.
In the cockpit some side panels were made from card and the instrument coaming. The seats are to be installed later.
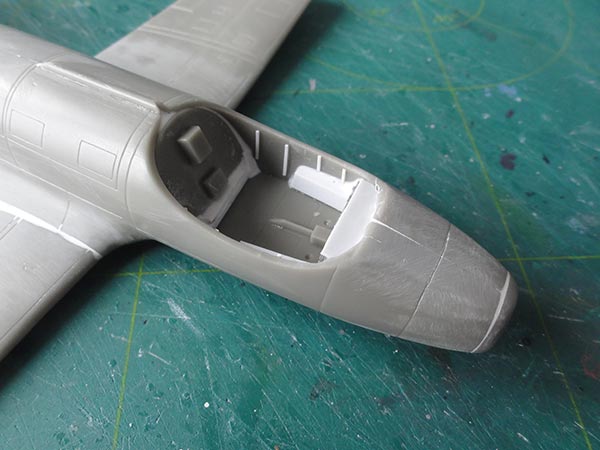
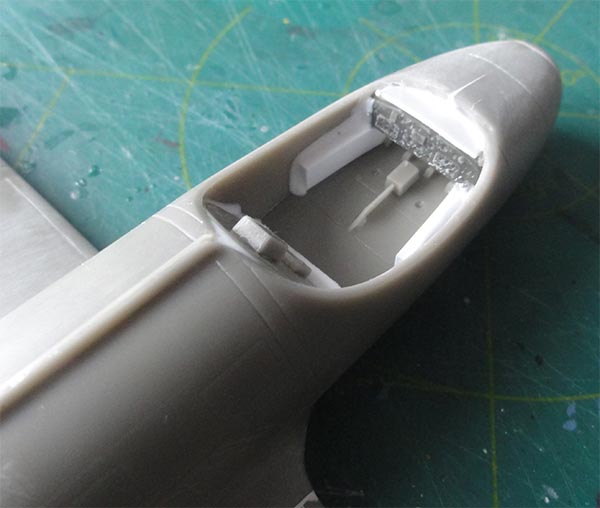
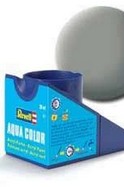
The model was polished to ensure all scratches were removed as it will get a silver dope finish. The model than got a grey base colour with Revell 75 steingrau Aqua acrylic to check for any flaws and small gaps. Any flaws were then repaired with putty and sanding.


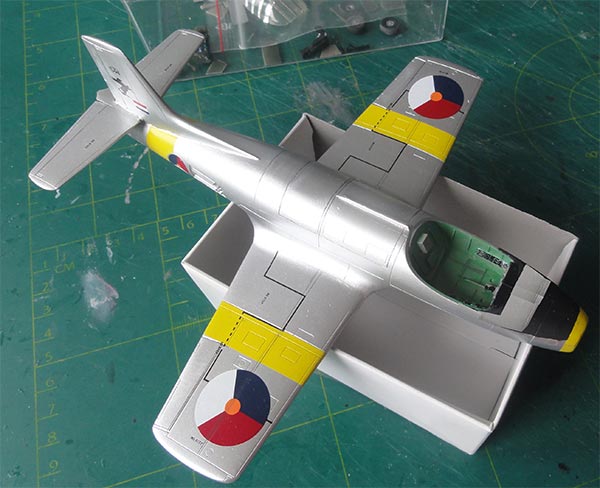
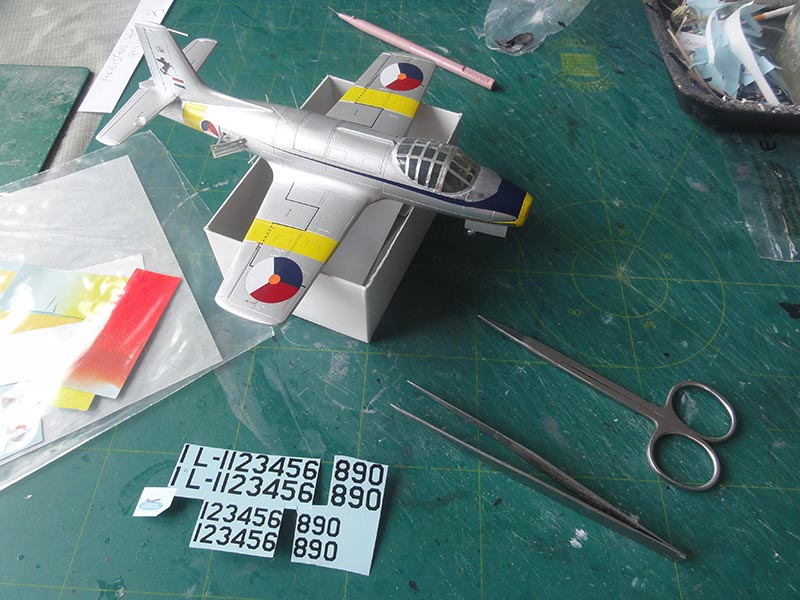
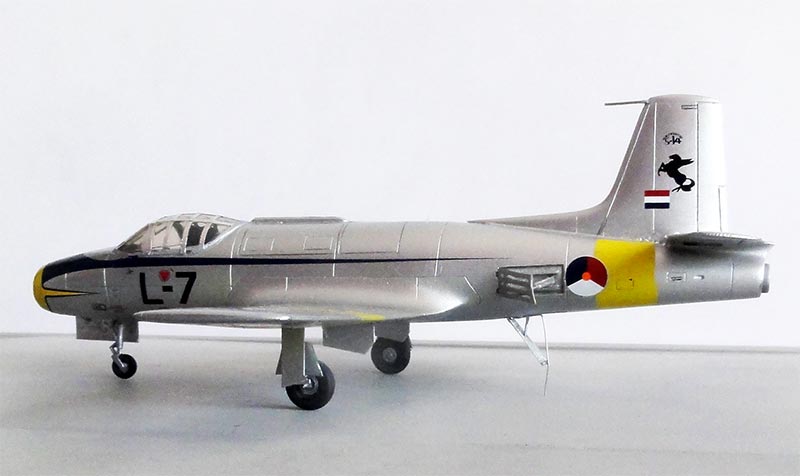
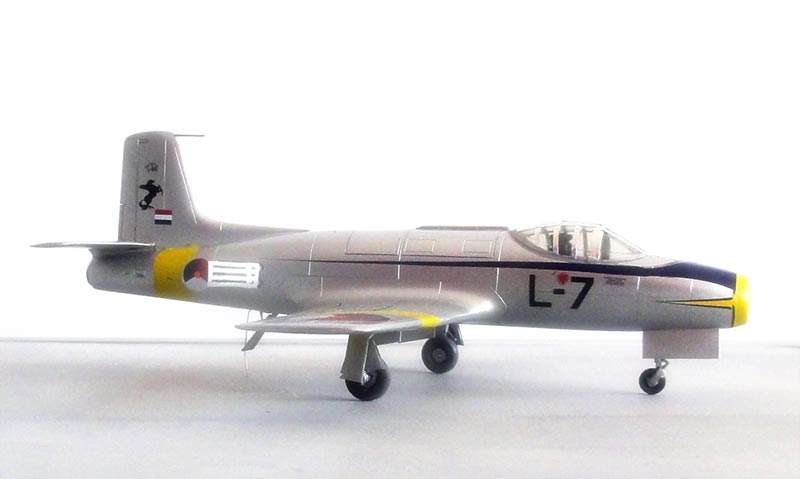
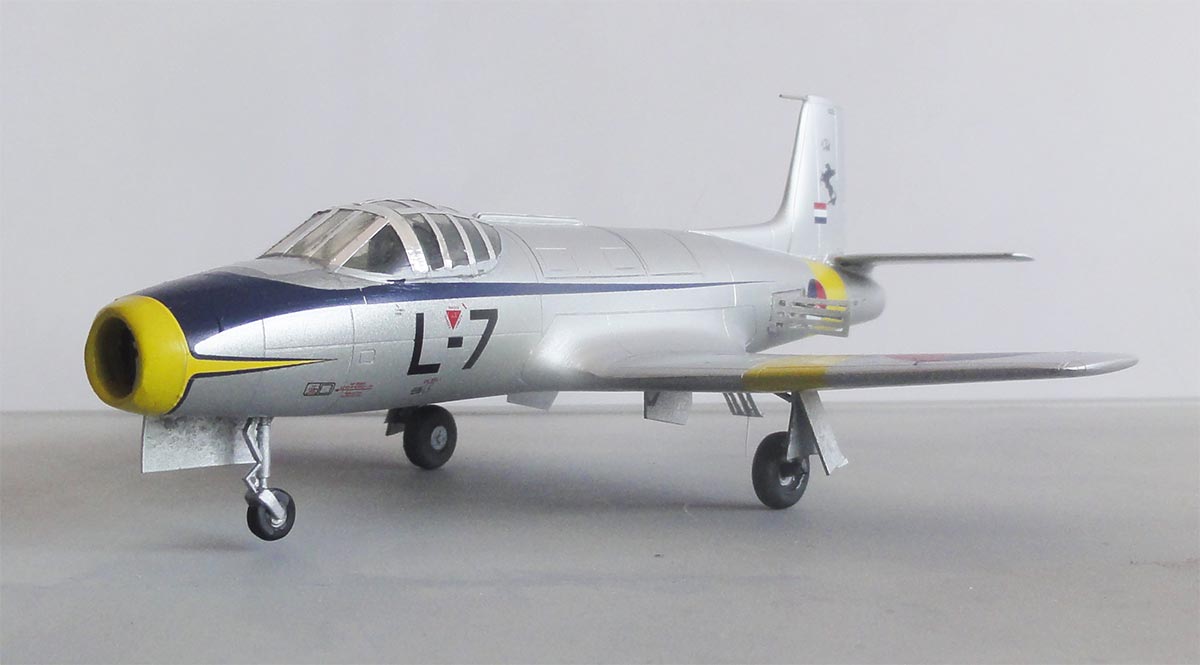
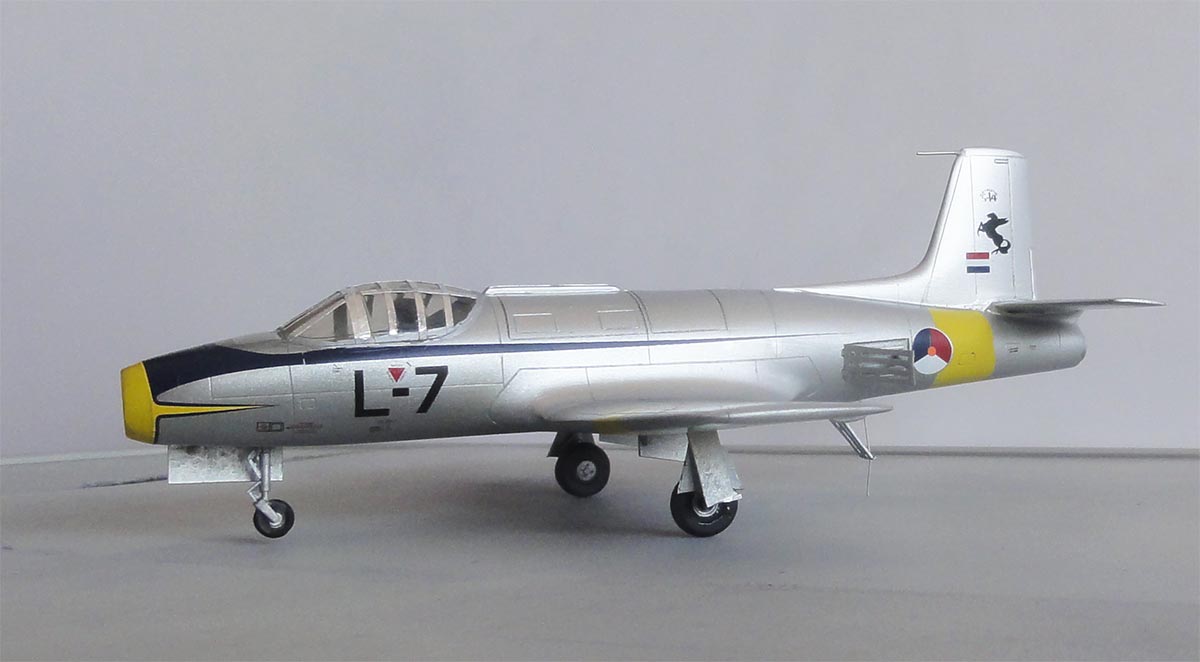
The first model in the silver dope will be in a Royal Netherlands Air Force S-14 scheme with yellow wing bands. With gear down for a parked S-14 model.
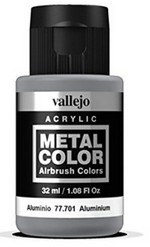
The silver dope paint was airbrushed with Vallejo 77.701 aluminium acrylic. It is a fine pigmented paint.
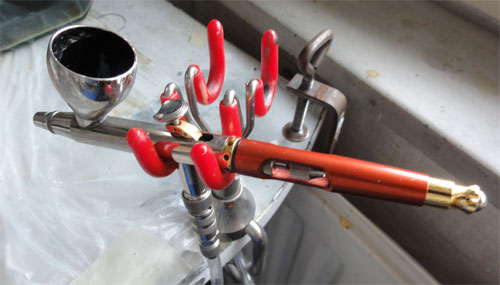
I used by favorite Harder and Steenbeck Infinity airbrush but any fine airbrush will do.
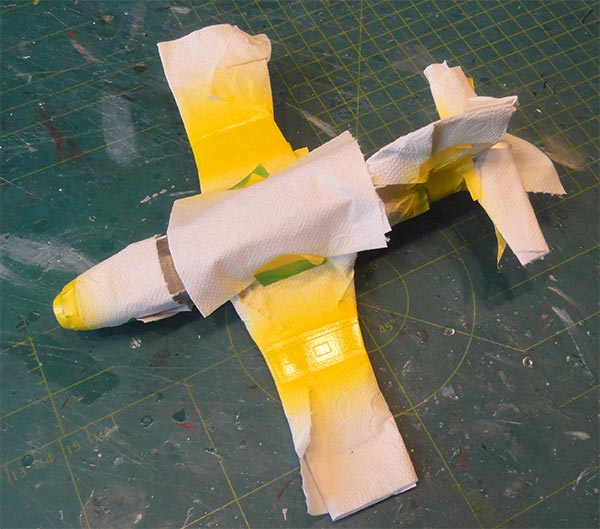
The yellow stripes were not done with supplied newer decals, but were masked and airbrushed with Gunze Sangyo Mr Hobby acrylic yellow H4. The cockpit interior was painted medium green.
The paint scheme was now on the model.
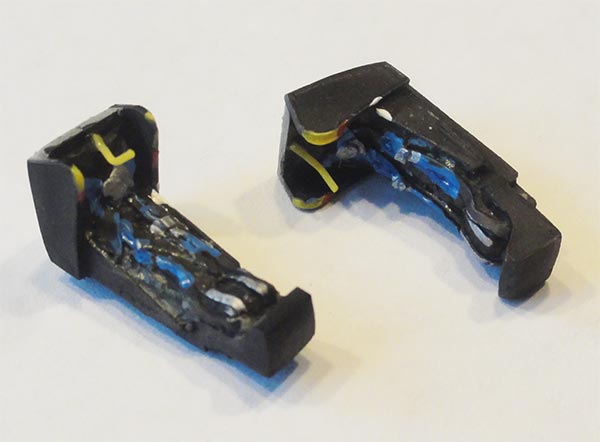
The kit seats have a good shape but need removal of about 2 millimeter from the base in order to fit under the hood. The seats were painted and got seat straps made from painted blue tape. The prepared seats were installed.
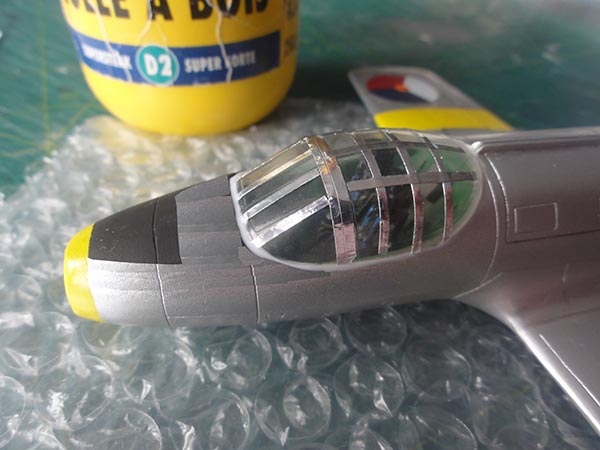
The cockpit hood and wind shield is one part and will be set closed. The vacuform canopy is thin and requires careful study where to cut with fine scissors in order to fit.
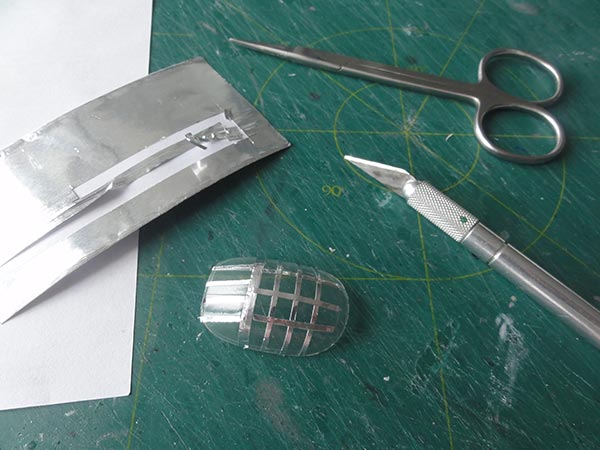
The cockpit frames were made with slices of self-adhesive metal duct tape/ foil. On the lower hood edges small gaps remain even when carefully cutting the clear transparant part; these were closed with white glue and painted silver dope when dried.

The undercarriage parts are fine as per kit. The gear legs are silver, the gear bays a mix of light grey and interior green. These were hand painted.
The model was a real tail sitter. I opted to set a metal wire/ rod below the rear fuselage as the model is quite heavy.
The jet pipe protrudes 1 mm from the rear and was set in place and painted black inside.
The later released kit had nog in the fuselage recesses for 3 deployable air brake parts, these were set open (for ground crew inspection).
A metal pitot was installed on the tail leading edge made from a metal needle and set with superglue. The anti-collision lights were painted at wing tips and got a drop of Kristal Klear.
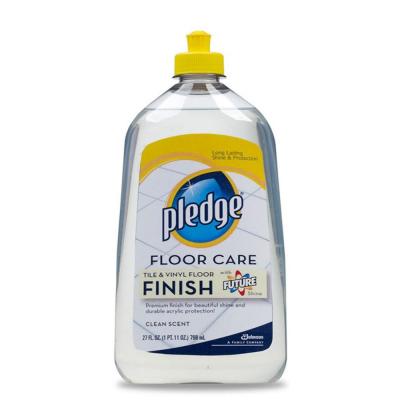
Finally, the model got airbrushed a thin layer of gloss Johnson Future/ Pledge varnish thinned 25% with Gunze Mr.Color Levelling thinner to protect the decals. While airbrushing protect the transparent areas.


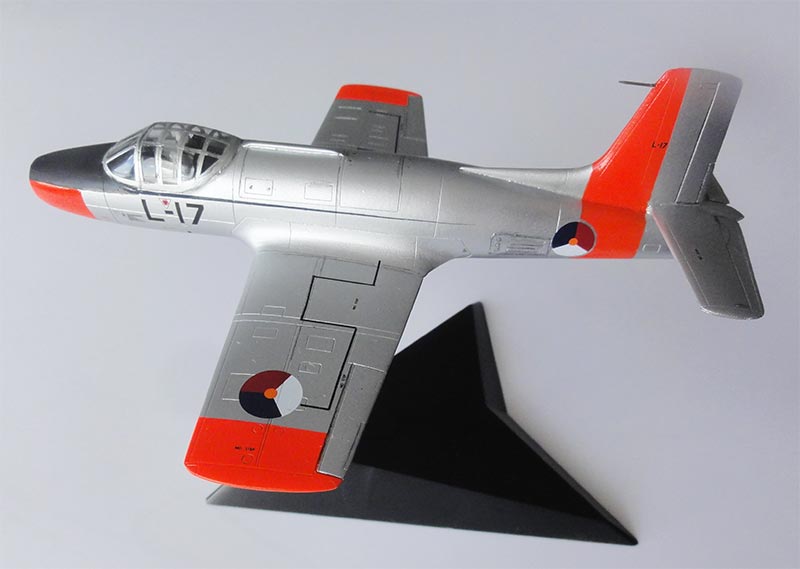
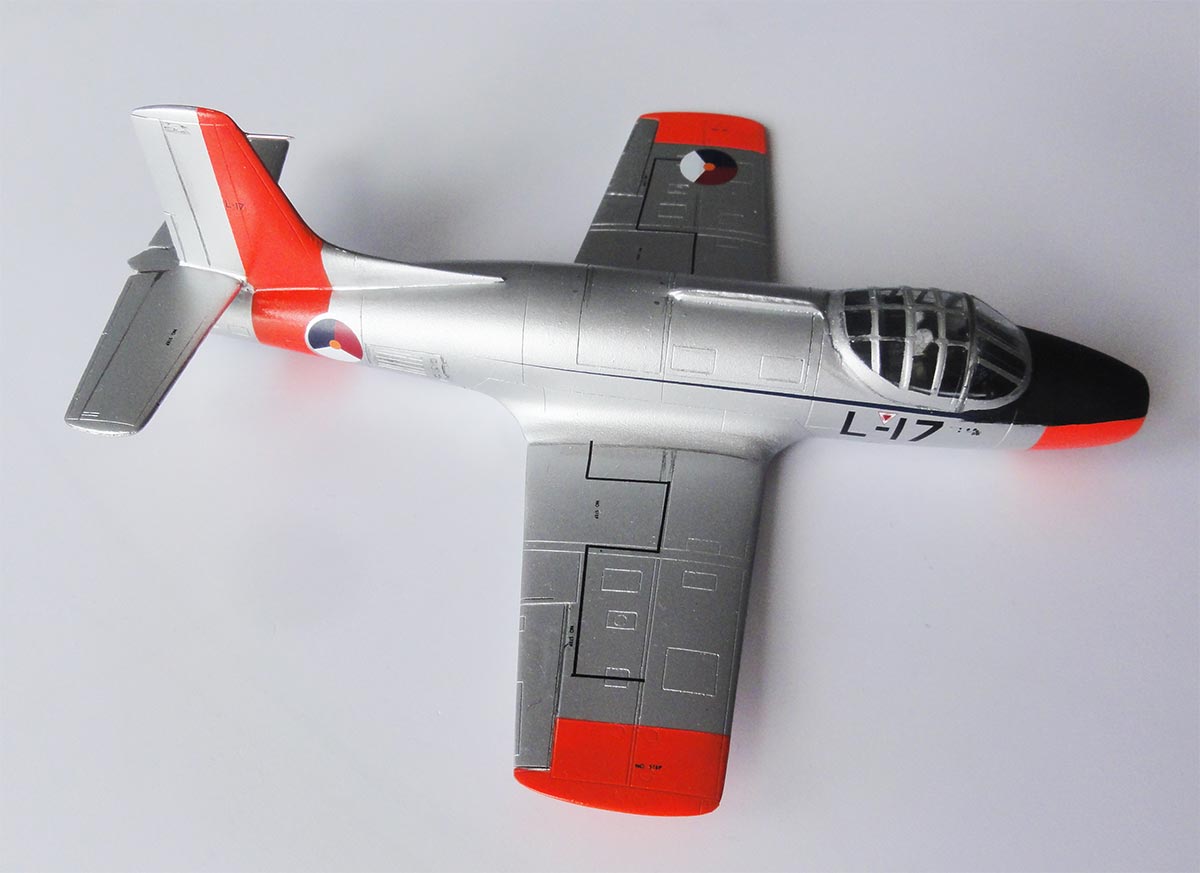
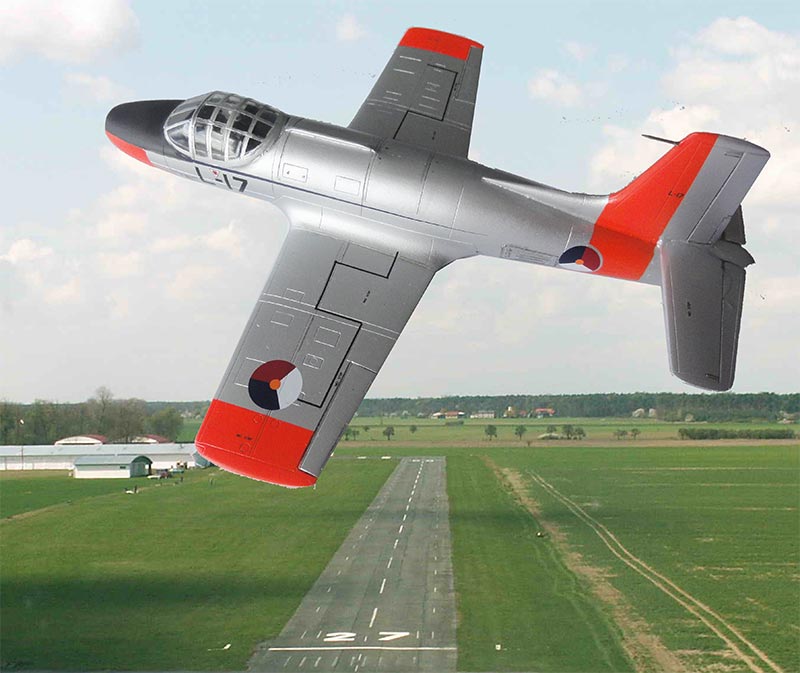
The second model was made "in flight" configuration with two pilots installed. The second Fokker S-14 model made would get gears retracted. The scheme would be for the KLu S-14 coded "L-17" with dayglow panels.
NOTE that this is an old Czech Master kit release, with no separate air brake parts. The resin is darker and probably I got the kit in 1995. It came without decals, in no box but bagged.
The doors were made from plastic card, set in place, sanded flush and puttied.
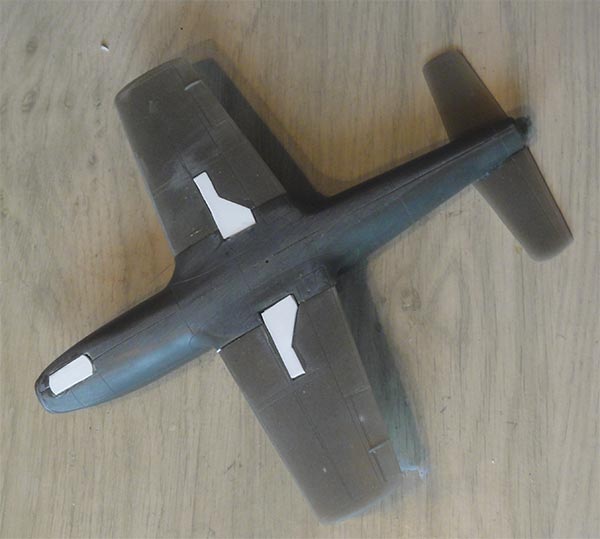
Again, putty and sanding is needed at the joints. Polishing the model surfaces was done, this is essential as a metal paint finish will be applied later on.
An opening/ slot was made to fit a stand later on. The cockpit interior was detailed as described earlier.
Prior to applying the paint scheme, the canopy was to be set closed "in flight". It was decided to install the canopy hood at this stage over the fuselage cockpit opening. It needs considerable effort to close the gaps. I added a plastic strip inside to get a stronger canopy-fuselage joint.
The "in flight" S-14 model also got a instructor pilot and trainee pilot. These were found in the spares box.
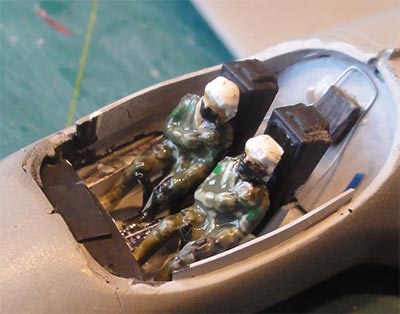
The thin vacuform one-piece canopy requires careful study where to cut which fine scissors. Putty was needed to close the gaps, ensure that no small gap remains that will spoil the cockpit interior. Sanding is tricky!
After sanding done, a check was done. Some tiny spots were again puttied and sanded flush.
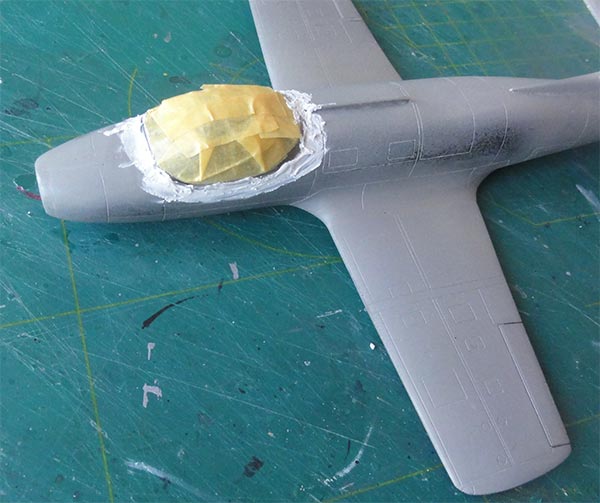
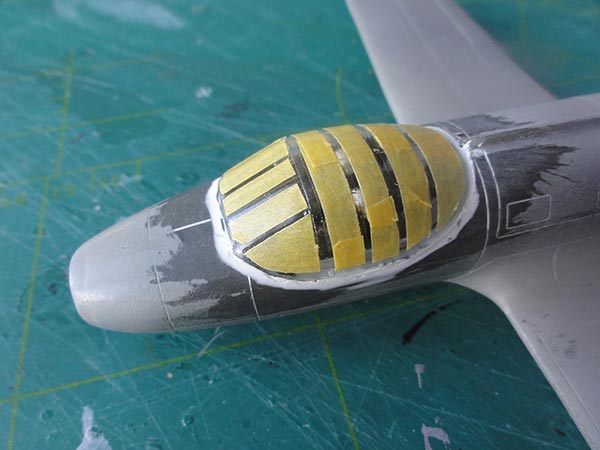
Masking could now be done with tape for the canopy frames.
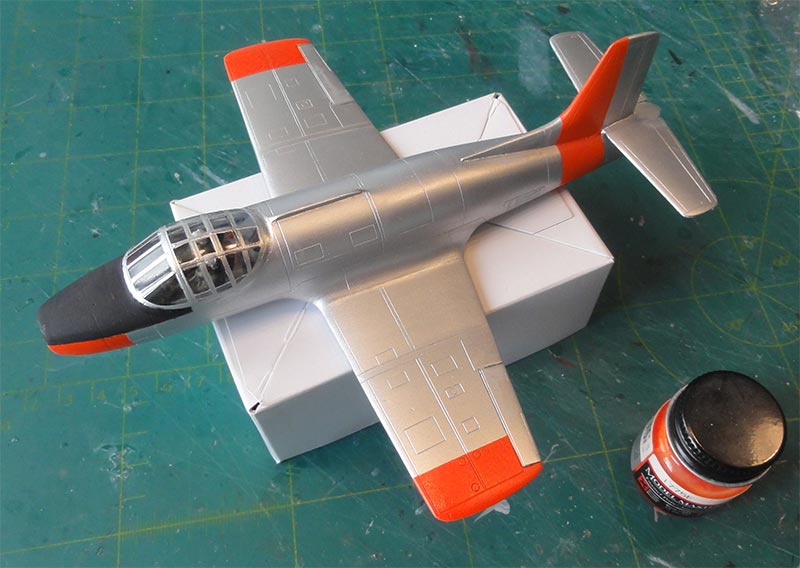
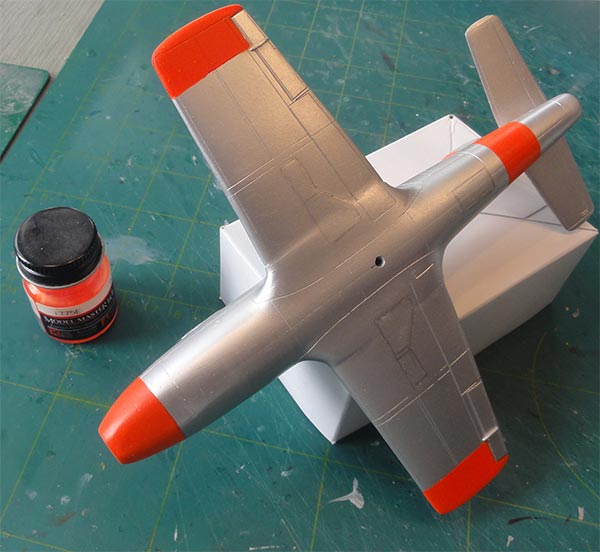
The silver dope scheme was again applied with Vallejo 77.701 aluminium acrylic. The anti-glare panel was masked and airbrushed mat black.
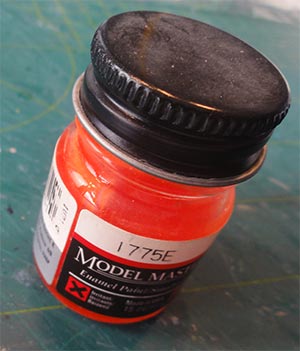
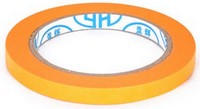
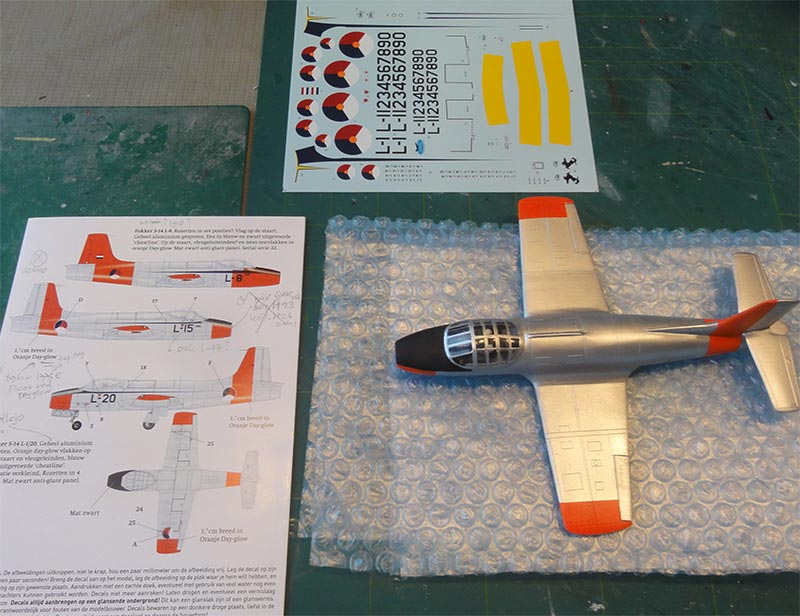
The dayglow panels for this particular scheme were masked and these were airbrushed with Modelmaster 1775E enamel fluor red dayglow.
The vertical tail band is 17 millimeters wide.
The decals came from the later Dutch Decal set issued in 2020. Code "L-17" was picked. Black walkway lines are also nicely provided on the sheet.
Finally, the model got airbrushed a thin layer of gloss Johnson Future/ Pledge varnish thinned 25% with Gunze Mr.Color Levelling thinner to protect the decals and get an even sheen.
For the display, I had found a stand in the spare box. A slot had been made in the lower belly so it could be set on top.
The S-14 coded "L-17" was based at Soesterberg in the 1960s
... posed in flight....
A nice pair of Fokker S-14 jet trainers completed, long forgotten in my Royal Netherlands Air Force model collection.
BOOKS:
- Fokker S-14, Hazewinkel, Luchtvaartencyclopedie, okt. 1975
- IPMS NL, Modelbouw in Plastic, magazine MIP 1983-2
- Fokker S-14, Braas en Vredeling, Geromy publishers, 2009
INTERNET:
- IPMS NL Fokker S-14 information pages
- Walk around of me about the S-14 on the IPMS NL website...

(c) Copyright Meindert "designer"/ All rights reserved. Your comments are welcomed by webmaster
Created this page
Sept 14, 2023