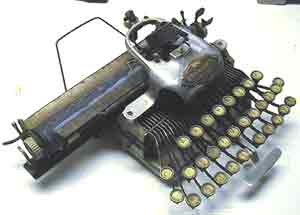
The Blickensderfer 5/6
Guidelines for disassembly by Rob Blickensderfer - 2
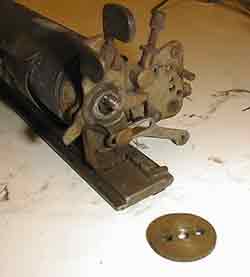
5. On right end: Unscrew the ratchet wheel.
6. On No. 5, remove a thin washer, 3/8" OD x 0.020" thick On No. 6, remove the lever that operates the release bail.
7. Remove the segment that carries the thumb pawl. The special shoulder screw that holds the thumb pawl to the segment may be removed to remove the pawl itself.
8. Remove the one or two thin washers with a total thickness of about 0.035"
9. The brackets that support the platen are now revoved from the base casting, 2 screws each end. On No. 6, this will allow the paper release shaft (the large shaft parallel to and behind the platen) to come out of the brackets. Now the platen is free, but there are still a few parts on the carriage casting.
10. Remove the two paper fingers near each end of carriage, 1 screw each.
11. The paper scale is attached to the two arms that support the feed roll. First release the end of each spring that is hooked onto the scale. Unsnap the scale from the right end and slip it off the left end.
12. Each of the arms that support the feed roll is secured by a pin. The pin must be driven out. There is a coil compression spring under each arm.
13. After removing the support arms, the feed roll easily slips free.
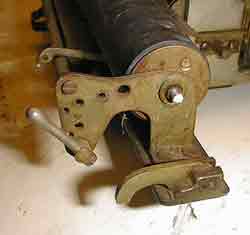
14. The margin stop on the left end of the carriage casting is secured with a taper pin. The pin must be driven from the inside out.
C REMOVAL OF HEAD ASSEMBLY
Remove the 2 screws that secure the head casting to the frame. These screws are usually very tight.
